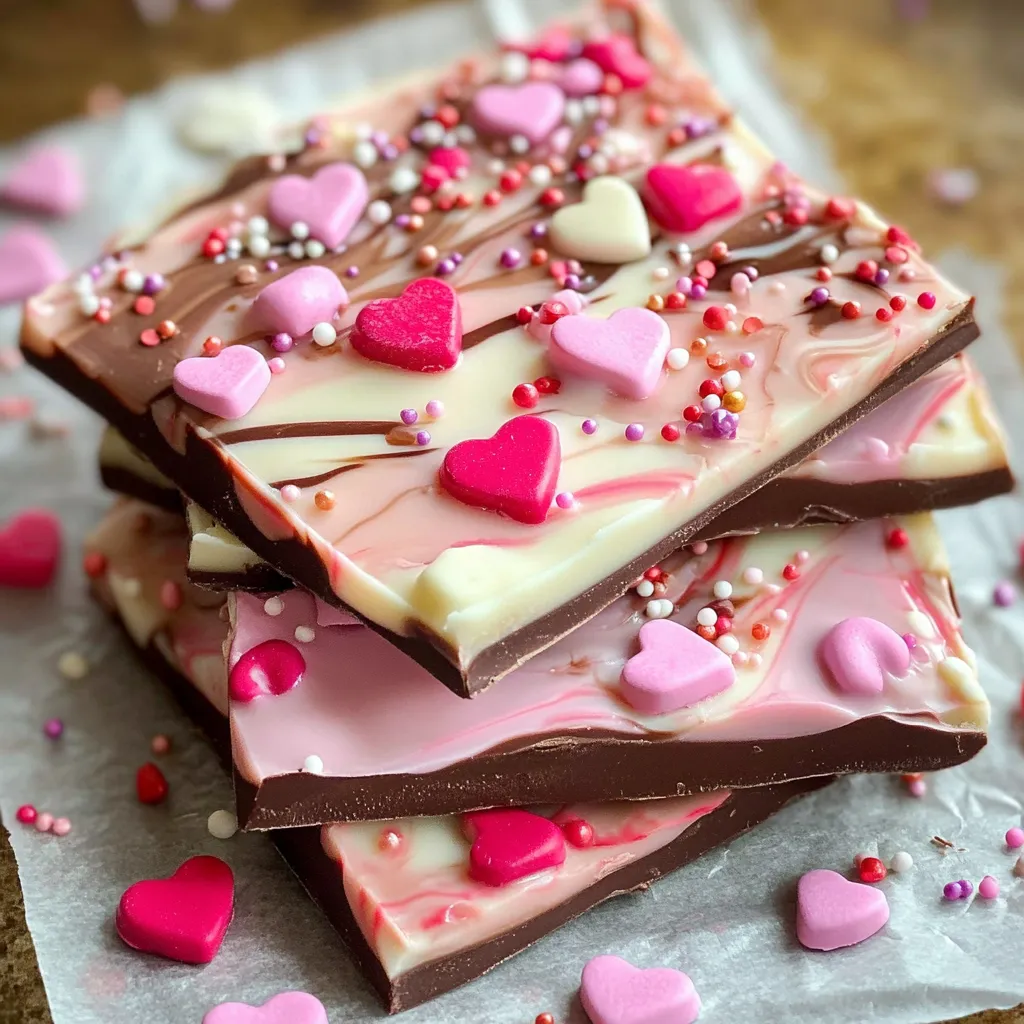
This Valentine's Day chocolate bark is a delightful homemade treat that's both beautiful and delicious. By combining rich semi-sweet chocolate with swirls of pink-tinted white chocolate, you create a stunning marbled effect that's perfect for the season. The addition of conversation hearts and festive sprinkles makes it extra special. What's great about this recipe is how simple it is - just melt chocolate, swirl, add toppings, and let it set. No fancy equipment needed, and it takes only 15 minutes to prepare. The bark keeps well, making it perfect for gifting or sharing with friends and family. Plus, you can customize it with different chocolates and toppings to make it uniquely yours. It's the kind of treat that looks like it came from a fancy chocolate shop but can be made right in your kitchen.
Pin itSweetheart Swirl Valentine’s Day Bark | cookingkeys.com
The perfect blend of rich dark chocolate swirled with delicate pink creates a stunning Valentine's Day bark that's as beautiful as it is delicious. This easy-to-make treat combines premium chocolate with festive candy hearts, creating an irresistible homemade gift that rivals any store-bought confection. After years of making holiday treats, I've found this bark recipe consistently brings smiles to loved ones' faces.
Last Valentine's Day, I made several batches of this bark for my daughter's teachers. The look of delight when they saw the beautiful swirls and perfectly placed candy hearts made all the effort worthwhile. The secret to success? Taking time to properly temper the chocolate and create those signature swirls.
Essential Ingredients and Selection Tips
Semi-sweet Chocolate: Choose high-quality bars like Ghirardelli or Lindt - never chips. The better your chocolate, the more luxurious your bark
White Chocolate: Real white chocolate containing cocoa butter creates the smoothest swirls. Look for brands listing cocoa butter as a main ingredient
Pink Candy Melts: These add the perfect rosy hue. Alternatively, use white chocolate with a tiny drop of red food coloring
Candy Hearts: Traditional conversation hearts add nostalgic charm and pops of color
Sprinkles: Heart-shaped sprinkles bring extra festive flair and texture
Parchment Paper: Essential for easy removal and clean-up
Detailed Cooking Instructions
Preparation Phase - Line a large baking sheet with parchment paper, ensuring edges are smooth - Chop all chocolate into uniform pieces for even melting - Gather decorative toppings and arrange workspace - Have a clean, dry spatula and swirling tool ready
Chocolate Melting - Create a double boiler with a heatproof bowl - Heat water to barely simmering - Add semi-sweet chocolate in small batches - Stir gently until completely smooth - Maintain temperature around 88-90°F for proper tempering
Pink Layer Creation - Melt white chocolate and candy melts together - Stir until perfectly smooth and free of streaks - Keep warm but not hot to maintain workability - If using food coloring, add gradually for desired shade
Assembly Process - Pour tempered dark chocolate onto prepared sheet - Spread into an even rectangle about 1/4 inch thick - Working quickly, drizzle pink mixture in lines - Use a toothpick to create elegant swirl patterns - Immediately add toppings while chocolate is wet
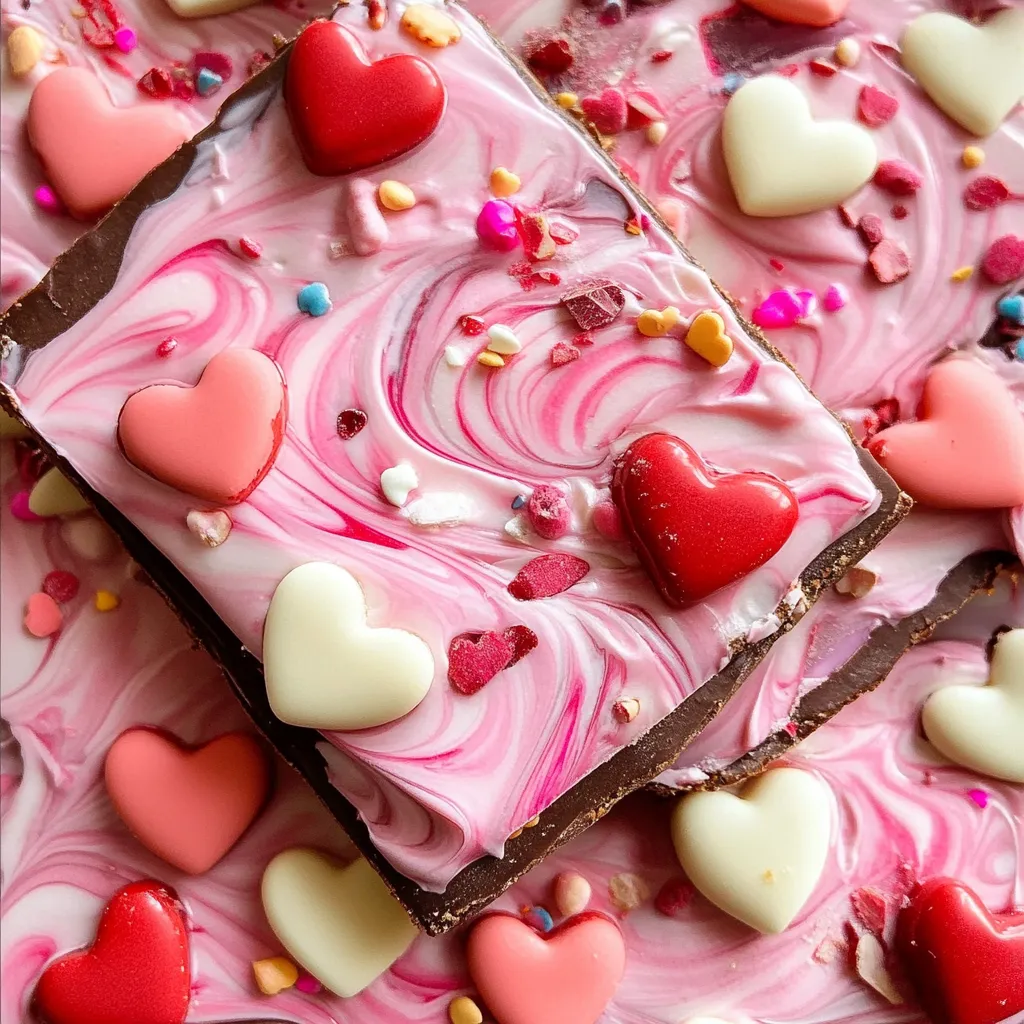
Pin itSweetheart Swirl Valentine’s Day Bark Recipe | cookingkeys.com
My daughter and I started making this bark together when she was little. She would carefully place each candy heart, creating patterns that made each batch unique. Now it's become our Valentine's tradition, bringing us together in the kitchen every February.
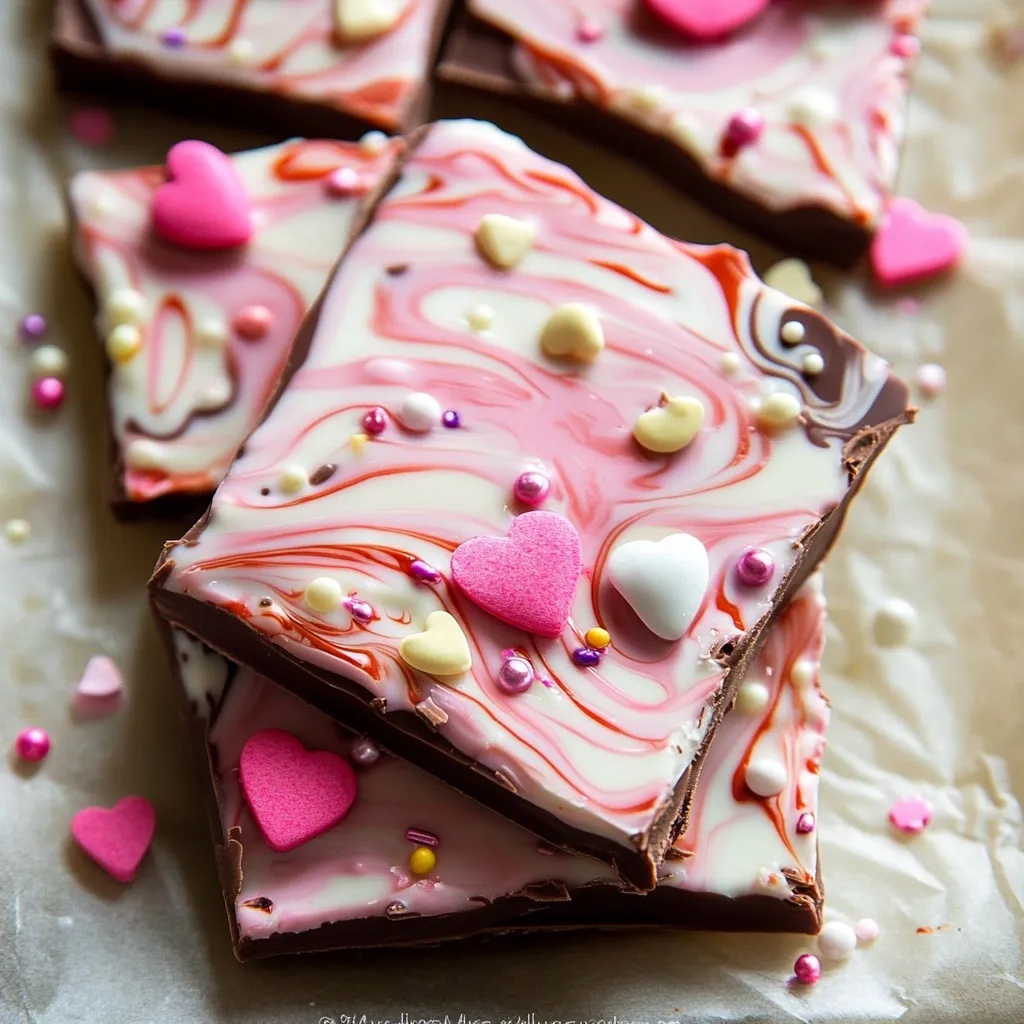
The Art of Swirling
Creating beautiful swirls isn't just about technique - it's about timing. I've learned that waiting just a few seconds after drizzling the pink chocolate allows for cleaner, more defined patterns. Some of my most beautiful designs happened when I wasn't trying to control every swirl.
Pin itDelicious Sweetheart Swirl Valentine’s Day Bark | cookingkeys.com
Temperature Mastery
Working with multiple types of chocolate requires attention to different melting points. Through trial and error, I discovered that keeping my pink mixture slightly warmer than the dark chocolate base creates the smoothest swirls without any streaking or clumping.
Gift Packaging Ideas
Through years of gifting homemade chocolate bark, I've discovered some charming presentation methods that make this treat even more special. Clear cellophane bags tied with red and pink ribbon create a lovely display that protects the bark while showing off its beautiful swirls. For more elaborate gifts, I layer pieces between sheets of parchment paper in small heart-shaped tins or vintage candy boxes. Small handwritten tags with storage instructions and a personal message add that extra thoughtful touch. My most successful presentation was last year when I created small "bark bouquets" - pieces arranged vertically in decorative mugs with tissue paper, which doubled as keepsake gifts.
Troubleshooting Common Issues
The art of making perfect chocolate bark comes with its learning curves. If your chocolate develops white streaks (blooming), it's usually due to temperature fluctuations during setting. I've found that maintaining a consistent room temperature and avoiding the refrigerator prevents this issue. When the pink swirl seems too thick or doesn't blend smoothly, warming your swirling tool slightly helps create more fluid patterns. Sometimes the bark might seem too thick or thin - I've learned that using the back of a spatula to spread the chocolate while gently tapping the baking sheet on the counter helps achieve that ideal 1/4-inch thickness.
Creative Variations
This basic recipe has become my springboard for countless variations throughout the year. For a sophisticated twist, I sometimes add a sprinkle of sea salt or crushed freeze-dried raspberries before the bark sets. During winter months, replacing the candy hearts with crushed peppermint candies transforms it into a holiday treat. One of my most successful experiments involved marbling dark, milk, and white chocolate together for a triple-chocolate effect. The key to successful variations is maintaining the same total chocolate amounts while playing with different toppings and flavor combinations. Each new version teaches me something about chocolate work while keeping this beloved recipe fresh and exciting.
Chef's Essential Tips
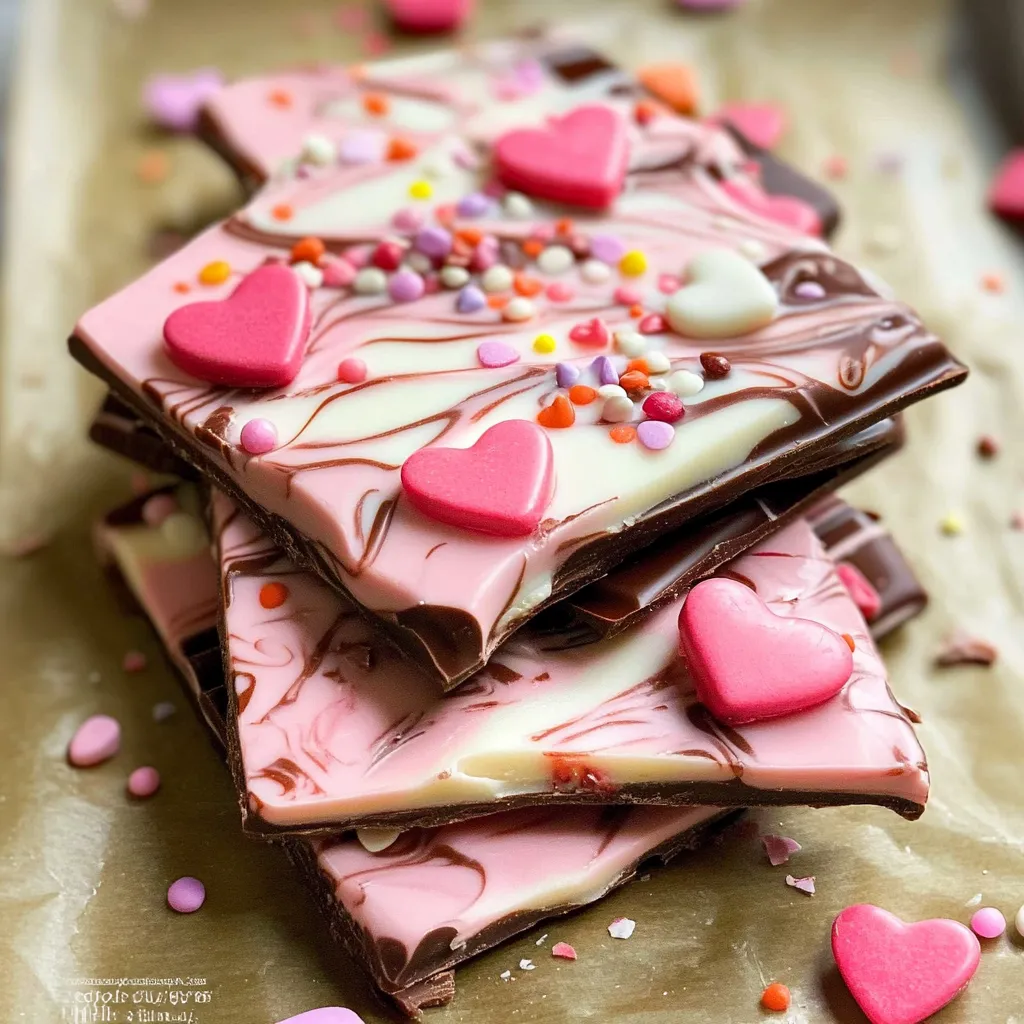
Temper chocolate properly for a beautiful shine and clean snap
Create swirls by dragging your tool in both directions for balanced patterns
Let the bark set at room temperature rather than refrigerating for better texture
Pin itBest Sweetheart Swirl Valentine’s Day Bark | cookingkeys.com
Final Thoughts
Valentine's Day bark isn't just about creating something sweet - it's about making memories and sharing love through homemade treats. Each swirl and carefully placed heart carries a message of care that makes this simple recipe so much more than the sum of its parts. Whether given as a gift or shared with family, it's these little touches that make holidays special.
Frequently Asked Questions
→ Can I use chocolate chips instead of chocolate bars?
While you can, chocolate bars work better because they melt more smoothly and taste better. Choose brands like Ghirardelli or Baker's for best results.
→ How long does this chocolate bark last?
It stays fresh for up to 1 week at room temperature in an airtight container, or 2 weeks in the fridge.
→ Can I freeze this chocolate bark?
Yes, you can freeze it for up to 2 months. Just thaw overnight in the fridge when ready to eat.
→ What if I can't find pink candy melts?
You can use white chocolate with a drop of red food coloring instead of pink candy melts.
→ Why isn't my chocolate setting properly?
Make sure you're working in a cool room and avoid overheating the chocolate when melting. Let it set in the fridge for faster results.
Easy Valentine's Chocolate Bark
A festive chocolate bark with pretty pink swirls and candy hearts - the perfect homemade Valentine's Day treat everyone will love.
Line a large baking sheet with parchment paper or a silicone baking mat. Set aside.
Step 02
Melt the white chocolate and pink candy melts together using a double boiler or microwave. If using microwave, stir every 20 seconds to prevent seizing.
Step 03
Melt the semi-sweet chocolate. Pour onto prepared baking sheet and spread into a large rectangle.
Step 04
Drizzle the white chocolate mixture on top. Use a toothpick or knife to create beautiful swirls between the layers. Top with candy hearts and sprinkles.
Step 05
Let set at room temperature or in refrigerator for about 45 minutes until hardened. Break into pieces as desired.
Notes
Store in an airtight container at room temperature for up to 1 week
Can be refrigerated for up to 2 weeks
Use pure chocolate bars instead of chips for best results
Tools You'll Need
Large baking sheet
Parchment paper or silicone mat
Double boiler or microwave-safe bowl
Toothpick or knife for swirling
Allergy Information
Please check ingredients for potential allergens and consult a health professional if in doubt.

 Pin it
 Pin it
 Pin it
 Pin it