
 Pin it
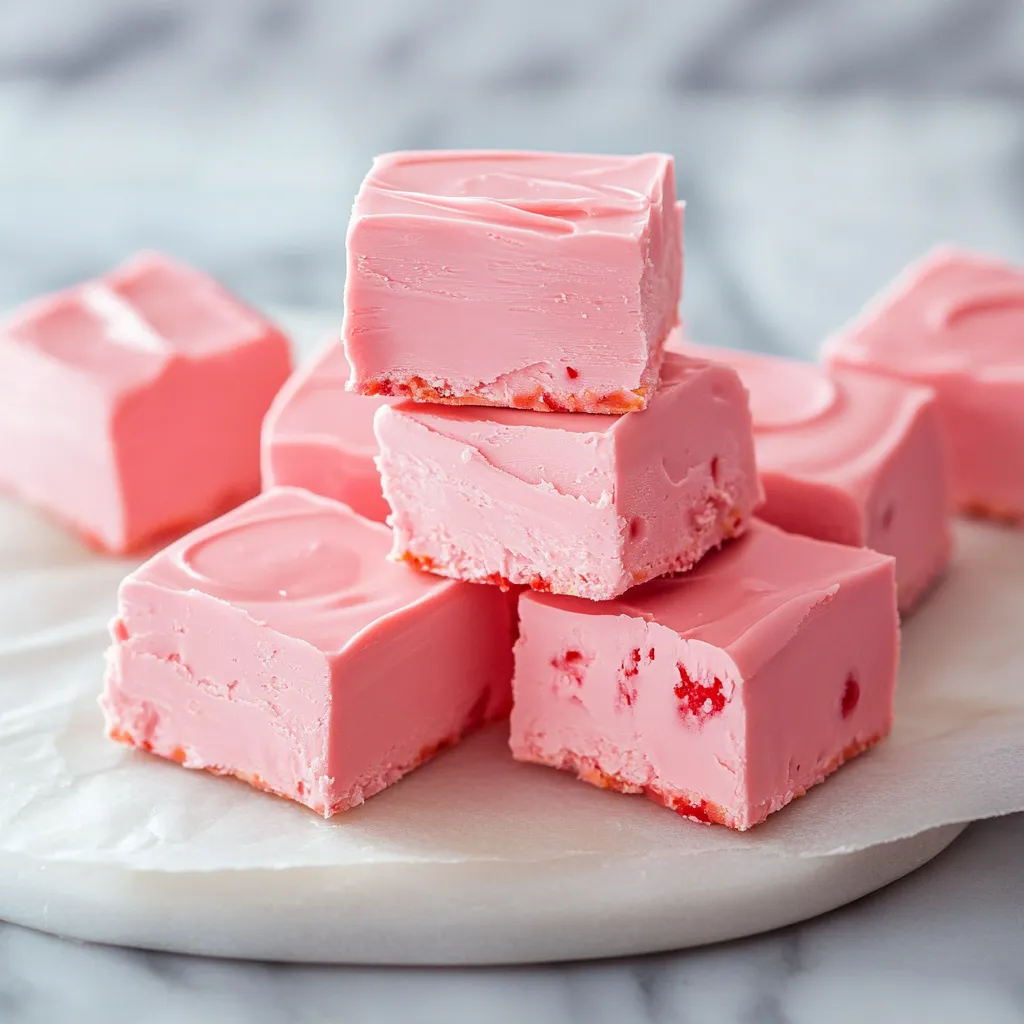
The sweet aroma of strawberries fills my kitchen every time I make this incredibly simple fudge. This recipe has become my go-to dessert for special occasions, combining the creamy richness of traditional fudge with bright strawberry flavors. The best part? You only need two ingredients to create these pretty pink squares that never fail to bring smiles to my guests' faces.
Last summer, I brought this fudge to our family reunion, and my nieces couldn't believe it was homemade. The pink color drew them in immediately, but it was the creamy texture that had everyone asking for the recipe.
Essential Ingredients and Selection Tips
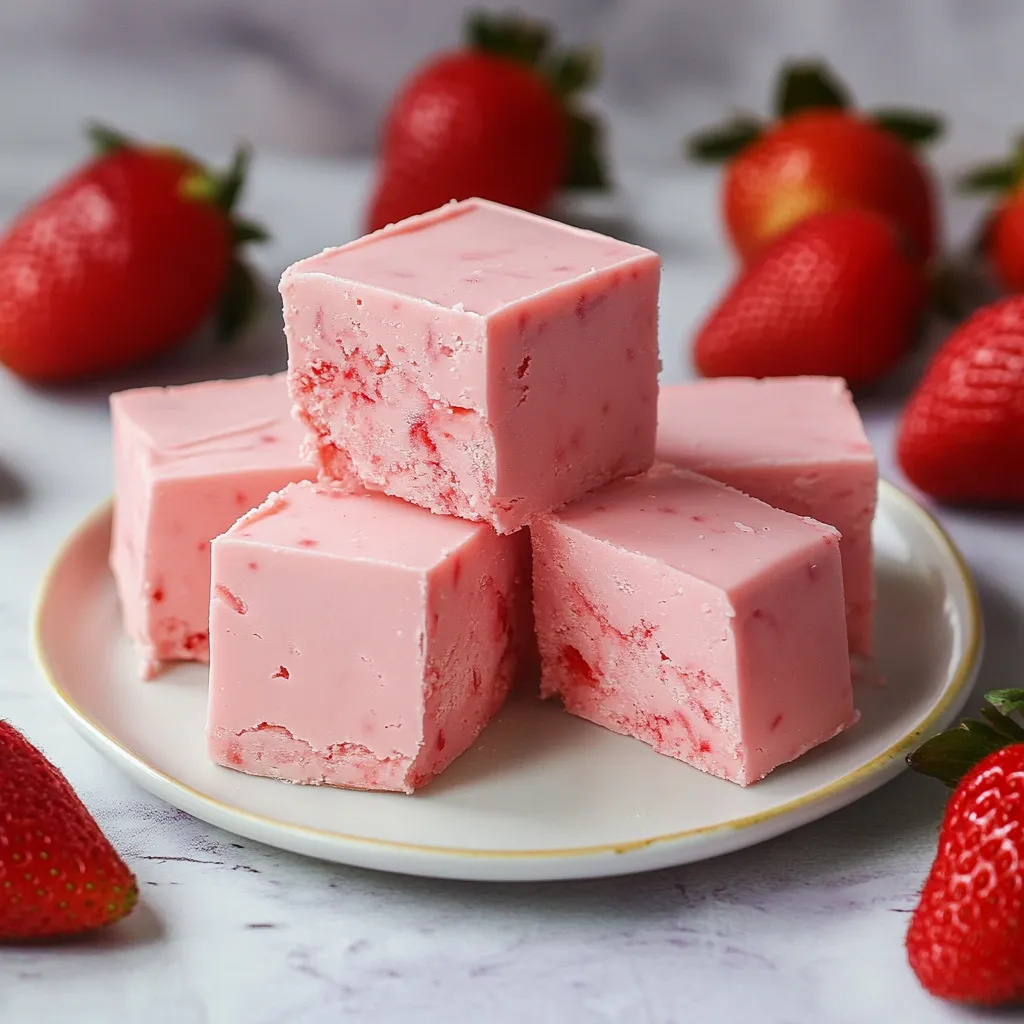
- Strawberry Frosting (16 oz can): The foundation of our fudge's flavor and texture. Choose a high-quality frosting brand that's thick and creamy. I've found that premium brands offer better consistency and a more natural strawberry taste
- Strawberry-Flavored Pink Candy Melts (2 cups): These create the perfect fudge texture while amplifying the strawberry flavor. Look for fresh candy melts without any white streaks, which can indicate age or temperature damage
- Optional but recommended: Parchment paper for lining - Makes removal and cutting infinitely easier
 Pin it
Detailed Step-by-Step Instructions
- Start with pan preparation
- Choose an 8×8-inch baking pan with straight sides
- Cut your parchment paper large enough to hang over two sides by at least 2 inches
- Press the paper into corners carefully to prevent wrinkles that could mark your fudge
- Master the candy melt process
- Pour candy melts into a microwave-safe bowl with plenty of room for stirring
- Heat in exactly 30-second intervals, no longer
- Stir thoroughly between each interval, scraping sides and bottom
- Continue until melts are completely smooth with no lumps
- If you notice any small unmelted pieces, keep stirring rather than microwaving more
- Perfect the frosting preparation
- Remove lid and inner seal completely
- Heat frosting in microwave for 45 seconds initially
- Stir thoroughly and check consistency
- Continue heating in 15-second bursts if needed
- Aim for a pourable consistency similar to warm honey
- Combine with care
- Pour warm frosting into melted candy melts gradually while stirring
- Use a silicone spatula to fold ingredients together
- Mix until completely uniform with no streaks
- Scrape sides and bottom thoroughly while mixing
- Create the perfect pour
- Transfer mixture to prepared pan immediately while warm
- Spread from the center outward using an offset spatula
- Tap pan firmly on counter 5-6 times to release air bubbles
- Smooth top surface one final time
- Master the setting process
- Place pan in refrigerator away from strong-smelling foods
- Allow minimum 4 hours setting time
- Check firmness by gently pressing surface
- Continue chilling if any softness remains
 Pin it
When I first started making this fudge, I discovered that candy melts were the secret to achieving that perfect texture. My grandmother used to make traditional fudge that required constant temperature monitoring, but this version gives me consistent results every time.
Creating Beautiful Presentations
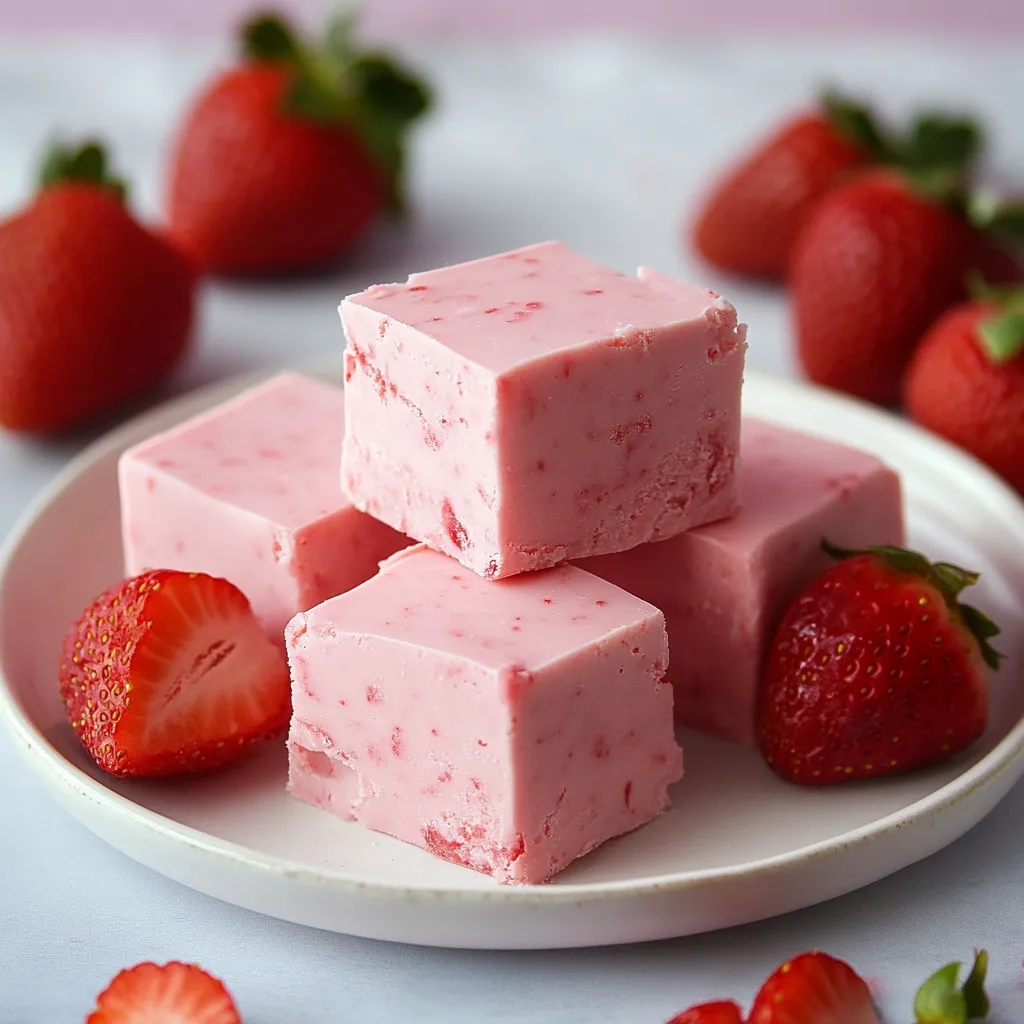
The versatility of this fudge makes it perfect for any occasion. I've decorated it with edible flowers for spring gatherings, added golden sprinkles for holiday parties, and even created marbled effects by swirling in white chocolate. The natural pink color makes it especially popular at baby showers and Valentine's celebrations.
Storage and Freshness
Proper storage is crucial for maintaining the fudge's creamy texture. I've found that placing wax paper between layers prevents them from sticking together, while keeping the container in a cool, dark place helps preserve the vibrant pink color. The flavor actually develops beautifully after the first day, making this a perfect make-ahead dessert.
Troubleshooting Common Issues
Sometimes the fudge might seem too soft or too firm. If it's too soft, a few extra minutes in the refrigerator usually does the trick. If it's too firm, let it stand at room temperature for about 10 minutes before serving. The key is finding the right balance for your specific environment.
After years of making this recipe, I've come to appreciate its reliability and versatility. While traditional fudge-making can be intimidating, this version opens up the joy of homemade fudge to everyone, from novice bakers to experienced cooks. The simplicity of the ingredients doesn't compromise the rich, creamy result that makes this treat so special.
Seasonal Variations and Creative Twists
Throughout my years of making this fudge, I've discovered endless ways to adapt it for different seasons. During Christmas, I sprinkle crushed candy canes on top before it sets. For autumn gatherings, I've mixed in cinnamon chips and topped it with fall-colored sprinkles. The base recipe is so versatile that it becomes a blank canvas for creativity.
Perfect Pairings and Serving Ideas
The sweet, fruity nature of this fudge pairs beautifully with certain beverages and complementary treats. I love serving small squares alongside vanilla bean ice cream for dessert parties. At my daughter's bridal shower, we created a dessert board with this fudge as the centerpiece, surrounded by fresh berries, chocolate-covered pretzels, and pink macarons.
Gift-Giving and Packaging
One of the most rewarding aspects of making this fudge is sharing it with others. I've learned that wrapping individual pieces in wax paper before placing them in decorative tins helps maintain their shape and prevents sticking. For holiday gifts, I layer the fudge pieces between doilies in vintage cookie tins, which always brings delighted smiles to recipients' faces.
Temperature and Environment Considerations
Living in different climates has taught me how environment affects fudge-making. In humid summer months, I increase the refrigeration time by an hour and store the finished fudge in the refrigerator until just before serving. During winter, when my kitchen is cooler, I let the candy melts heat for an extra 15 seconds to ensure proper melting.
 Pin it
Making It Your Own
While the basic recipe is foolproof, don't be afraid to experiment. I've discovered that adding a drop of strawberry extract intensifies the fruit flavor, while a pinch of salt brings out the sweetness. Some of my readers have shared their successful variations, like adding crushed freeze-dried strawberries or creating a marble effect with white chocolate.
Nutrition and Portion Control
Though this is definitely a treat, I've found that cutting the fudge into smaller, one-inch squares helps with portion control while still satisfying sweet cravings. When I make this for diabetic friends, I use sugar-free frosting and sugar-free candy melts, which work surprisingly well.
Frequently Asked Questions
- → Can I use different flavored frosting?
- Yes! Try vanilla, chocolate, or any other frosting flavor that pairs well with candy melts for different fudge varieties.
- → How should I store this fudge?
- Store in an airtight container in the fridge for up to 2 weeks. You can also freeze it for up to 3 months.
- → Why won't my fudge set properly?
- Make sure to melt ingredients completely and stir well. Always allow full 4 hours chilling time for proper setting.
- → Can I add toppings to this fudge?
- Yes! Add sprinkles, crushed cookies, or nuts on top before chilling for extra texture and flavor.
- → How many pieces does this recipe make?
- Using an 8x8 pan, you can cut the fudge into 12-16 squares, depending on your preferred size.