
 Pin it
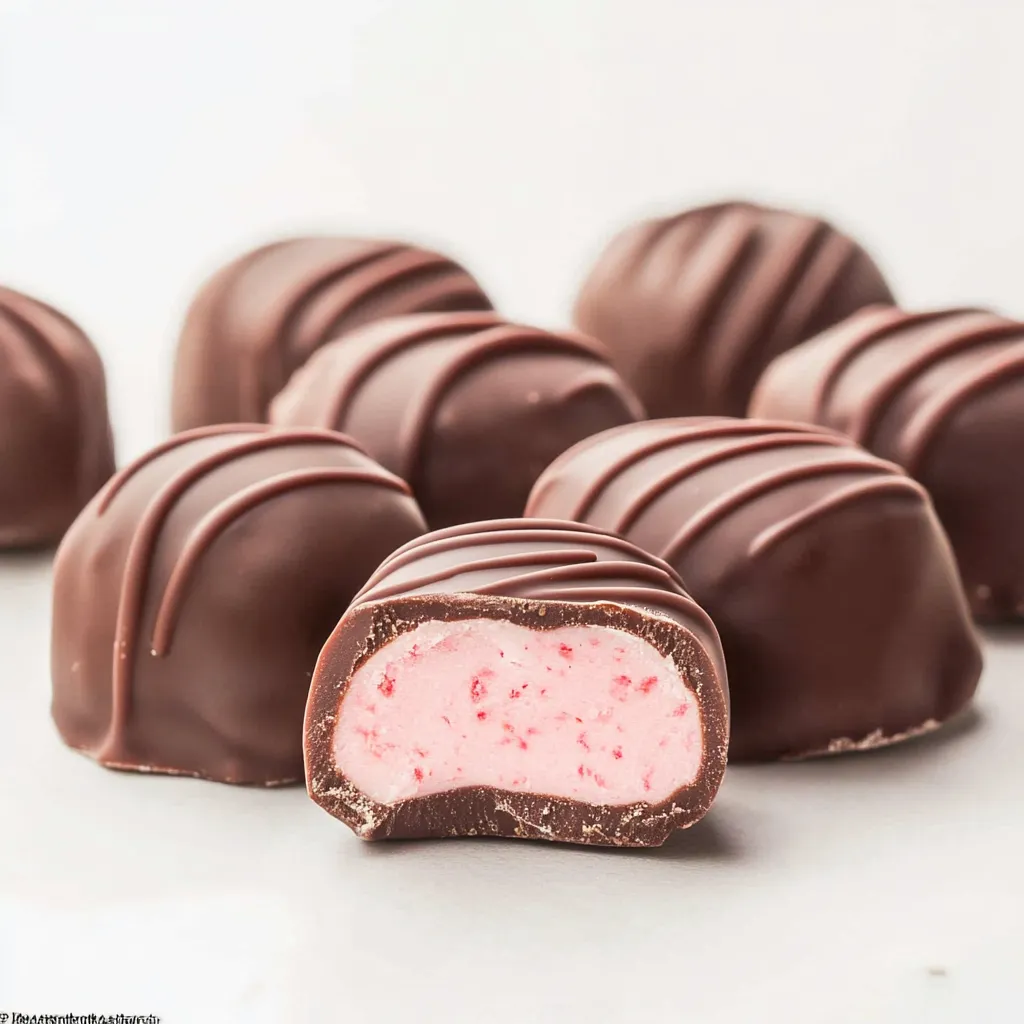
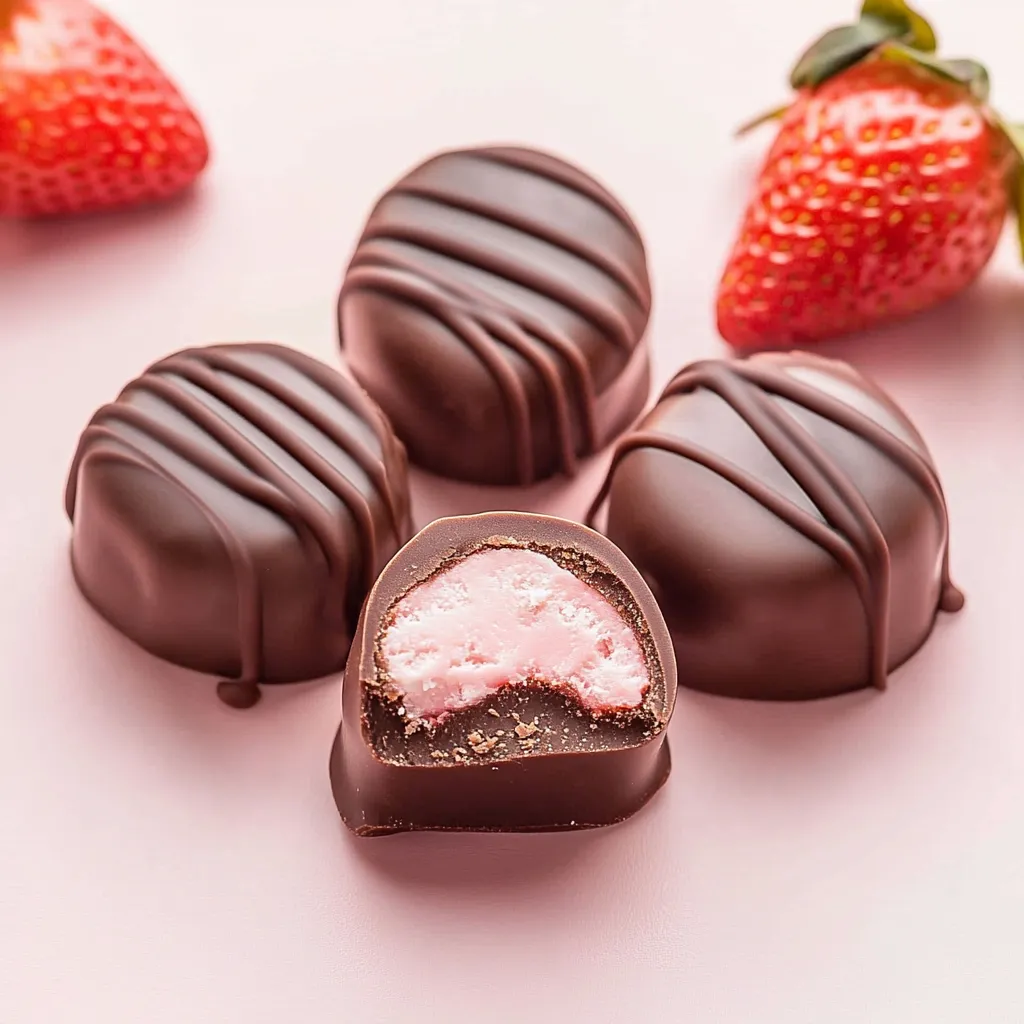
Take a few simple things and make really fancy chocolates, the kind that are just as good as from a candy shop! These strawberry cream chocolates are made with only three ingredients, but they look and taste like they were made by a pro, and they’re way easier to whip up than you’d think. They're just right for when you want to give a nice gift or make something special for a party.
After making chocolates for years, I can tell you that the trick to getting them perfect is melting the chocolate right and keeping an eye on the temperature.
Essential Ingredients
- Good Chocolate: Get melting wafers if you can, they're made for dipping
- Strawberry Frosting: You'll need a 16 oz can, you can buy it ready-made or use your own
- White Chocolate: You’ll want 12 oz for the creamy inside and for decorating
- Parchment Paper: You'll need this to line your pans
- Fun Decorations if you want: Things like sprinkles or colored sugar
Detailed Instructions
- 1. Make the Creamy Stuff Inside:
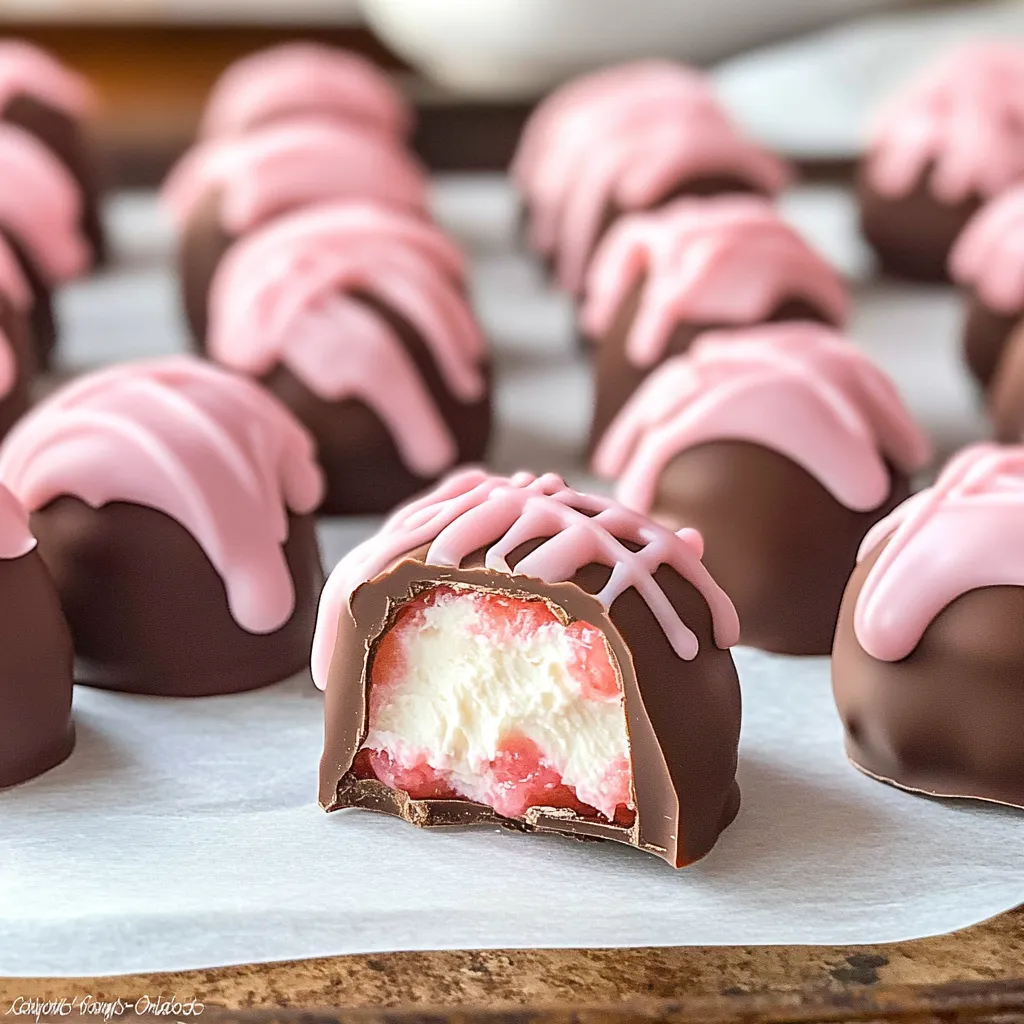
- Get a 9x9 inch pan and line it with parchment paper, make sure to let a bit hang over the sides, like 2 inches extra. Melt the white chocolate using a double boiler – that’s just a pot of water simmering with a bowl on top where you put the chocolate (make sure the bowl isn't touching the water). Stir the chocolate until it’s smooth. Mix in the strawberry frosting until it’s all combined together really well. Spread this mix evenly in the pan you lined. Put it in the fridge for about 30 minutes, you want it to get firm enough to cut.
- 2. Melt the Chocolate Coating:
- Melt your dipping chocolate, again using a clean double boiler. Or, you can use the microwave. If you microwave it, do it in short bursts of 30 seconds, and stir it each time. If you’re using the microwave, turn the power down to 50%. You want the chocolate to end up smooth and shiny, and around 90°F if you’re checking with a thermometer.
- 3. Dip Those Creamy Squares:
- Take your chilled filling and cut it into squares that are about 1-inch big. Use a fork to pick up each square and dip it into the melted chocolate, make sure it’s all coated. Gently tap the fork on the edge of your bowl to shake off any extra chocolate. Put each chocolate onto a sheet lined with parchment paper.
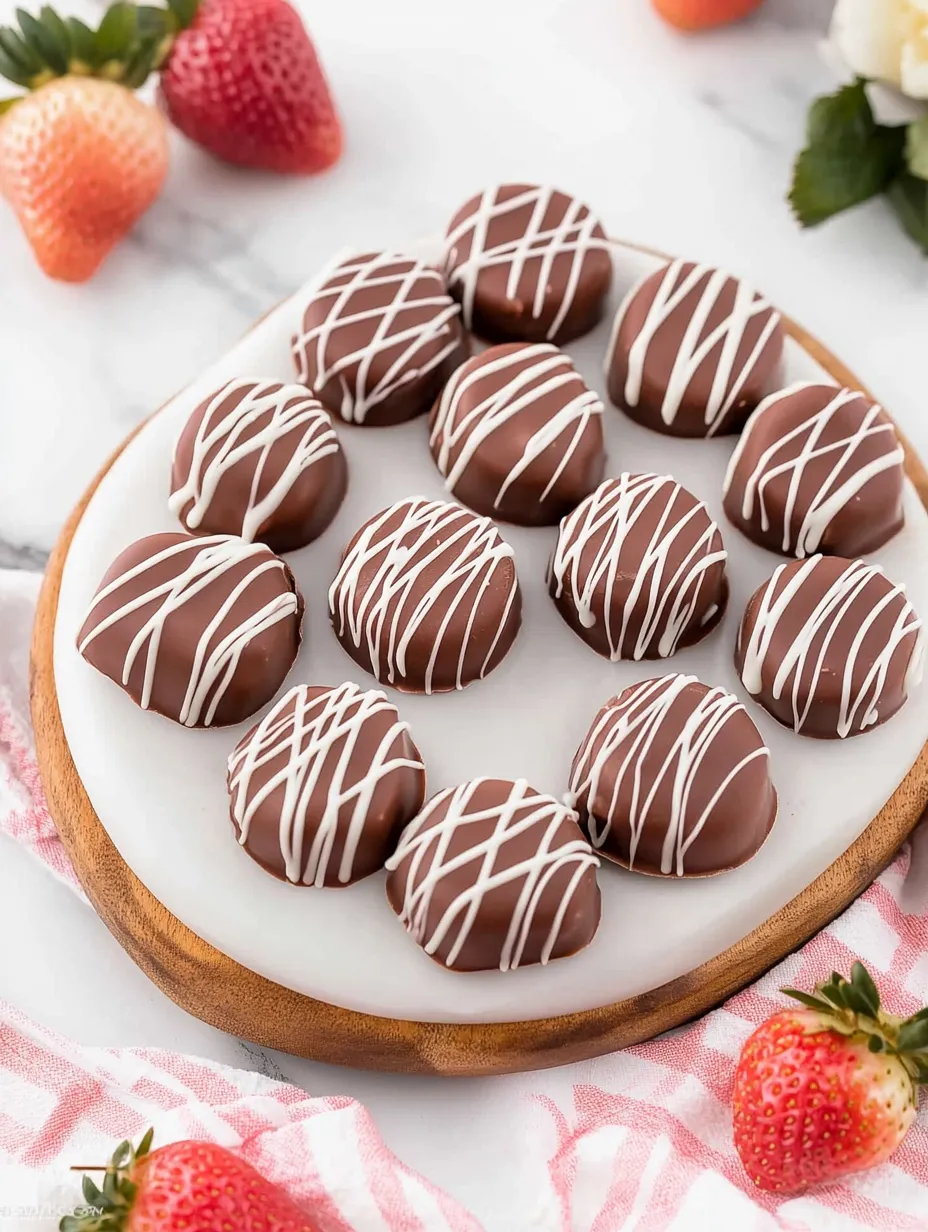
- 4. Make Them Look Fancy:
- Before the chocolate sets, you can make pretty designs. Use the tines of a fork to make lines or swirls, or drizzle some white chocolate over the top if you have extra. If you’re using sprinkles, put them on now while the chocolate is still melty. Let the chocolate set up completely. You can leave them at room temperature to set, or pop them in the fridge for about 15 minutes to speed it up.
- 5. Let Them Set and Then Store:
- Make sure the chocolates are totally set before you try to move them. To store them, put them in an airtight container, layering them between sheets of parchment paper so they don’t stick. You can keep them at room temperature for up to two weeks, or in the fridge for a month if you need them to last longer.
 Pin it
Storage and Serving Solutions
When you store your chocolates, make sure to put them in layers with parchment paper between each layer in a container that closes tightly. They’ll be good at room temperature for up to two weeks, or in the fridge for up to a month. If you do keep them in the fridge, let them sit out at room temperature for a bit before you serve them, that way they’ll taste and feel their best.
 Pin it
Perfect Pairings
- Fresh, juicy strawberries on the side
- A cup of rich coffee or a shot of espresso
- A bit of bubbly champagne for a fancy feel
- Warm and comforting hot chocolate
- A pot of relaxing afternoon tea
- Cute gift boxes to put them in when you’re giving them away
Flavor Variations
- Try using raspberry frosting with dark chocolate
- Vanilla frosting with a drop of mint extract for a minty fresh taste
- Orange frosting pairs great with dark chocolate
- Lemon frosting is delicious with white chocolate
- Coffee frosting and milk chocolate for coffee lovers
 Pin it
These homemade chocolates are proof that you can make really fancy candies at home without a ton of fuss, just a few ingredients and doing things right. Whether you’re giving them as presents or just treating yourself, they’re sure to wow people with how good they look and how amazing they taste, just like they came from a fancy bakery.
Frequently Asked Questions
- → Can I use a different flavor of frosting?
- Yes, you can experiment with other flavors like raspberry or vanilla for a unique twist.
- → Do I have to use a double boiler?
- No, you can melt the chocolate in the microwave if you prefer. Just ensure it doesn’t burn.
- → How long do these chocolates last?
- Store them in an airtight container in the fridge for up to two weeks.
- → Can I freeze the chocolates?
- Yes, they can be frozen for up to three months. Let them thaw in the fridge before serving.
- → What if the chocolate is too thick for dipping?
- Add a teaspoon of coconut oil or cream to thin it out while melting.