
 Pin it
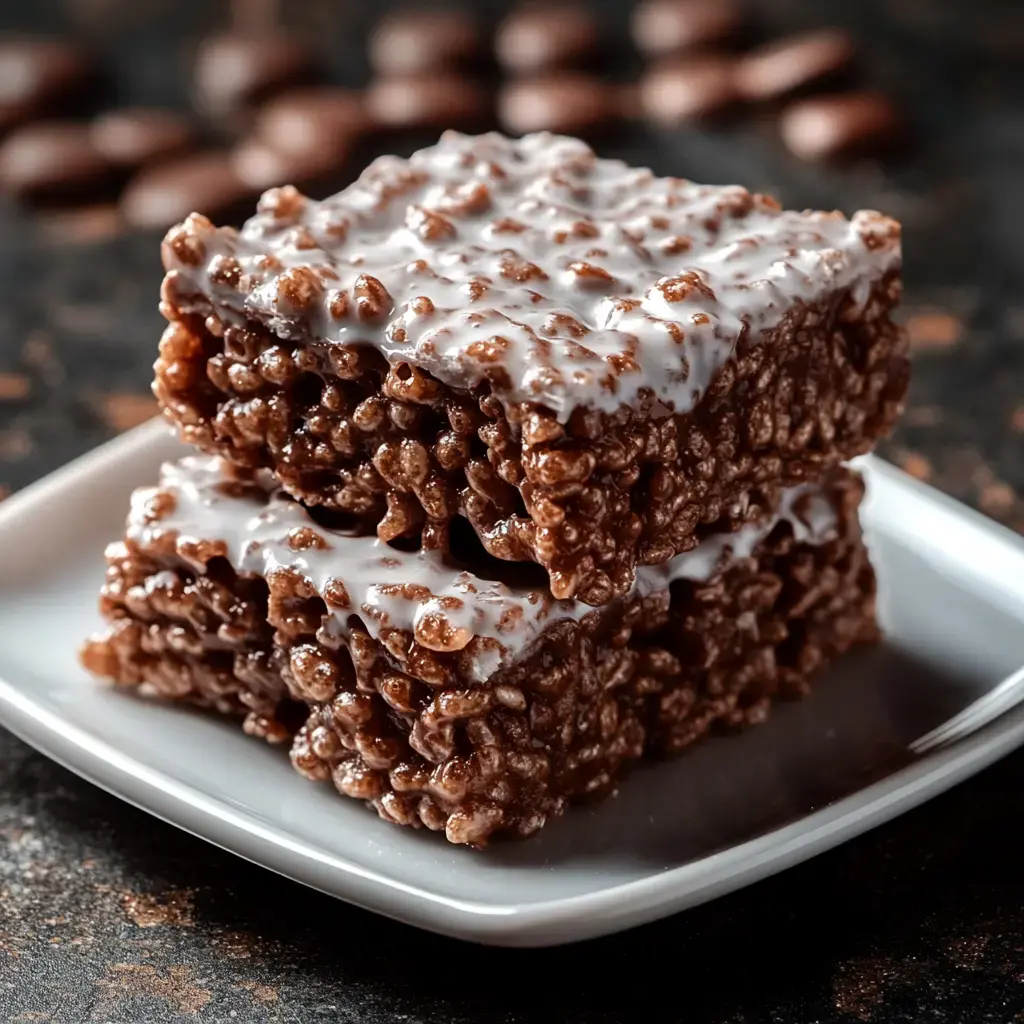
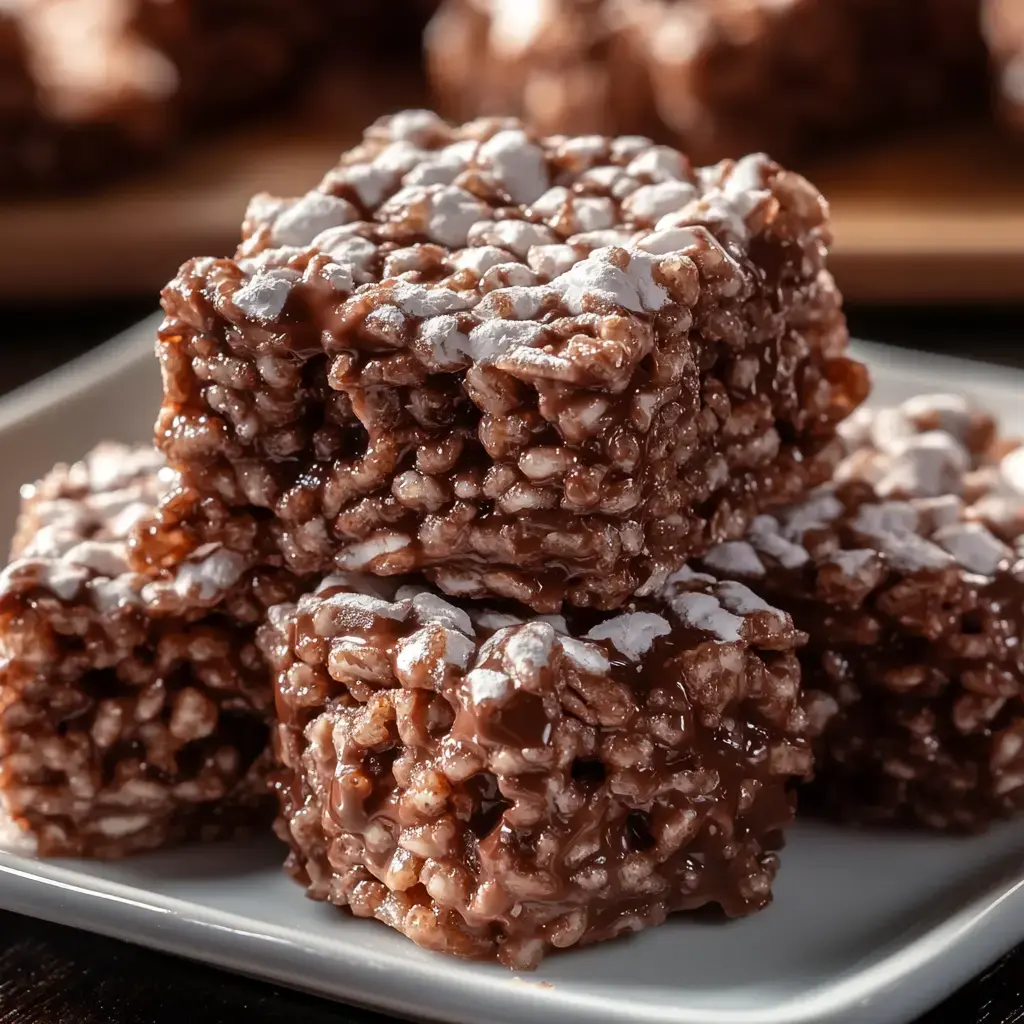
I created these Muddy Buddy Rice Krispies one afternoon when my kids were craving something sweet and I needed a quick treat. The combination just came naturally since we love both Muddy Buddies and Rice Krispies in our house. The chocolate and peanut butter coating hugs each crispy piece perfectly and that dusting of powdered sugar makes them absolutely irresistible. My kitchen testers (aka my family) gobbled up the first batch in minutes.
The Perfect Sweet Treat
What I love most about this recipe is how the textures play together so beautifully. Each bite starts with a satisfying crunch then melts into this dreamy chocolate peanut butter heaven. I always keep the ingredients on hand because they save me when unexpected guests pop by or when the kids need treats for school events. Plus they're so simple to make I can whip up a batch while multitasking in the kitchen.
What You'll Need
- Rice Krispies cereal: Fresh from a new box works best I learned this after one disappointing batch with stale cereal.
- Chocolate chips: I usually grab semi-sweet but milk chocolate makes them extra indulgent.
- Peanut butter: The creamy kind creates that perfect coating we all love.
- Powdered sugar: Just enough for that classic muddy buddy magic.
- Butter: This brings everything together into silky smooth perfection.
Kitchen Time
- Start with the good stuff:
- Get your butter chocolate chips and peanut butter melting in a pot over low heat. Keep stirring until it looks glossy and smooth.
- Mix it up:
- Pour your melty mixture all over the Rice Krispies in a big bowl. Fold everything together until each piece is coated in chocolatey goodness.
- The fun part:
- Once it's cooled a bit toss everything in a big zip-top bag with powdered sugar and shake shake shake.
- Time to enjoy:
- Pour them into your favorite serving bowl or pack them away for later if you can resist.
 Pin it
My Favorite Tips
Let me share what I've learned after making countless batches. Always start with fresh crispy cereal it makes such a difference. Keep your heat low when melting the chocolate mixture you definitely don't want it to seize up. I make sure every piece gets a good coating by gently folding everything together. A little patience goes a long way here let the mixture cool slightly before adding the powdered sugar. This prevents any clumping and gives you that perfect coating.
Ways to Serve
These treats have become my go-to for every occasion. I love setting out a big bowl at parties they disappear so fast. For my kids' lunchboxes I pack them in small containers. They're perfect with cold milk for an afternoon pick-me-up or alongside my morning coffee when I need something sweet. When I'm hosting I'll add them to a dessert board with fresh strawberries and little pastries everyone loves the variety.
Keeping Them Fresh
These treats stay perfectly crispy for about a week in an airtight container on the counter. If you want them to last longer pop them in the fridge they'll keep for two weeks. Sometimes I make a double batch and freeze portions for up to three months. Just let them come to room temperature before serving. If they lose their crunch spread them on a baking sheet and warm them in the oven at 250°F for 10 minutes works like magic.
Switch Things Up
My family loves when I experiment with different variations. Sometimes I use almond butter for a change or sunflower seed butter when sending treats to my daughter's nut-free classroom. Dark chocolate makes them feel fancy and grown-up. My kids love when I mix in mini marshmallows or M&Ms. Just remember if you need them gluten-free double check all your ingredients some brands can be sneaky.
Creative Twists
In my kitchen there's always room for creativity. Sometimes I press the mixture into a pan and cut them into neat bars for bake sales. Adding colorful sprinkles makes them perfect for birthday parties. My latest obsession is layering them in parfait glasses with whipped cream and fresh berries when friends come over for coffee. The possibilities are endless and that's what makes this recipe so special.
Frequently Asked Questions
- → Can I make these ahead of time?
These treats can be made 2-3 days ahead and stored in an airtight container. Keep them at room temperature for best texture and taste.
- → What kind of chocolate works best?
Both milk and semi-sweet chocolate chips work great in this recipe. Dark chocolate can also be used for a less sweet version.
- → Can I use crunchy peanut butter instead of creamy?
While creamy peanut butter gives the best coating, crunchy peanut butter can be used for extra texture. Just make sure it's well-mixed before using.
- → Why did my chocolate seize up?
Chocolate can seize if overheated in the microwave. Heat in short 30-second bursts, stirring between each interval for smooth melting.
- → How should I store leftover treats?
Store in an airtight container at room temperature for up to 5 days. Avoid refrigerating as this can make them too hard.
Conclusion
These Muddy Buddy Rice Krispies combine the crunch of cereal with smooth chocolate and peanut butter, finished with a sweet dusting of powdered sugar. They're ready in just 15 minutes with no baking needed, making them perfect for last-minute treats.