
 Pin it
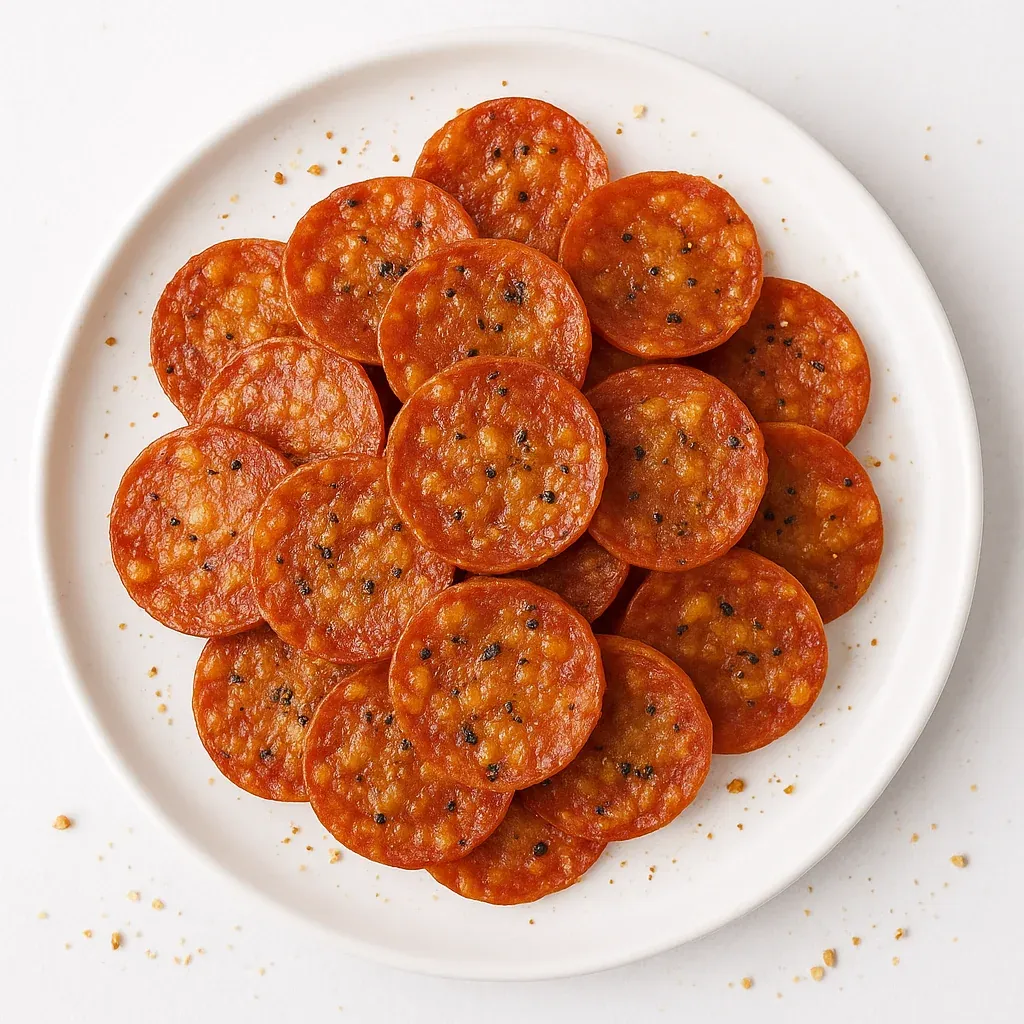
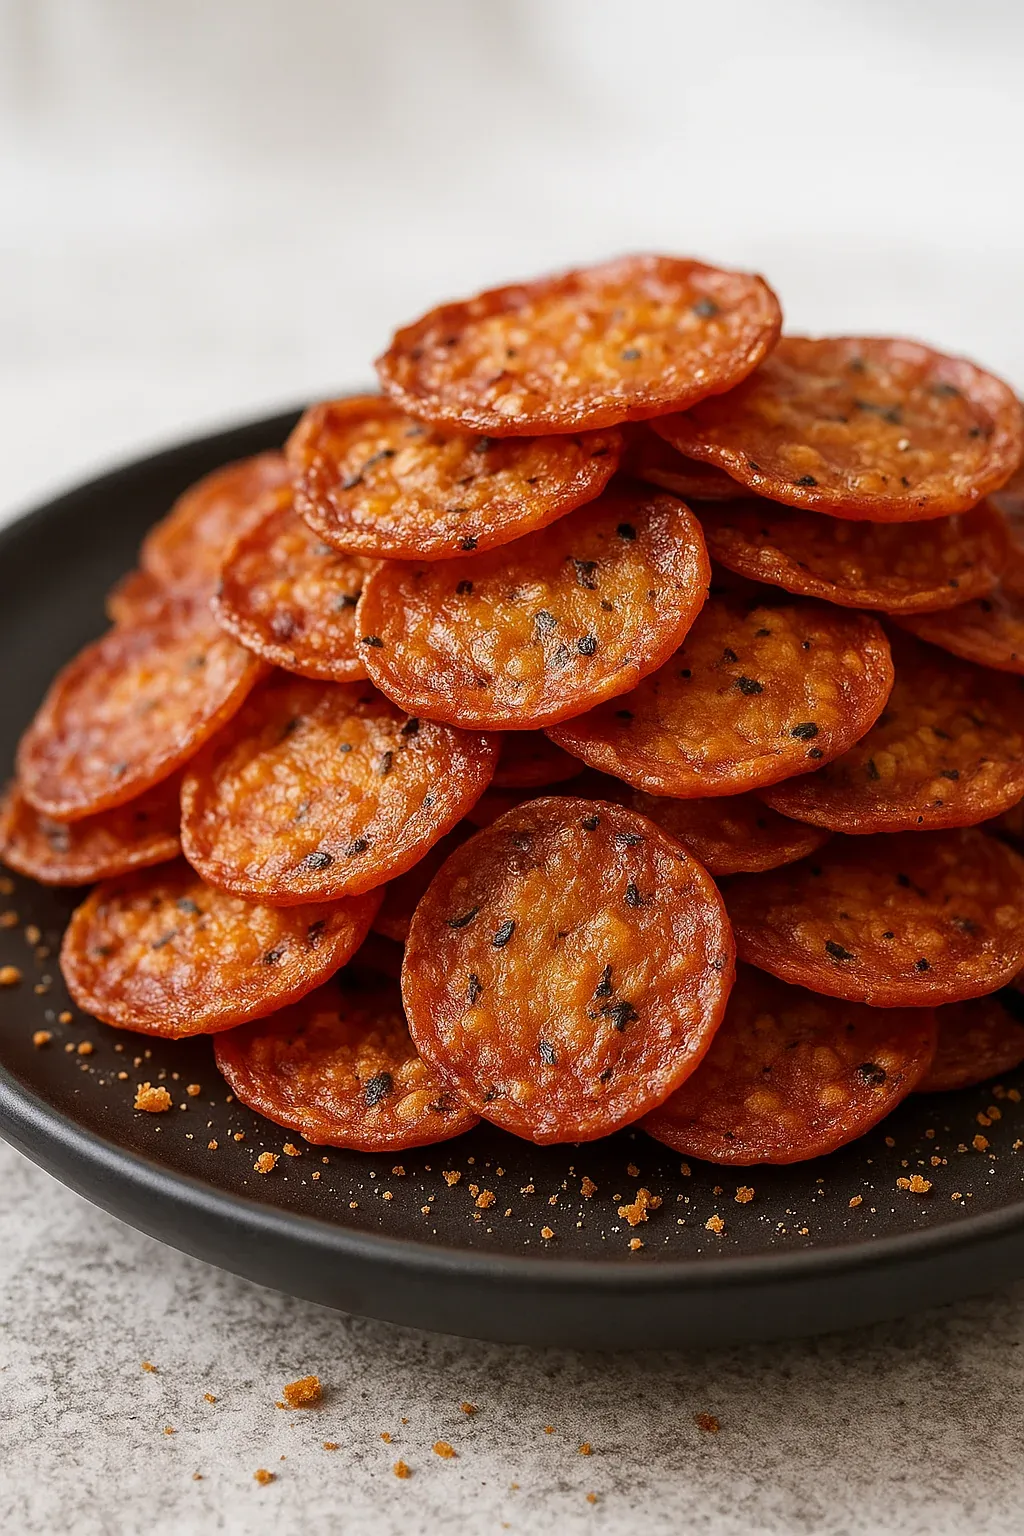
This hearty pepperoni cheese crisp recipe has become my ultimate low-carb snack solution when hunger strikes between meals. The magic happens when these simple ingredients transform in the oven, creating irresistibly crunchy bites that satisfy those savory cravings without derailing your nutrition goals.
I first discovered this recipe during a particularly strict keto phase when I was desperately searching for something crunchy that wouldn't break my carb budget. Now these crisps have become a weekly staple in my household, appearing at everything from movie nights to fancy dinner parties.
Ingredients
- Cheddar cheese: Sharp and rich, providing that classic savory flavor that makes these crisps addictive. Look for freshly grated rather than pre-shredded for better melting.
- Mozzarella cheese: Creates those perfect crispy edges with delightful cheese pulls. Use low-moisture mozzarella for the best texture.
- Pepperoni slices: Form the foundation of each crisp with their savory spiced flavor. Select thicker cut pepperoni for a more substantial bite.
Step-by-Step Instructions
- Preheat Your Oven:
- Heat your oven to 375°F which provides the perfect temperature to crisp the pepperoni and melt the cheese without burning. Allow at least 10 minutes for proper preheating to ensure even cooking.
- Prepare Your Muffin Tin:
- Place a single pepperoni slice into each cup of a standard muffin tin. The slight curve of the tin helps the pepperoni form a perfect cup shape as it bakes, creating an ideal vessel for the cheese.
- Add The Cheese Layer:
- Combine both cheeses in a small bowl, then sprinkle approximately one tablespoon of the mixture over each pepperoni slice. Press down gently but avoid pushing the cheese all the way to the edges to prevent it from sticking to the pan.
- Bake To Perfection:
- Place the muffin tin in the center of your preheated oven and bake for approximately 8 minutes. Watch carefully during the final minutes as they can go from perfectly golden to overdone quite quickly.
- Cooling Period:
- Remove from the oven and let the crisps rest in the pan for about 5 minutes. This cooling phase is crucial as it allows the cheese to set properly, ensuring your crisps maintain their structure and crispiness.
 Pin it
The pepperoni is truly the star ingredient here. I discovered through much experimentation that the quality makes all the difference. Once I splurged on some artisanal pepperoni from my local Italian deli, and the depth of flavor was absolutely remarkable. My husband actually thought I had added special seasonings when really it was just better quality meat.
Storage Solutions
These pepperoni cheese crisps maintain their crunch surprisingly well when stored properly. Place them in a paper towel lined airtight container at room temperature for up to three days. The paper towel absorbs any excess oil that might make them soggy. If they do lose some crispness, a quick 2 minute reheat in a 350°F oven will restore their texture perfectly. I often make a large batch on Sunday to enjoy throughout the busy week.
Flavor Variations
While the classic version is unbeatable, experimenting with different flavor profiles has yielded some delicious alternatives. Try sprinkling Italian seasoning, garlic powder, or even a tiny pinch of crushed red pepper flakes onto the cheese before baking. For an elevated version, add a small piece of fresh basil on top after baking, or try a different meat base like salami or prosciutto. The possibilities are endless while keeping the carb count impressively low.
Serving Suggestions
These versatile crisps shine in so many situations beyond simple snacking. Crush them slightly and use as crunchy salad toppers instead of croutons. Serve alongside a warm marinara dipping sauce for an Italian inspired appetizer. They make excellent garnishes for creamy soups or can be incorporated into a low carb charcuterie board. My personal favorite is serving them alongside guacamole for a fusion twist that always impresses guests.
 Pin it
The Perfect Keto Party Snack
These crisps have saved countless gatherings where I needed to accommodate various dietary needs. The beauty lies in their universal appeal everyone enjoys them whether following a special diet or not. They provide that satisfying crunch and savory flavor that makes them disappear quickly from any appetizer spread. The simplicity of preparation means you can focus on other aspects of hosting while still providing a homemade touch that store bought snacks lack.
Frequently Asked Questions
- → How do I make these crisps extra crispy?
To make the crisps extra crunchy, bake them for an additional 1-2 minutes. Keep an eye on them to avoid burning.
- → Can I use a different type of cheese?
Yes, you can substitute cheeses like Parmesan, Gouda, or Monterey Jack for different flavors and textures.
- → Are these crisps suitable for gluten-free diets?
Absolutely! These crisps are naturally gluten-free and perfect for low-carb or gluten-free lifestyles.
- → What’s the best way to serve these crisps?
Serve them as a snack, appetizer, or crunchy topping for soups and salads. They’re versatile and delicious for any occasion.
- → Can I make these crisps in advance?
Yes, store the crisps in an airtight container in the fridge for up to 3 days. Reheat briefly to restore their crunch.