
 Pin it
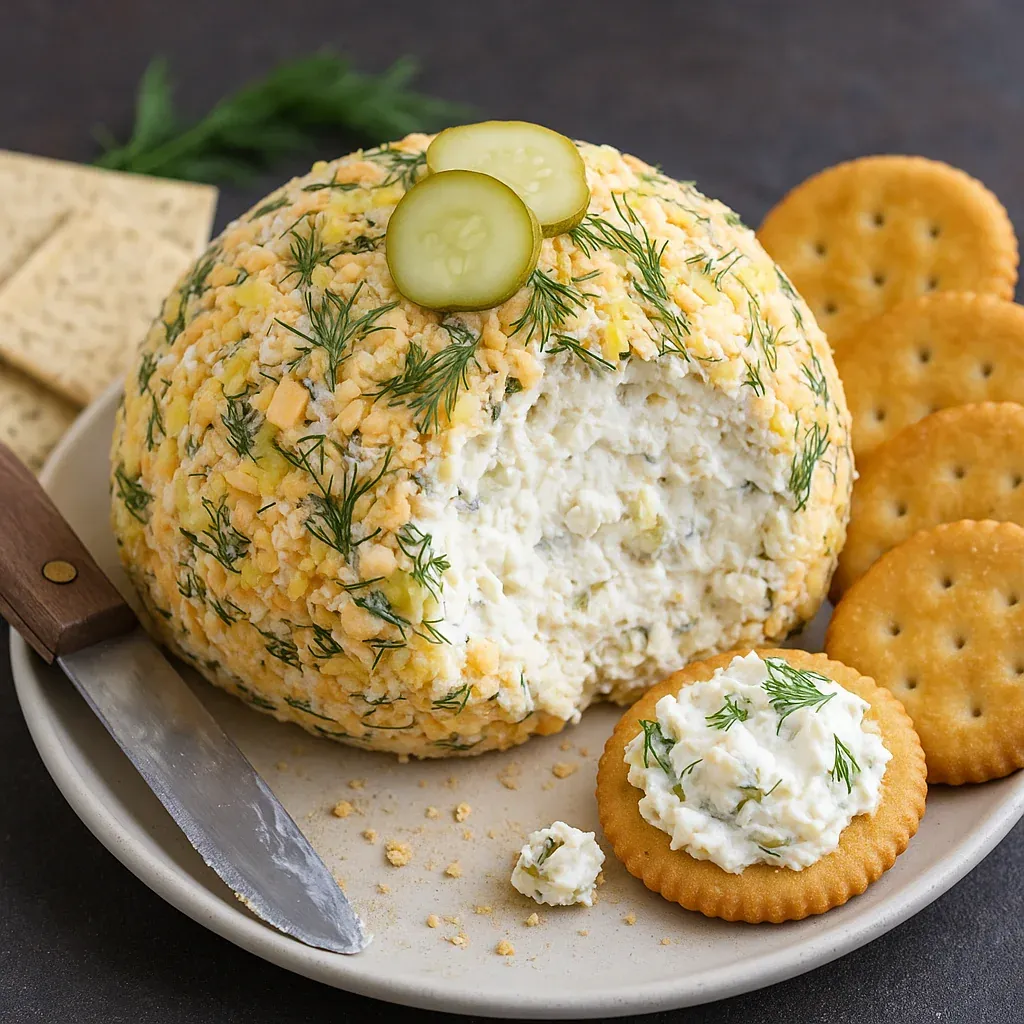
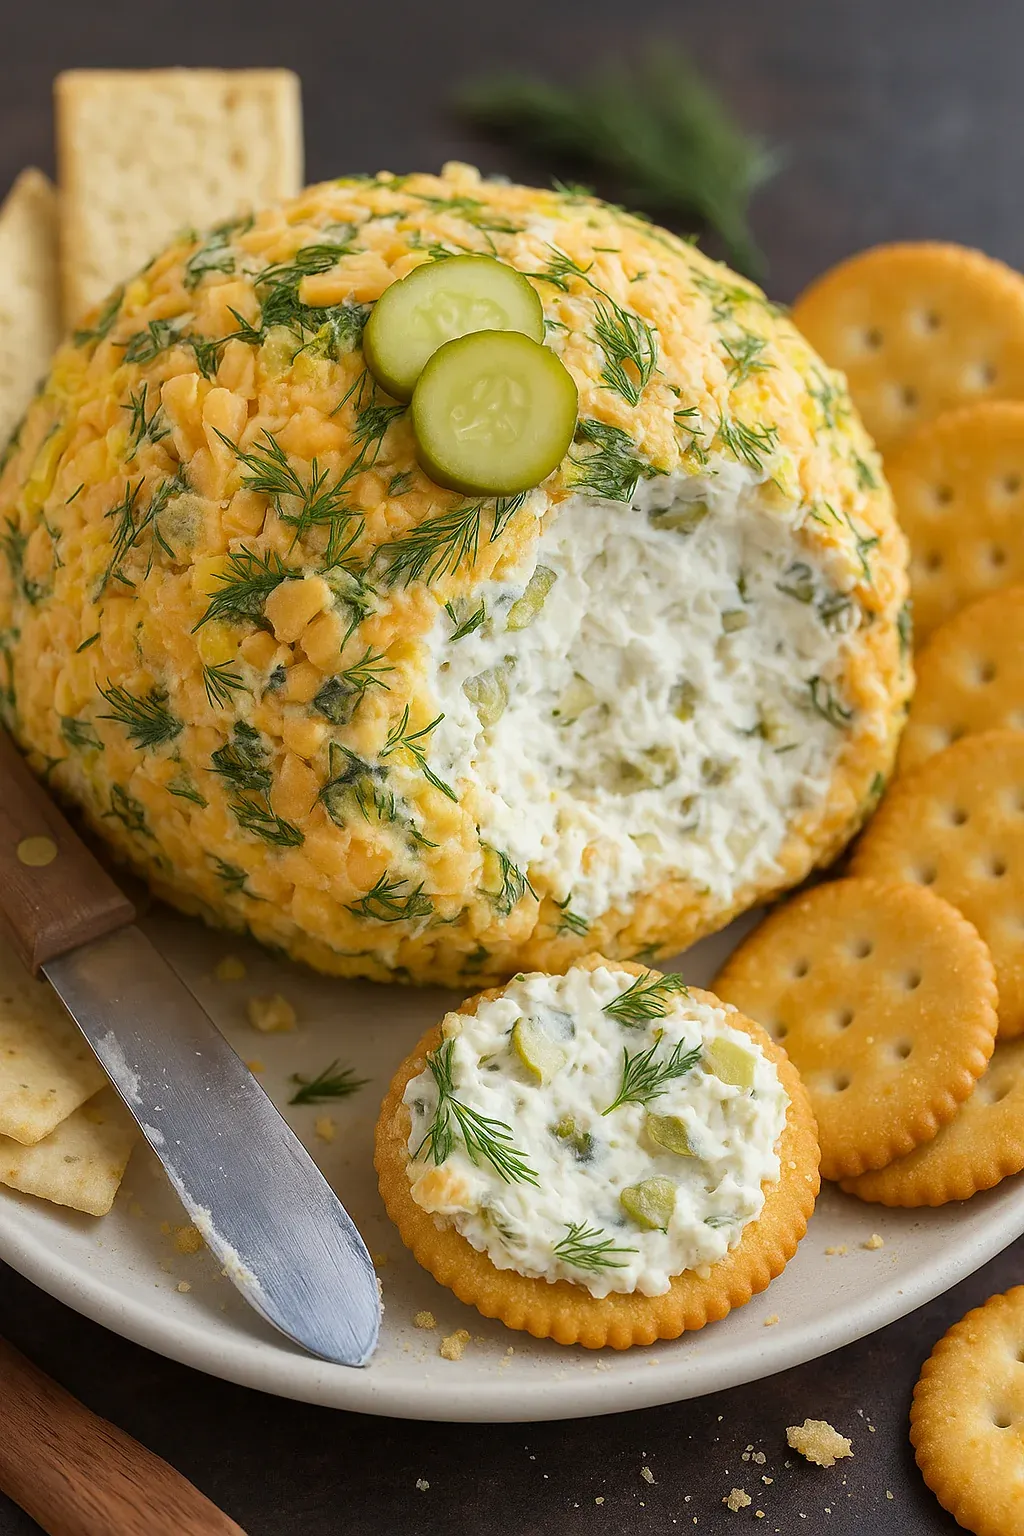
This delicious dill pickle cheese ball transforms traditional pickle dip into an impressive appetizer that's sure to wow your guests. The tangy pickles and creamy cheese create a perfect harmony of flavors that pickle lovers can't resist, making it ideal for any gathering from casual game days to holiday celebrations.
I first made this for a summer backyard barbecue when I needed something to keep guests happy before the main course. It disappeared so quickly that I now make two whenever we entertain!
Ingredients
- 8 ounces cream cheese: softened at room temperature for ultimate creaminess
- 1/4 cup sour cream: adds tanginess and helps create that perfect spreadable texture
- 1/2 teaspoon garlic powder: for subtle depth without overpowering the pickle flavor
- 1 tablespoon fresh lemon juice: brightens all the flavors
- Salt and pepper to taste: start with 1/4 teaspoon of each
- 1 cup shredded sharp cheddar cheese: freshly grated melts better than pre-packaged
- 1/2 cup finely chopped dill pickles: choose firm pickles and drain thoroughly to prevent excess moisture
- 2 tablespoons fresh dill: chopped provides that authentic pickle flavor
For coating
- 1/2 cup additional shredded cheddar cheese
- 2 tablespoons fresh dill: chopped
- 1 teaspoon lemon zest
Step-by-Step Instructions
- Mix the base:
- Combine softened cream cheese, sour cream, garlic powder, lemon juice, salt and pepper in a large bowl. Use an electric mixer on medium speed for 1-2 minutes until the mixture becomes light, fluffy and completely smooth. This creates the perfect creamy foundation for your cheese ball.
- Add the flavor elements:
- Fold in the shredded cheddar cheese, finely chopped dill pickles and fresh dill using a spatula. Mix gently but thoroughly until all ingredients are evenly distributed throughout the cream cheese mixture. The pickles should be well drained to prevent making the mixture too wet.
- Shape the cheese ball:
- Lay two pieces of plastic wrap in a crisscross pattern on your counter. Scoop the entire cheese mixture onto the center where the plastic wrap pieces intersect. Gather the edges of the plastic wrap upward and twist at the top, forming a tight ball shape. The tighter you wrap, the more defined your cheese ball will be.
- Chill thoroughly:
- Place the wrapped cheese ball in the refrigerator for at least two hours or overnight. This resting period allows the flavors to meld together and helps the ball maintain its shape when unwrapped. Patience here is key to a successful presentation.
- Apply the coating:
- Mix the additional shredded cheddar, fresh dill, and lemon zest on a flat plate. Unwrap the chilled cheese ball and gently roll it in the coating mixture, pressing lightly to help the ingredients adhere to the surface. Cover any bare spots by pressing additional coating mixture by hand.
- Serve with style:
- Transfer your finished cheese ball to a serving platter surrounded by an assortment of crackers, crostini, or vegetable sticks. Allow it to sit at room temperature for 15-20 minutes before serving for the best spreadable texture.
 Pin it
The fresh dill in this recipe transforms an ordinary cheese ball into something special. My grandmother always grew dill in her garden, and the aroma of this cheese ball instantly transports me back to summer afternoons helping her harvest herbs. Her secret was always using the freshest dill possible for that authentic pickle flavor.
Storage Tips
This cheese ball keeps beautifully in the refrigerator for up to five days when tightly wrapped in plastic. If you need to make it further in advance, prepare the mixture and freeze it unwrapped for up to one month. Simply thaw overnight in the refrigerator, then add the coating ingredients just before serving. The texture remains creamy and spreadable even after freezing.
 Pin it
Customizing Your Pickle Cheese Ball
While dill pickles create the classic flavor profile, this recipe welcomes creative variations. Try using bread and butter pickles for a sweeter version, or spicy pickles to add heat. You can also experiment with different cheese combinations like pepper jack for spice or smoked gouda for depth. For an extra tangy kick, incorporate a tablespoon of pickle juice directly into the cream cheese mixture. Remember that wetter ingredients may require additional chill time for the perfect consistency.
Serving Suggestions
This versatile cheese ball pairs wonderfully with buttery crackers, pretzel crisps, or thinly sliced baguette. For a lighter option, serve with cucumber rounds or bell pepper slices. At holiday gatherings, I arrange it on a wooden board surrounded by fresh grapes, apple slices, and a variety of crackers for a beautiful presentation. The bright flavors make it especially popular during summer picnics and barbecues, but the festive appearance works equally well for winter holiday parties.
Cultural Context
Cheese balls gained popularity in America during the 1920s as cocktail party favorites, but experienced their heyday in the 1970s when entertaining at home became fashionable. This pickle version offers a modern twist on the classic, appealing to contemporary tastes while maintaining that nostalgic charm. The combination of pickles and cream cheese has deep roots in American cuisine, appearing in countless family cookbooks and community recipe collections across generations.
Frequently Asked Questions
- → How do I make the cheese ball firm?
After forming the cheese ball, wrap it tightly in plastic wrap and refrigerate for at least 2 hours or until it becomes firm.
- → Can I use other types of cheese?
Yes, you can substitute cheddar with any shredded cheese like gouda, Monterey jack, or pepper jack for a different flavor profile.
- → What can I serve with this cheese ball?
Serve with crackers, sliced vegetables like cucumbers or carrots, or use it as a spread on baguette slices.
- → Can I make this cheese ball ahead of time?
Yes, you can prepare it 1-2 days ahead and keep it refrigerated until ready to serve. Add the toppings just before serving.
- → How can I adjust the flavor?
If you want a zestier flavor, add more lemon juice or garlic powder. For extra tang, include a splash of pickle juice in the mixture.
- → Can I freeze the cheese ball?
It's not recommended to freeze the cheese ball as the texture of the cream cheese can change. It’s best served fresh.