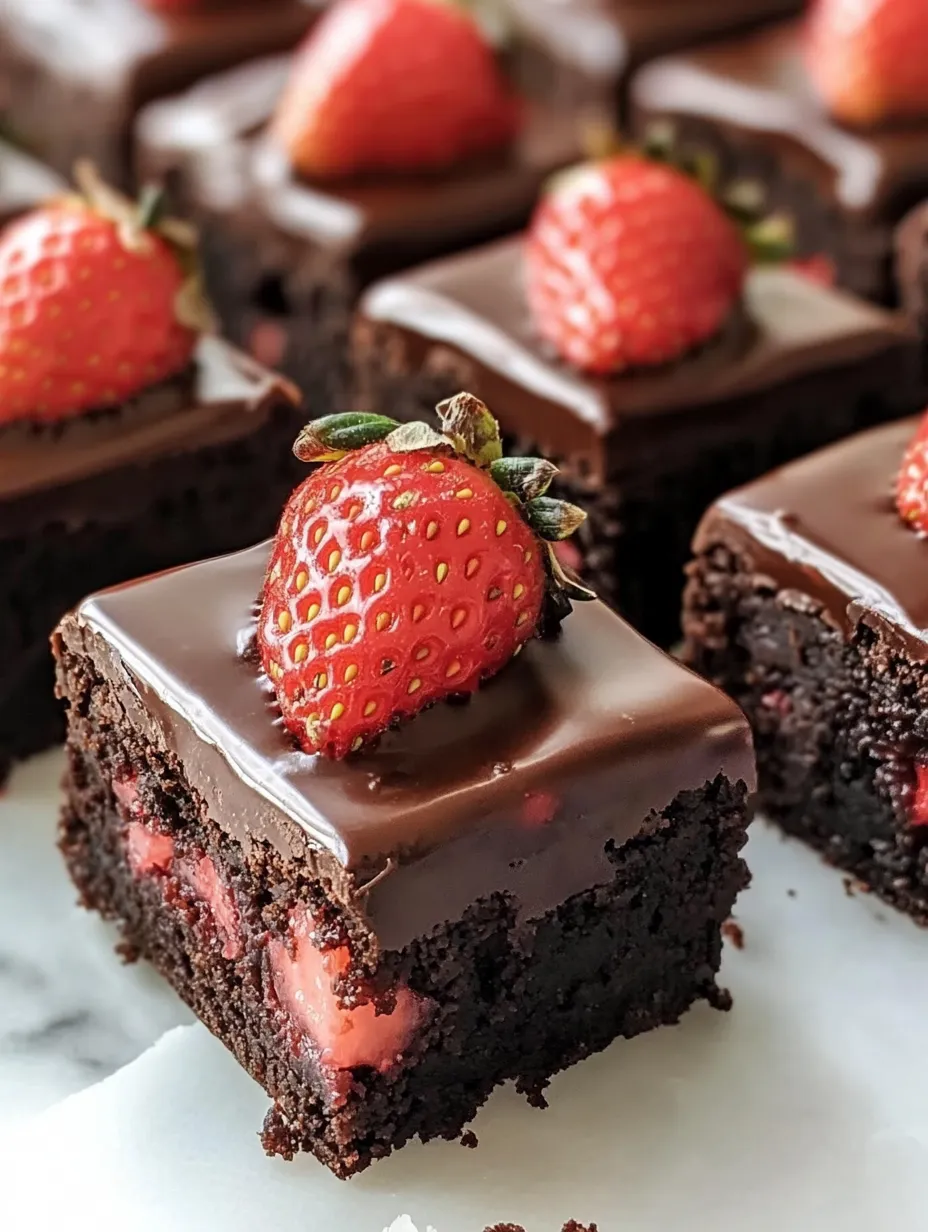
These chocolate covered strawberry brownies transform two beloved treats into one spectacular dessert. Starting with a base of rich, fudgy brownies, the dessert is topped with fresh strawberry halves and finished with a pour of silky chocolate ganache. The combination creates a perfect harmony of textures - from the dense brownie base to the fresh fruit and smooth chocolate topping. While simple to make using a boxed brownie mix, the addition of fresh strawberries and homemade ganache elevates this to an impressive dessert. Best enjoyed within a day when the strawberries are freshest, it's perfect for special occasions or whenever you want to combine chocolate-covered strawberries with brownies.
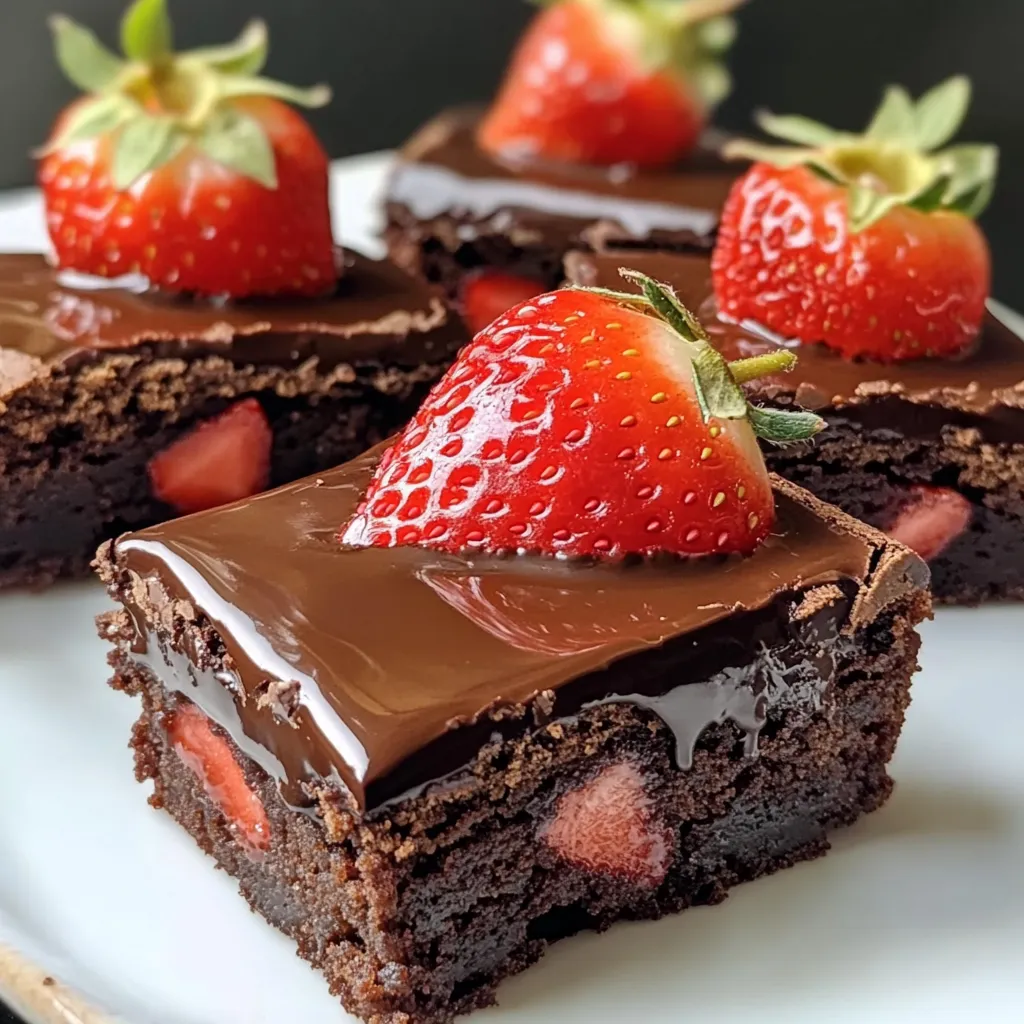
When classic fudgy brownies meet fresh strawberries and silky chocolate ganache, something magical happens. Each bite offers layers of chocolate decadence perfectly balanced by the bright sweetness of fresh berries. In my kitchen, this recipe has become my go-to when I want to transform simple brownies into something truly spectacular.
Last Valentine's Day, I brought these to a dinner party, and the host asked if they came from a high-end bakery. The secret? Taking time to arrange the strawberries in a beautiful pattern and ensuring the ganache is the perfect temperature for that glossy finish.
Essential Ingredients and Selection Tips
Brownie Mix: Choose a fudgy variety for the best base
Strawberries: Select uniform size, ripe but firm berries
Chocolate: Use quality chips or chopped bars for ganache
Heavy Cream: Full-fat creates the smoothest ganache
Optional Mix-ins: Consider adding chocolate chips to brownies
Garnish: Extra berries for serving
Detailed Instructions
1. The Perfect Setup
Begin with the brownie base - whether using a mix or homemade, ensure your 8x8 pan is well-lined with parchment paper, leaving overhang for easy removal. Having everything ready before you start ensures smooth assembly once the brownies are cooled.
2. The Brownie Foundation
Prepare and bake your brownies according to directions, but pull them from the oven when a few moist crumbs still cling to a toothpick - they'll continue cooking slightly as they cool. This ensures the perfect fudgy base. Let them cool completely - rushing this step will melt your ganache later.
3. The Berry Arrangement
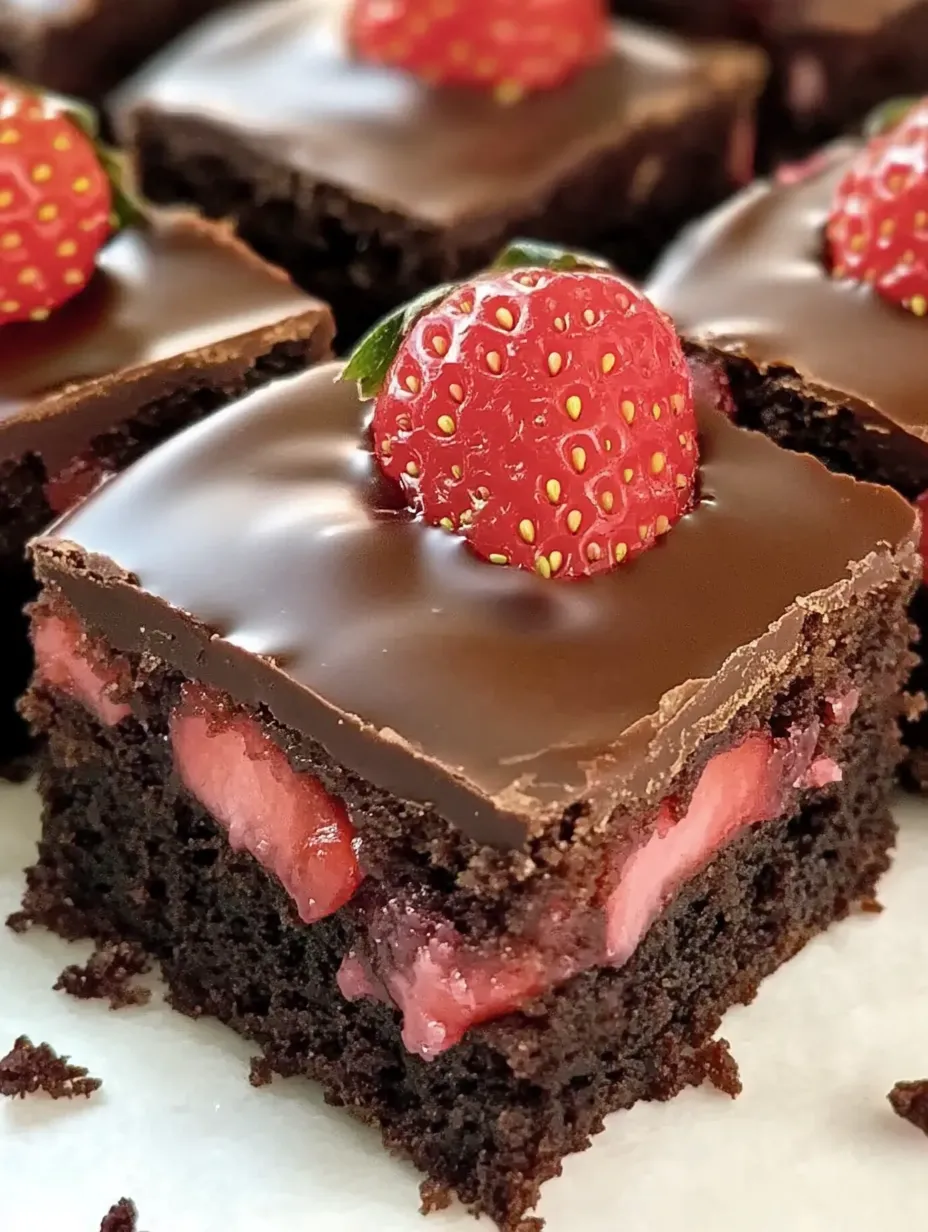
While brownies cool, prep your strawberries. After washing and drying thoroughly, cut them uniformly - this isn't just for looks, it ensures even chocolate coverage. Arrange them in neat rows, cut side down, thinking about how you'll cut the squares later.
4. The Ganache Creation
Heat your cream just until you see tiny bubbles around the edges - not boiling. Pour over your chopped chocolate and let it sit untouched for 3 minutes. This patience is crucial for the smoothest ganache. Stir from the center outward until perfectly smooth and glossy.
5. The Final Assembly
Pour your slightly cooled ganache over the arranged berries in a smooth, even layer. Work quickly but carefully to ensure every berry is coated. Give the pan a gentle tap on the counter to settle the ganache and eliminate any air pockets.
Score cutting lines before ganache sets completely
Use uniform-sized berries for best presentation
Consider a mix of chocolates for complex flavor
Bring to room temperature before serving
Storage Success
While these brownies are best enjoyed within 24 hours, they can be stored in the refrigerator for up to 2 days. The strawberries will continue to release moisture, so consider this when planning ahead. For best results, bring to room temperature for 20 minutes before serving.
Pin itDelicious Chocolate Covered Strawberry Brownies | cookingkeys.com
Seasonal Variations
Through countless batches, I've discovered wonderful adaptations throughout the year. During peak berry season, I mix in some raspberries for variety. In winter, I'll add a touch of peppermint extract to the ganache for holiday flair. Sometimes I'll sprinkle crushed freeze-dried strawberries on top for extra color and intensity.
Presentation Excellence
The art of serving these brownies lies in the details. For parties, I cut them into perfect squares and place each on a small doily. A light dusting of cocoa powder on the plate and a fresh berry garnish elevates the presentation. For gifting, I package them in sturdy boxes lined with parchment paper, adding a ribbon and care instructions for storage.
Temperature and Timing Mastery
Success with these brownies comes down to understanding temperature at every stage. The brownies must be completely cool, the strawberries at room temperature, and the ganache just warm enough to pour smoothly but not so hot it melts the brownies or slides off the berries. I've learned that allowing 15 minutes for the ganache to begin setting before refrigerating creates the smoothest, most beautiful finish.
Pin itSweet Chocolate Covered Strawberry Brownies | cookingkeys.com
Troubleshooting Common Issues
If ganache is too thick: Add warm cream gradually
If berries are sliding: Pat them extra dry and press gently into brownies
If ganache isn't setting: Refrigerate longer
If brownies are hard to cut: Warm knife under hot water between slices
Final Thoughts
These chocolate covered strawberry brownies represent the perfect marriage of sophistication and comfort. They prove that with attention to detail, even simple ingredients can create something extraordinary.
Frequently Asked Questions
→ Can I use other berries?
Yes, raspberries and blueberries work well as alternatives to strawberries.
→ Why do they need to be eaten within a day?
The strawberries release moisture over time which can make the brownies too wet if stored longer.
→ Can I make the ganache without a microwave?
Yes, you can heat the cream and pour it over chocolate chips in a bowl, then stir until smooth.
→ Can I use homemade brownies?
Absolutely! Any brownie recipe for an 8x8 pan will work as the base.
→ How do I know when the ganache is ready?
The ganache is ready when it becomes smooth, dark, and glossy while stirring.
Chocolate Covered Strawberry Brownies
Fudgy brownies topped with fresh strawberries and silky chocolate ganache - combining two favorite desserts in one!

 Pin it
 Pin it
 Pin it
 Pin it