
 Pin it
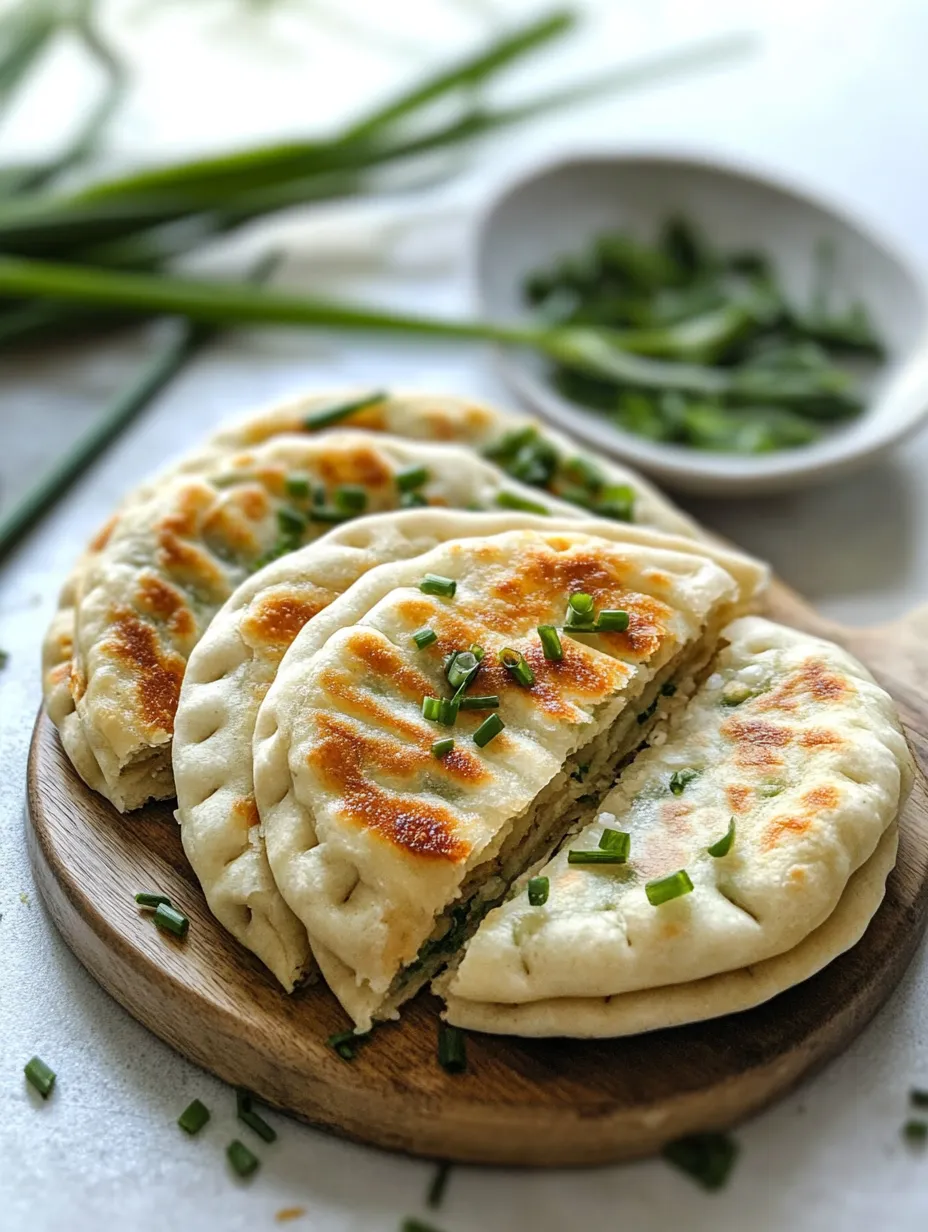
These Chinese Chive Pockets transform simple ingredients into a comforting, flavorful snack that brings authentic Asian street food flavors right to your kitchen. The delicate balance of fresh chives, silky scrambled eggs, and rich oyster sauce wrapped in a perfectly crispy homemade dough creates an irresistible combination. Each bite delivers a satisfying contrast of textures - from the crispy golden exterior to the soft, savory filling within. While traditional recipes often include more complex ingredients, this simplified version maintains the essence of the classic while making it accessible for home cooks.
During my culinary journey through Asia, I learned this recipe from a street vendor in Beijing. She showed me how the simplest ingredients, when treated with care and proper technique, can create something extraordinary. Now, whenever I make these pockets, the aroma takes me back to those bustling street markets.
Essential Ingredients Selection
- Plain flour: Forms the foundation - use unbleached all-purpose flour for the best texture and elasticity in your dough
- Fresh chives: Should be bright green and crisp; avoid wilted or yellowing ones for optimal flavor
- High-quality eggs: Create a silkier filling; farm-fresh eggs with vibrant yolks enhance both taste and appearance
- Oyster sauce: Choose authentic brands for the deepest umami flavor
My grandmother always insisted on hand-chopping chives by hand rather than using a food processor, saying it preserves their natural oils and prevents them from becoming watery. Years later, I discovered she was right - hand-chopped chives release more aromatics into the filling.
Detailed Cooking Instructions
- Step 1:
- Start with the dough: Mix flour, sesame oil, sugar, and salt until combined. Knead for 5-7 minutes until smooth and elastic. The dough should bounce back when pressed. Let rest covered for 30 minutes while preparing the filling. This resting period allows the gluten to relax, making the dough easier to roll.
- Step 2:
- For perfect scrambled eggs, whisk them thoroughly before cooking. Heat your pan over medium-low heat, add butter until foamy. Pour eggs in and stir gently with a spatula, creating soft curds. Cook until just set but still slightly glossy. Transfer to a bowl and let cool completely.
- Step 3:
- While eggs cool, finely chop fresh chives. Mix cooled eggs with chives and oyster sauce until well combined. The filling should be moist but not wet. If it seems too loose, let it stand for 5 minutes - the chives will absorb excess moisture.
- Step 4:
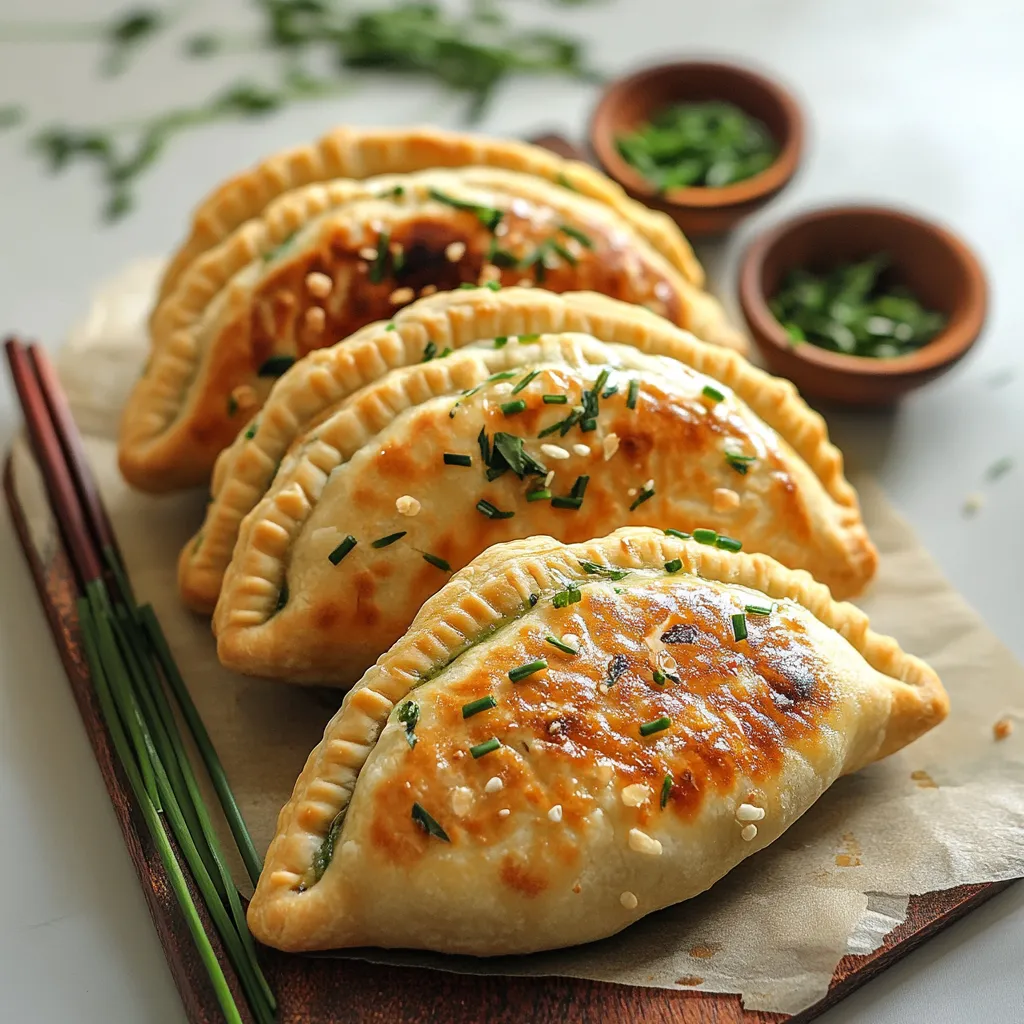
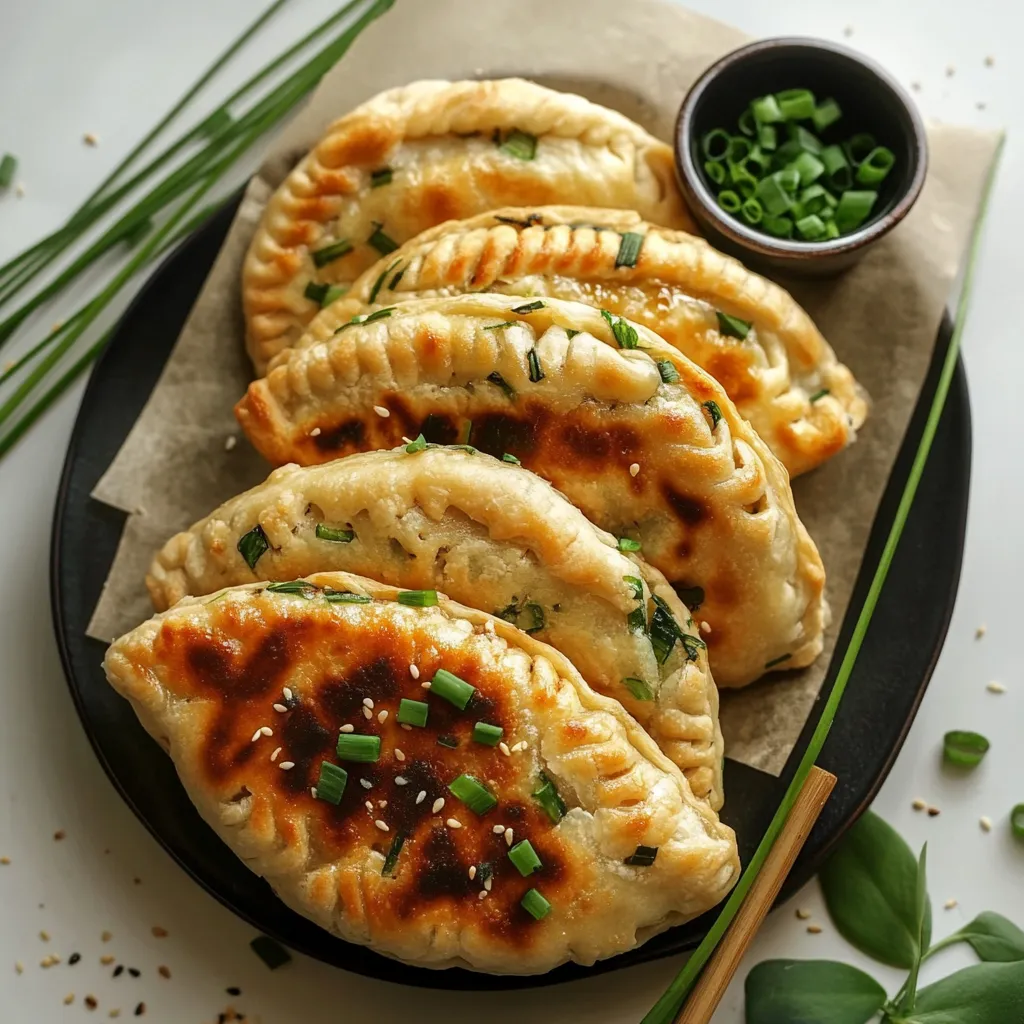
- Divide dough into equal portions. Roll each piece into a thin circle on a lightly floured surface. Place filling in the center, leaving a border. Fold and crimp edges, ensuring they're completely sealed to prevent leaking during cooking.
- Step 5:
- Heat oil in a non-stick pan over medium heat. Place pockets seam-side up and cook covered for 4-5 minutes until golden brown. Flip and cook another 4 minutes. The covered cooking creates steam that ensures even cooking through the layers.
 Pin it
Growing up, my mother taught me to test the dough's readiness by pressing it with my finger - if it springs back immediately, it's perfect. This simple technique has never failed me, and I've passed it on to countless home cooks who've mastered this recipe.
Storage Solutions
These chive pockets maintain their quality remarkably well when stored properly. Place cooled pockets in an airtight container, separating layers with parchment paper to prevent sticking. They'll keep in the refrigerator for up to three days without losing their delightful texture. For longer storage, freeze them on a baking sheet until solid, then transfer to freezer bags where they'll last up to three months. The key is ensuring they're completely cool before storing to prevent condensation.
Serving Suggestions
While these pockets are delicious on their own, they shine when paired with complementary sauces and sides. Serve them with a spicy chili oil for heat, a tangy black vinegar dip for brightness, or my favorite combination - a simple mixture of soy sauce and fresh ginger. For a complete meal, accompany them with a light cucumber salad or some pickled vegetables to cut through the richness.
 Pin it
Troubleshooting Common Issues
If your dough feels too sticky, gradually add small amounts of flour while kneading until it reaches the right consistency. For filling that seems too wet, add more chopped chives to absorb excess moisture. If your pockets burst during cooking, try reducing the filling amount or sealing the edges more firmly. Remember that the first pocket is often a learning experience - adjust heat and timing accordingly.
Make-Ahead Tips
Prepare the dough and filling separately up to 24 hours in advance. Keep the dough wrapped tightly in plastic in the refrigerator, but bring it to room temperature before rolling. The filling can be stored in an airtight container in the fridge. You can also assemble the pockets completely and freeze them uncooked - just add an extra minute or two to the cooking time when preparing from frozen.
Recipe Scaling
When doubling or tripling this recipe, maintain the same proportions but work in batches to ensure even cooking. The dough can be scaled up easily, but avoid overcrowding your work surface when rolling and filling. For large gatherings, set up an assembly line: one person rolling dough, another filling and crimping, and a third managing the cooking process. This system makes quick work of even large batches.
Final Cooking Tips
- Maintain medium-low heat throughout cooking to prevent burning while ensuring the center cooks
- Test one pocket first to adjust timing for your stove
- Always serve hot for the best texture contrast
 Pin it
After years of perfecting this recipe in both home and professional kitchens, I've found that patience is key - rushing any step compromises the final result. These pockets have become my signature dish, requested at every family gathering. Whether enjoyed fresh from the pan or reheated later, they never fail to bring smiles to the table.
Frequently Asked Questions
- → Can I use different fillings?
- Yes, but keep filling dry and well-seasoned. Common variations include meat and vegetable combinations.
- → Why is my dough sticky?
- Add flour gradually until workable. Hot water dough should be firm but pliable.
- → Can I freeze these?
- Yes, freeze after forming but before cooking. Cook straight from frozen, adding extra time.
- → How do I prevent burning?
- Use medium-low heat and check frequently. Lid helps cook evenly.
- → What's a good substitute for oyster sauce?
- Soy sauce or hoisin sauce work, though flavor will differ slightly.