
 Pin it
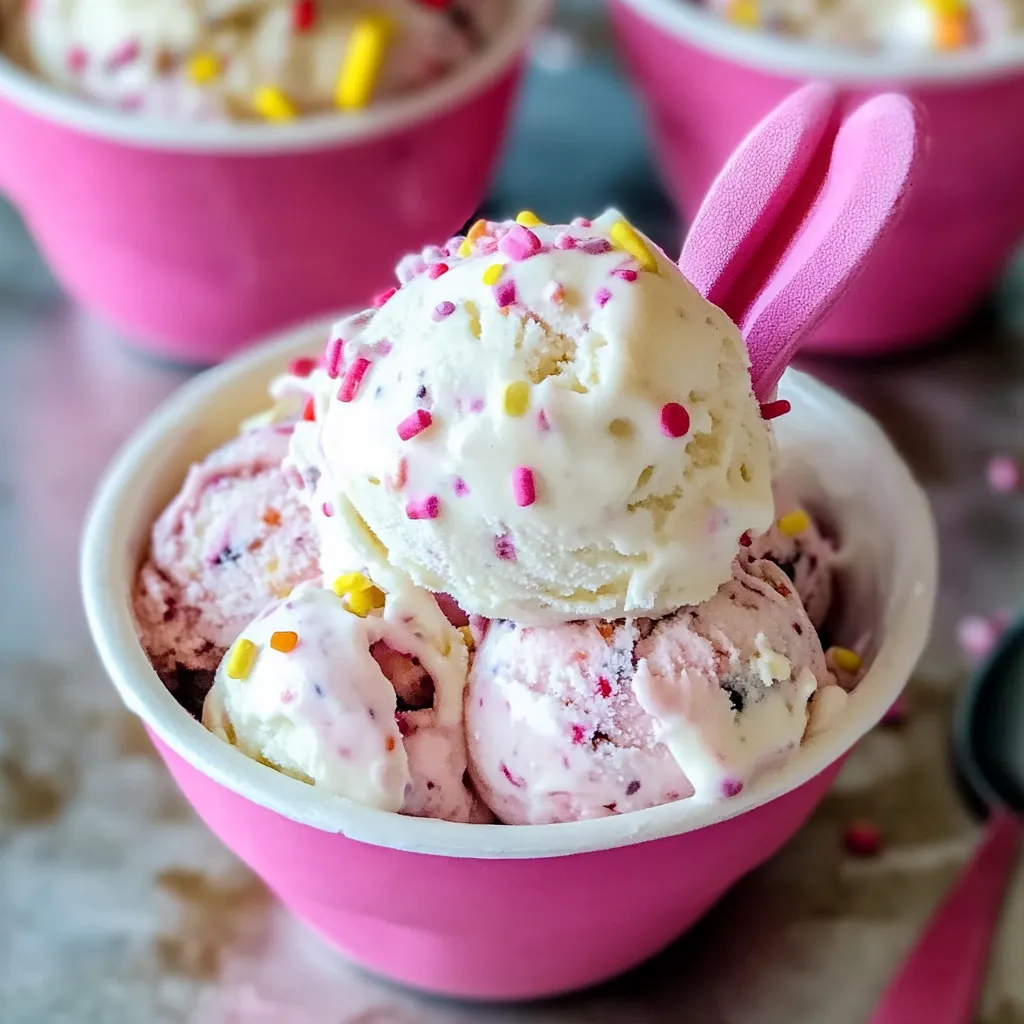
This no-churn Bunny Trail ice cream has become my family's favorite spring treat, combining the ease of a no-churn method with the festive fun of Easter candy and cake pieces. The creamy base reminds me of premium frozen custard but requires just minutes of active preparation.
I first created this recipe during a rainy spring weekend when my kids were disappointed we couldn't have our planned Easter egg hunt. The bright colors and fun mix-ins immediately lifted everyone's spirits, and now they request it all season long.
Ingredients
- Heavy whipping cream: Creates the perfect fluffy base for our no-churn method and gives that luxurious mouthfeel
- Sweetened condensed milk: Provides sweetness and prevents ice crystals from forming ensuring a smooth texture
- Dry Funfetti cake mix: Adds a unique cake batter flavor that elevates this beyond regular ice cream; look for brands with colorful sprinkles already included
- Vanilla extract: Enhances all the other flavors; use pure vanilla for the best results
- Pastel rainbow sprinkles: Provide bursts of color and subtle crunch; choose jimmies rather than nonpareils for the best texture
- Mini chocolate eggs: Create delightful chocolatey pockets throughout; choose good quality chocolate for the best flavor experience
- Funfetti cake pieces: Add another textural dimension; store-bought works perfectly but homemade adds a special touch
 Pin it
Step-by-Step Instructions
- Whip the cream:
- Beat the heavy whipping cream in a large chilled bowl until stiff peaks form. The cream should be very cold from the refrigerator for the quickest whipping. When you lift your beater, the cream should hold its shape firmly without drooping.
- Mix the base:
- In a separate bowl, combine the sweetened condensed milk, vanilla extract, and heat-treated cake mix until completely smooth. The mixture will be thick and sweet. Ensure the cake mix is properly heat-treated to eliminate any food safety concerns.
- Combine carefully:
- Gently fold the whipped cream into the condensed milk mixture using a rubber spatula. Move slowly in a figure-eight motion to maintain the air bubbles in the whipped cream. This process creates the light, fluffy texture without an ice cream machine.
- Add the mix-ins:
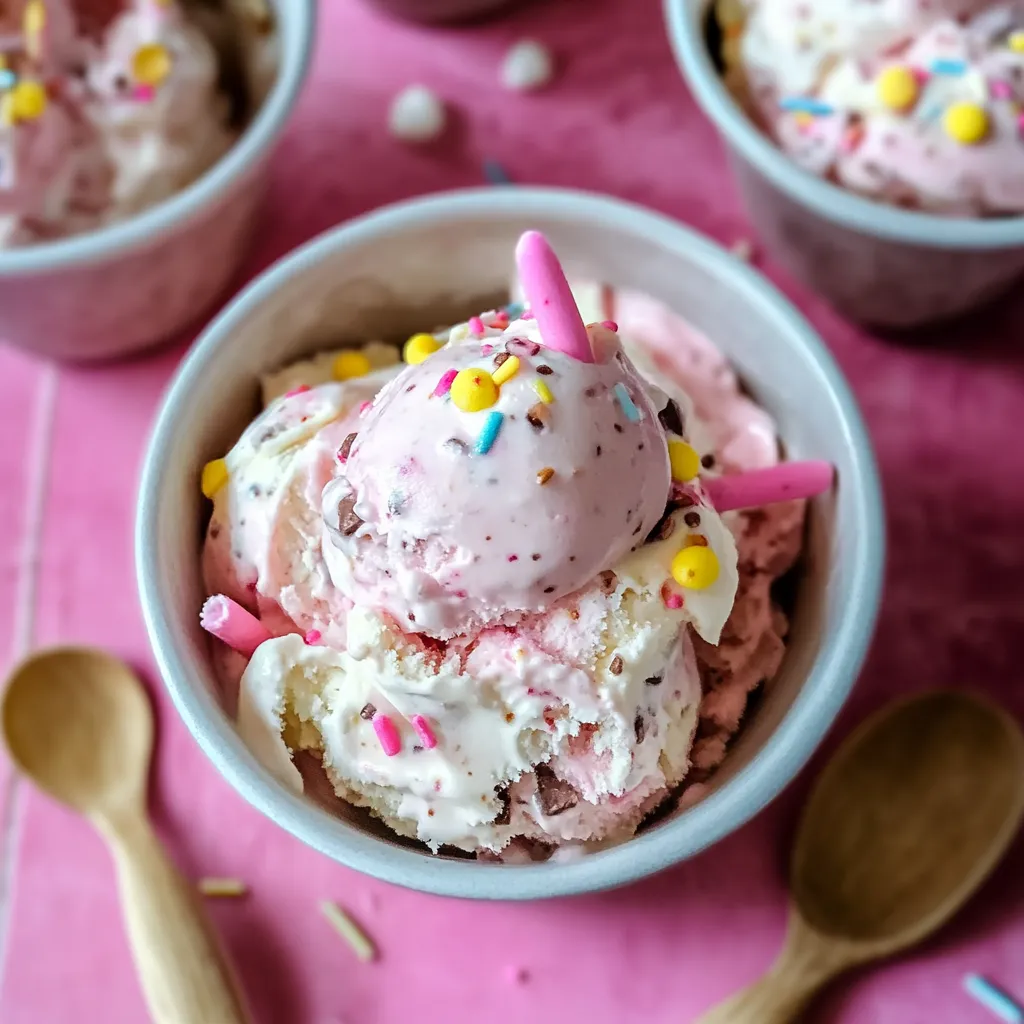
- Distribute the sprinkles, chopped chocolate eggs, and cake pieces throughout the mixture. Fold just enough to incorporate them evenly without deflating the base. This creates the signature "bunny trail" effect with surprises in every bite.
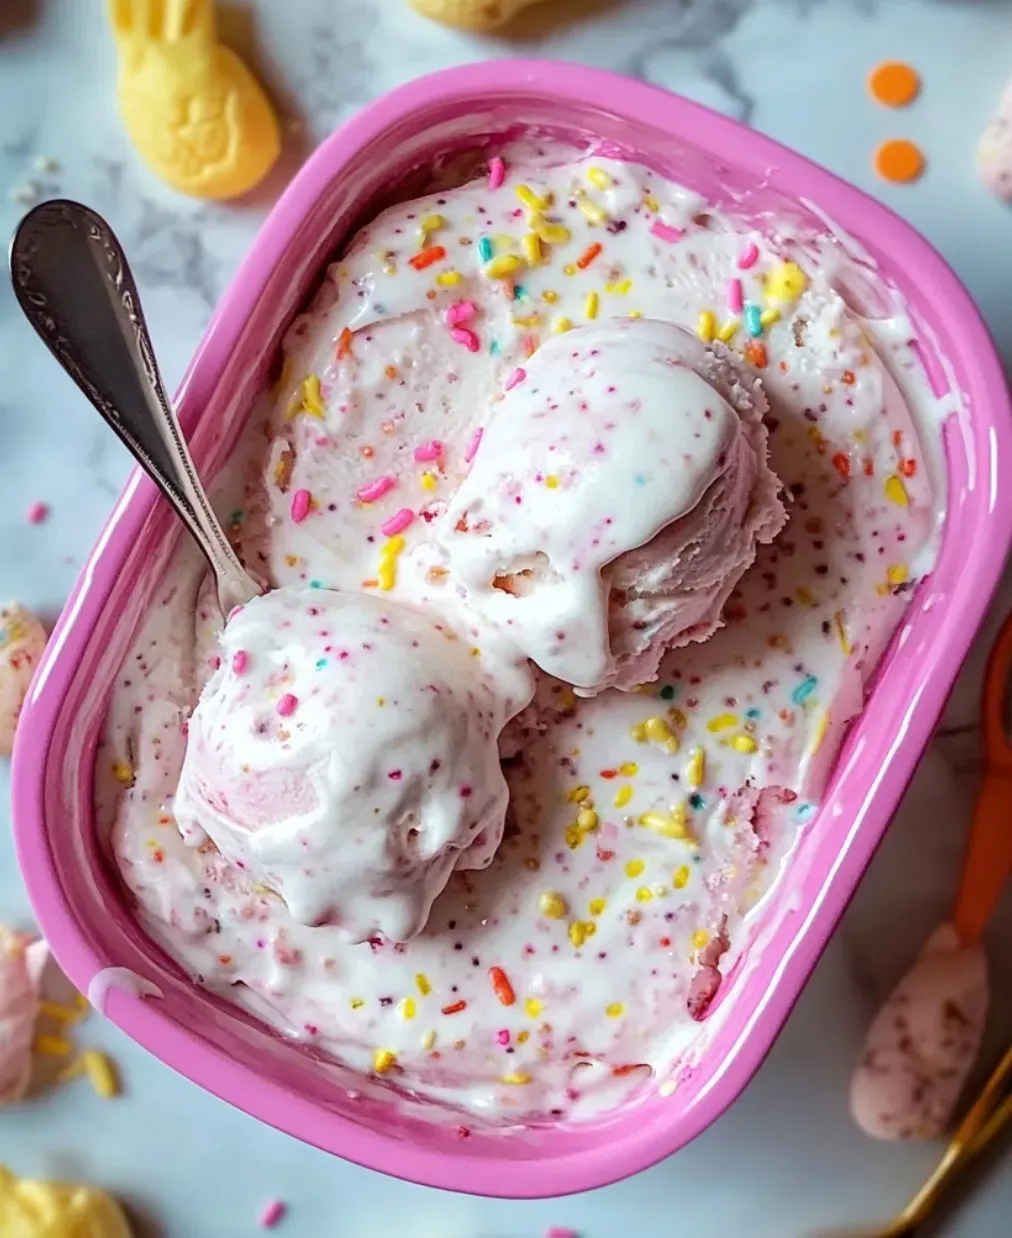
- Freeze properly:
- Transfer the mixture to a loaf pan or freezer-safe container. Cover with plastic wrap touching the surface to prevent ice crystals. Freeze for at least 6 hours, though overnight yields the best consistency.
 Pin it
This recipe reminds me of making ice cream with my grandmother, who taught me that the secret to great homemade ice cream is balancing textures. The mini chocolate eggs are my favorite addition because they develop an almost truffle-like quality when frozen in the creamy base.
Creative Serving Ideas
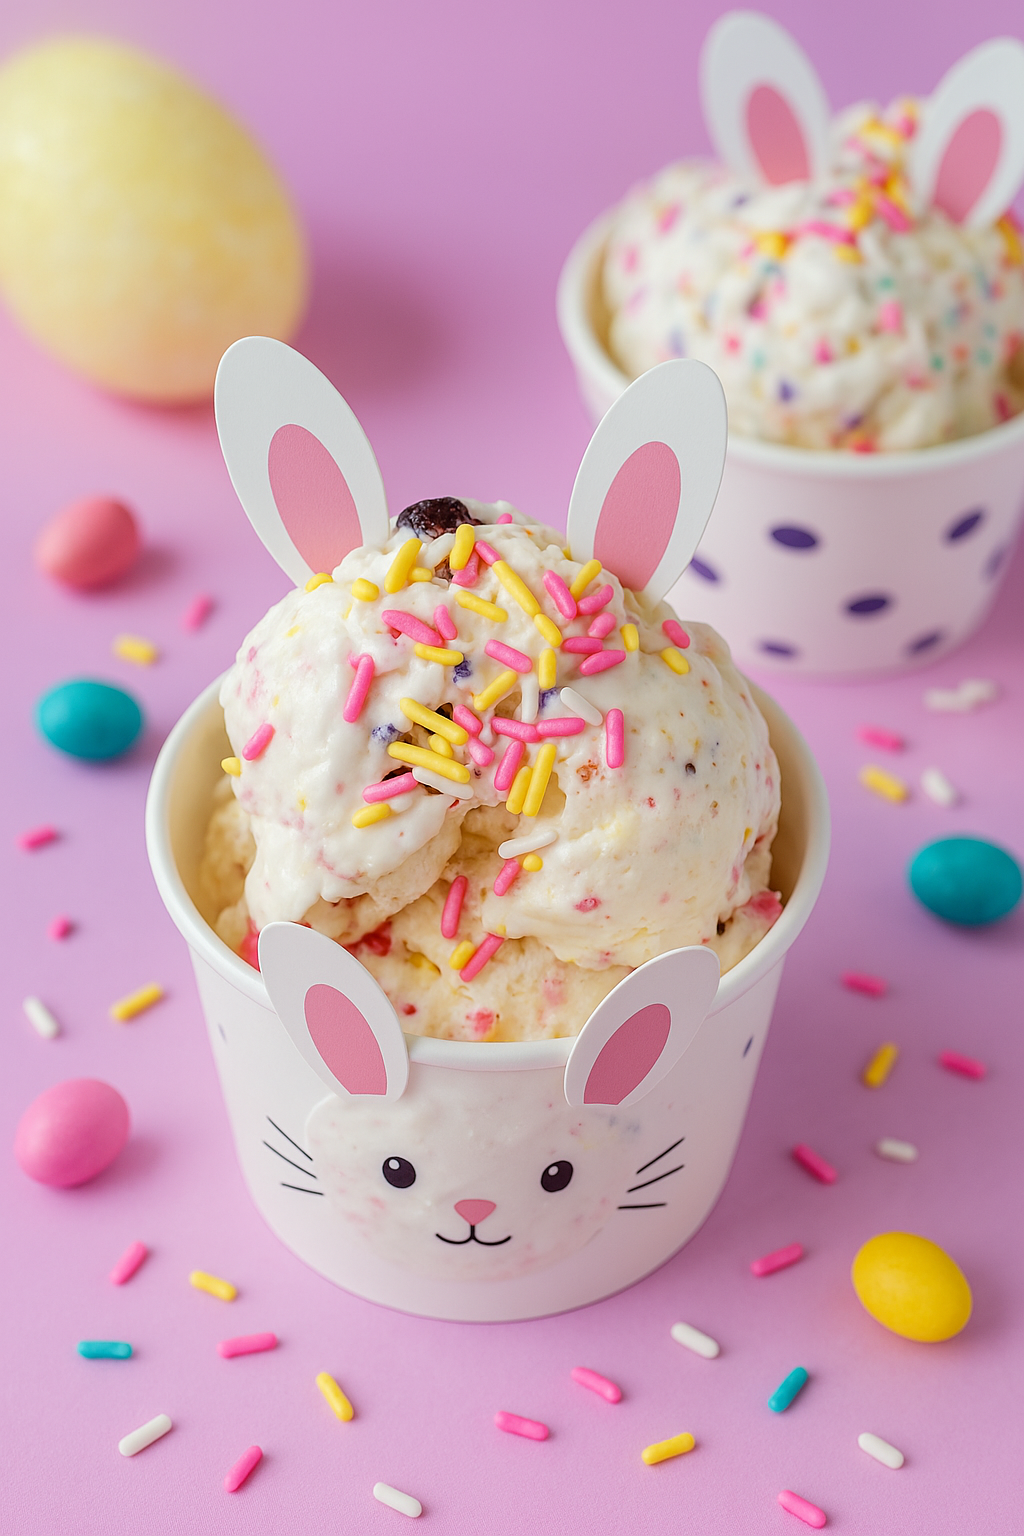
Presentation makes this simple dessert feel extra special. I love serving this in bunny-shaped cups or small Easter baskets lined with colorful tissue paper. For family gatherings, I'll set up a small ice cream bar with additional toppings like hot fudge, caramel sauce, and extra sprinkles.
Flavor Variations
This recipe serves as an excellent base for endless variations. Try swapping the Funfetti cake mix for chocolate cake mix and using chocolate cake pieces instead. For a more sophisticated version, use crushed chocolate-covered espresso beans and coffee-soaked cake pieces with a touch of espresso powder in the base.
 Pin it
Make-Ahead Magic
One of the best things about this recipe is how well it stores. Make it up to a week before your gathering and keep it covered in the freezer. Let it sit at room temperature for about 5 minutes before serving for the perfect scoopable consistency. If making ahead, consider placing it in individual serving containers for an effortless dessert.
Storage Tips
Store your ice cream in an airtight container with a piece of parchment paper pressed directly on the surface to prevent freezer burn. This homemade ice cream is best enjoyed within two weeks, though it rarely lasts that long in my house! For the creamiest texture, store in the back of your freezer where temperatures remain most consistent.
Frequently Asked Questions
- → How do I achieve the custard-like texture?
The custard-like texture comes from beating heavy whipping cream to stiff peaks and folding it gently into the condensed milk mixture.
- → What is the purpose of heat-treating the cake mix?
Heat-treating the cake mix ensures it’s safe to eat by killing off any bacteria in the raw flour.
- → Can I use different mix-ins?
Yes! You can customize with your favorite ingredients like chopped nuts, fruit, or candy pieces.
- → How long does it take to freeze?
Let the mixture freeze for at least 6 hours, or ideally overnight, for the best texture.
- → Can I make this ahead for a party?
Absolutely! Prepare and freeze it a day or two in advance to save time when hosting.
- → What alternative containers can I use for freezing?
A loaf pan or any freezer-safe container works great. Cover it tightly with plastic wrap or a lid.