
 Pin it
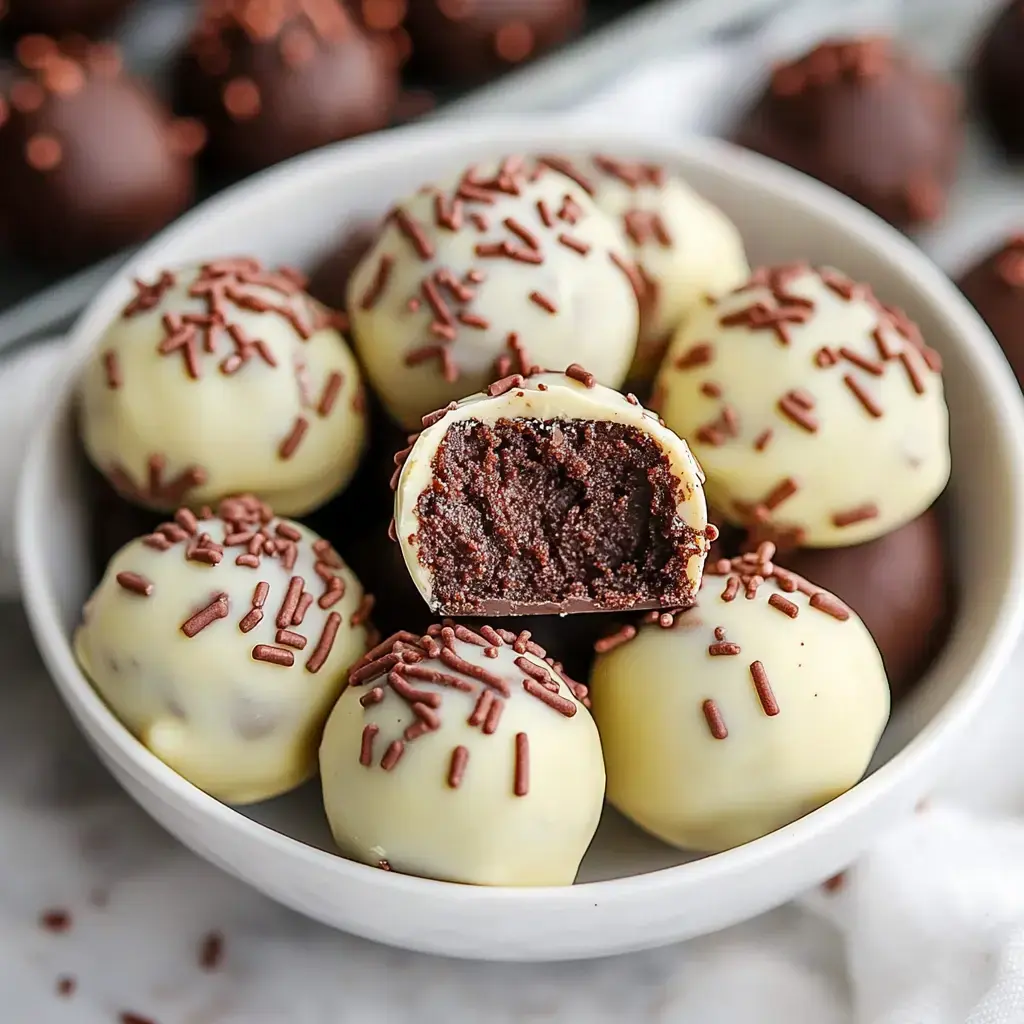
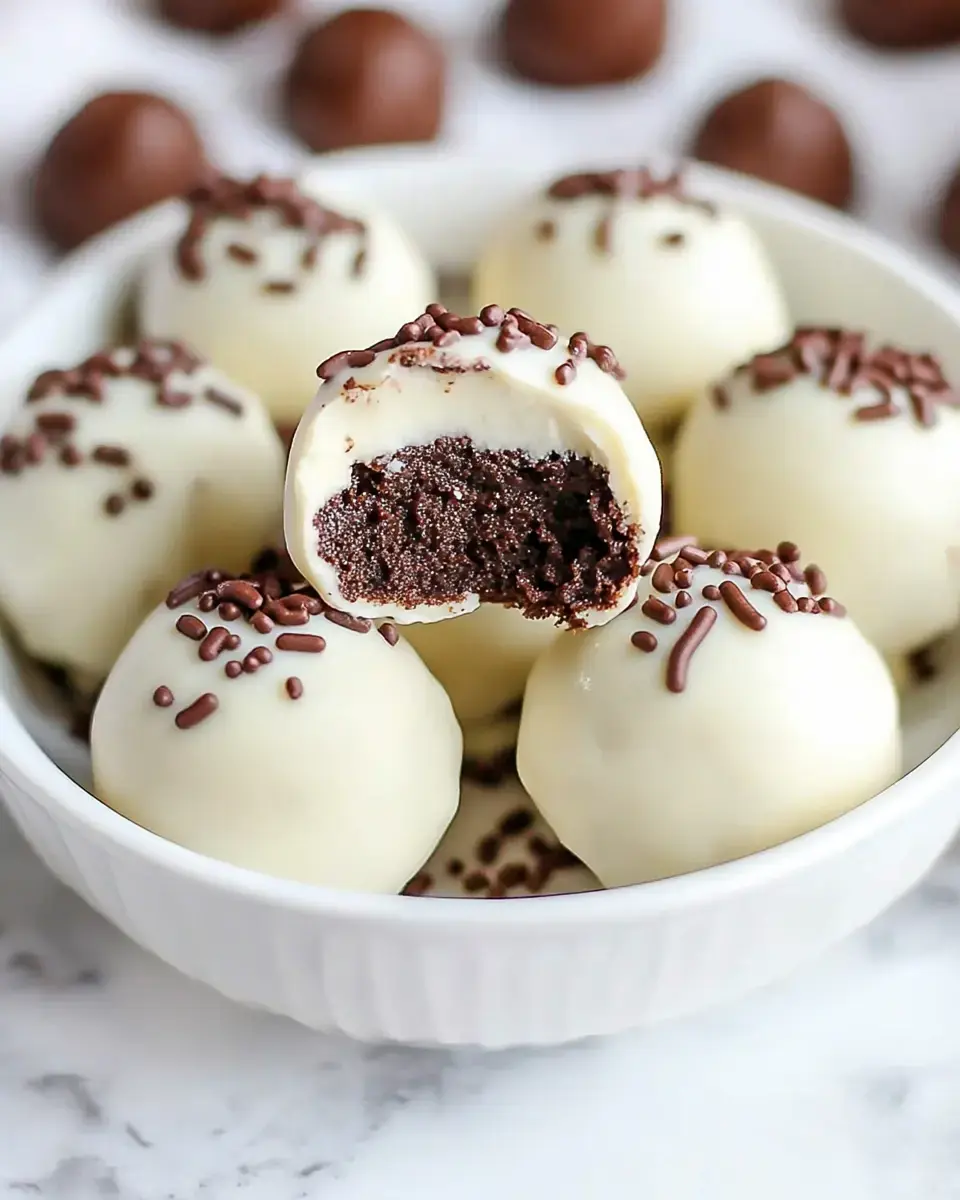
These brownie truffles became my signature holiday gift after discovering the recipe during a late-night baking mishap with some leftover brownies. What started as a way to salvage slightly overbaked edges has evolved into one of my most requested treats. After countless experiments and refinements in my kitchen, I've mastered the perfect balance of textures - a fudgy center wrapped in a delicate chocolate shell that shatters beautifully with each bite. The secret lies not just in the ingredients, but in understanding the precise temperatures and techniques that create that perfect glossy finish.
Understanding Your Ingredients
The foundation starts with brownies that are slightly underbaked - they should be fudgy but not raw. Day-old brownies work perfectly as they're easier to work with. The cream cheese must be at exactly 70°F for proper incorporation - too cold and you'll get lumps, too warm and the mixture becomes difficult to handle. For the coating, premium white chocolate with at least 30% cocoa butter is crucial - avoid candy melts or compounds as they won't give you that satisfying snap and professional shine. The brownies themselves should be room temperature when you start, as cold brownies won't blend smoothly with the cream cheese.
Essential Equipment
- For the Base:
- 2 cups fresh brownie crumbs (specifically center pieces)
- 4 oz cream cheese (full-fat Philadelphia recommended)
- 8 oz premium white chocolate (Callebaut or Valrhona preferred)
- Essential Tools:
- Digital food scale for precise measurements
- Food processor with sharp blade
- Small cookie scoop (1-inch diameter)
- Digital thermometer for chocolate tempering
- Dipping forks or spiral dipping tool
- Heavy-bottomed double boiler
- Silicon mat or parchment paper
- Cooling racks with parchment underneath
- For Decorating:
- Multiple piping bags for designs
- Fine-tipped decorating bottles
- Variety of sprinkles and toppings
- Edible metallic dusts
Mastering the Technique
- Processing the Brownies
- Place brownies in food processor and pulse for exactly 45 seconds. Stop halfway through to scrape down sides ensuring even texture. Continue until you achieve fine, uniform crumbs with no large pieces remaining.
- Adding the Cream Cheese
- Cut cream cheese into small 1-inch cubes. Add cubes gradually three or four at a time while processing. Continue this process until mixture forms a soft cohesive dough that holds its shape when pressed.
- Portioning and Rolling
- Use digital scale to measure exactly 25 grams per truffle for uniform sizing. Keep hands slightly cool by running under water and drying well before rolling each batch. Shape quickly to prevent mixture from warming.
- The Critical Freeze
- Place shaped truffles in freezer for precisely 22 minutes. This specific timing ensures perfect firmness for dipping not too hard not too soft.
- Temperature Control
- Melt chocolate using double boiler method maintaining temperature below 88°F. Stir gently and constantly to ensure even heat distribution never exceeding this crucial temperature point.
Pro Tips and Troubleshooting
If your mixture is too soft, add powdered brownie crumbs one tablespoon at a time until it reaches the right consistency. For perfectly round truffles, roll them twice - once roughly, then freeze, then roll again for the final shape. If white chocolate starts to thicken while dipping, add a few drops of coconut oil - never add regular vegetable oil as it will affect the setting. To prevent feet from forming at the base of your truffles, tap the fork gently on the side of the bowl and make a small scraping motion against the bowl's edge before placing on parchment. For a perfectly smooth finish, maintain your chocolate temperature between 86-88°F throughout the entire dipping process.
 Pin it
Creative Variations
Once you've mastered the basic technique, experiment with different brownie bases - try using mint brownies for an after-dinner truffle, or add espresso powder to the mixture for a mocha variation. Create a cookies-and-cream version by mixing crushed Oreos into the white chocolate coating. For special occasions, brush edible gold or silver dust over the set chocolate for a metallic finish. Try layering different colored chocolates for a striped effect, or marble dark and white chocolate for a sophisticated swirl. During holidays, infuse the cream cheese with peppermint extract and crush candy canes for coating.
Storage and Presentation
These truffles need careful storage to maintain their perfect finish. Store between layers of parchment in airtight containers, never plastic wrap which can cause condensation. Keep at a constant temperature between 65-70°F - too cold and they'll develop condensation, too warm and the coating may soften. For gifting, place each truffle in a miniature paper cup and arrange in beautiful boxes lined with tissue paper. Include a flavor card if you've made multiple varieties. They'll keep perfectly for two weeks if stored properly, though the texture is best within the first five days. Never refrigerate after coating as this can cause sugar bloom on the chocolate.
Frequently Asked Questions
- → Can I use homemade brownies?
Any brownies work great, just make sure they're fudgy not cakey. Skip any hard edges - you want the soft middle parts.
- → Why freeze between steps?
The mixture's too sticky otherwise. Freezing makes it easy to roll into balls and dip in chocolate.
- → My chocolate's too thick?
Heat in short bursts and stir well between each. If it's still thick, add a tiny bit of oil to thin it.
- → How long do they keep?
Keep them in the freezer up to a month. Let them sit out 5 minutes before eating.
- → Can I use different coatings?
Try dark chocolate, colored candy melts, or roll in cocoa powder. Add any sprinkles before coating sets.
Conclusion
Transform boxed brownies into sophisticated truffles using minimal ingredients. This simple yet elegant dessert requires just cream cheese and white chocolate, creating a decadent treat perfect for parties or gifting.