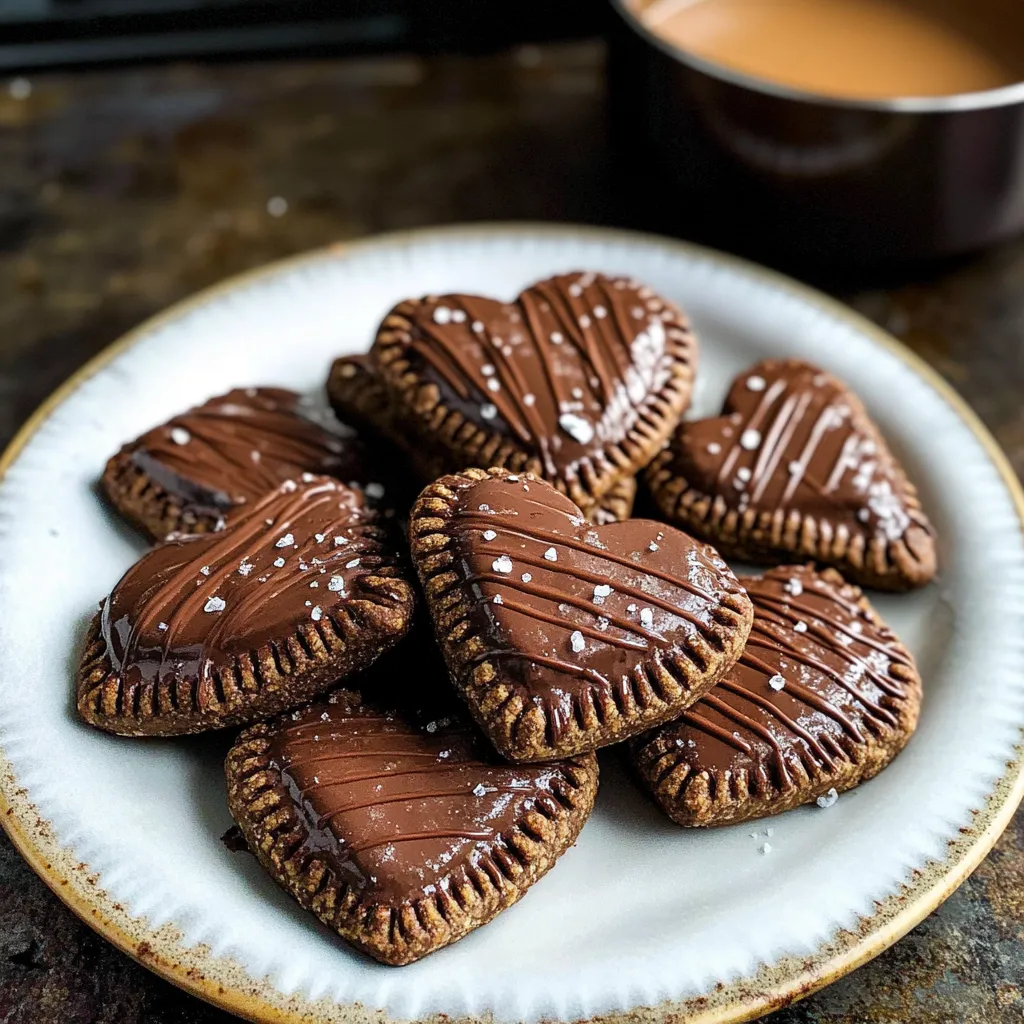
These Valentine's Day chocolate heart hand pies are the ultimate romantic treat! Made with a rich chocolate pastry dough and filled with silky chocolate ganache, they're cut into adorable heart shapes perfect for the occasion. The chocolate pastry is buttery and tender, while the ganache filling stays wonderfully gooey inside. While they take some time to prepare, most steps can be done ahead, making them perfect for planning a special Valentine's surprise. Each hand pie is sealed with care, brushed with egg wash for a beautiful shine, and finished with an optional chocolate drizzle. They're the perfect combination of chocolate on chocolate, ideal for sharing with someone special!
Imagine biting into a warm chocolate hand pie, where flaky chocolate pastry gives way to reveal a rich chocolate ganache center. These heart-shaped treats combine the comfort of homemade pie with the decadence of fine chocolate, creating something truly special. In my kitchen, they've become a Valentine's Day tradition, though they're wonderful enough to make any day feel like a celebration.
Last Valentine's Day, I brought these to my daughter's school party. The look of wonder when the children bit into these chocolate-on-chocolate treats made all the careful rolling and crimping worthwhile. The secret? Taking time to keep everything properly chilled throughout the process.
Essential Ingredients and Selection Tips
Flour: All-purpose flour creates the perfect pastry texture
Cocoa Powder: Dutch-process offers deeper color and flavor
Butter: Must be very cold and cubed for flaky crust
Chocolate: Use high-quality baking bars, never chips
Heavy Cream: Full-fat creates the smoothest ganache
Milk: Keep it ice-cold for the best crust texture
Detailed Instructions
1. The Perfect Pastry Setup
Begin with everything cold - even the flour and cocoa powder can be chilled. Cut your butter into small cubes and return to the refrigerator. Have ice water ready. Success with pastry is all about temperature control. Set up your food processor or gather your pastry cutter if working by hand.
2. The Chocolate Dough Creation
Pulse your dry ingredients to combine, then add the cold butter cubes. Process or cut until the mixture resembles coarse crumbs with some pea-sized butter pieces remaining. These butter pieces create flakiness. Add cold milk gradually, just until the dough comes together.
3. The Chilling Phase
Form dough into a disk, wrap in plastic, and chill for at least 2 hours. This rest period allows the flour to hydrate and the butter to firm up. Meanwhile, prepare your ganache filling - heat cream until just simmering, pour over chopped chocolate, let stand 3 minutes, then stir until smooth.
4. The Assembly Process
Roll chilled dough on a lightly floured surface to 1/8-inch thickness. Cut hearts, working quickly to keep dough cold. Place a spoonful of cooled ganache in the center of half the hearts, leaving a border for sealing. Brush edges with egg wash, top with remaining hearts.
5. The Final Touch
Seal edges firmly with a fork, brush tops with egg wash, and sprinkle with coarse sugar. Chill assembled pies for 15 minutes before baking - this helps maintain their shape. Bake until edges are set and tops are slightly puffed.
Pin itChocolate Hand Pies Recipe | cookingkeys.com
Creative Variations and Flavors
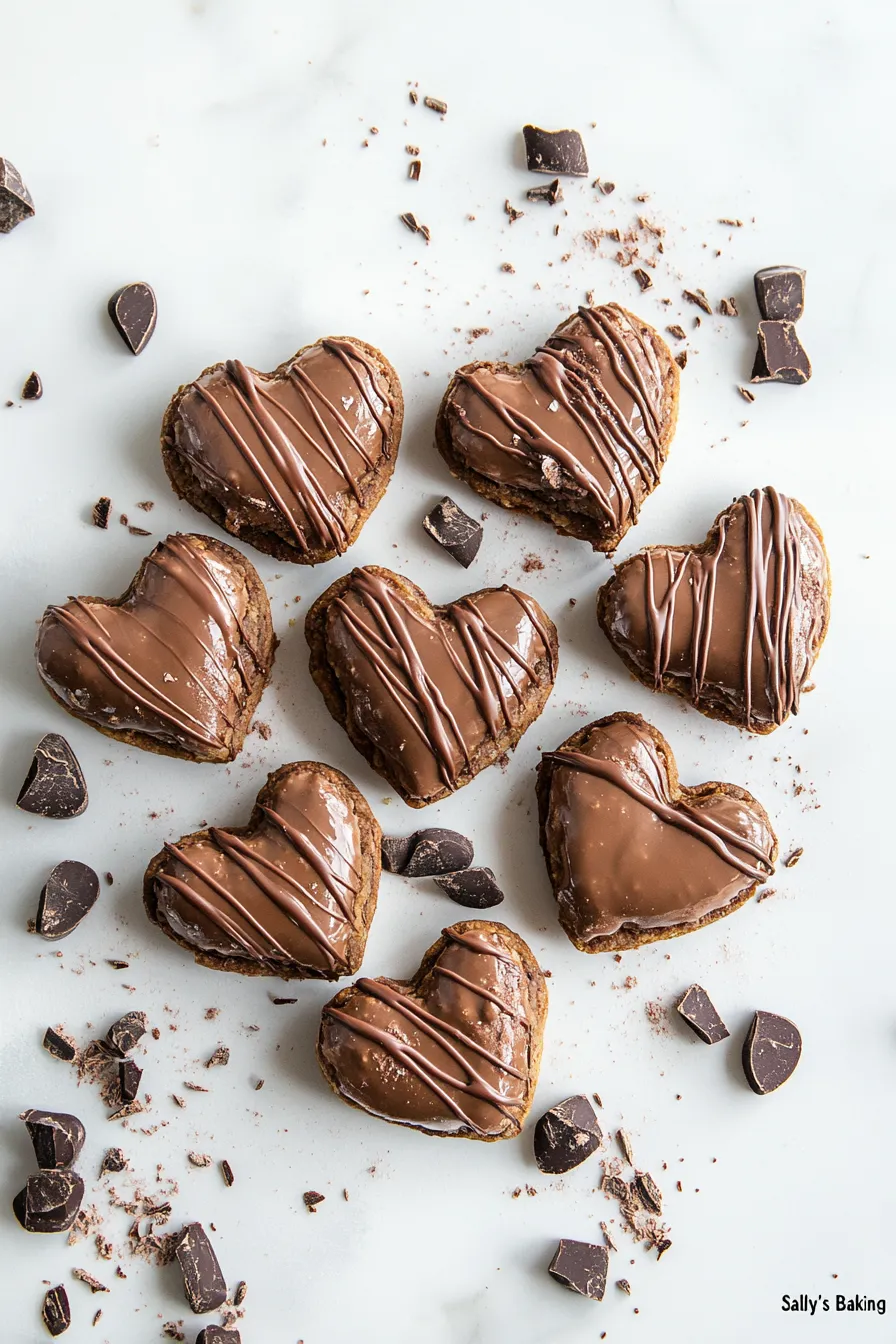
After countless batches of these hand pies, I've discovered exciting ways to vary the filling while maintaining the chocolate crust. Adding crushed raspberries to the ganache creates a chocolate-berry explosion, while stirring in orange zest offers a sophisticated chocolate-orange combination. For coffee lovers, I sometimes add a shot of espresso to the ganache. My most successful variation involves layering thin slices of fresh banana with the chocolate filling - as it bakes, the banana caramelizes slightly, creating an incredible flavor combination.
Pin itDelicious Chocolate Hand Pies | cookingkeys.com
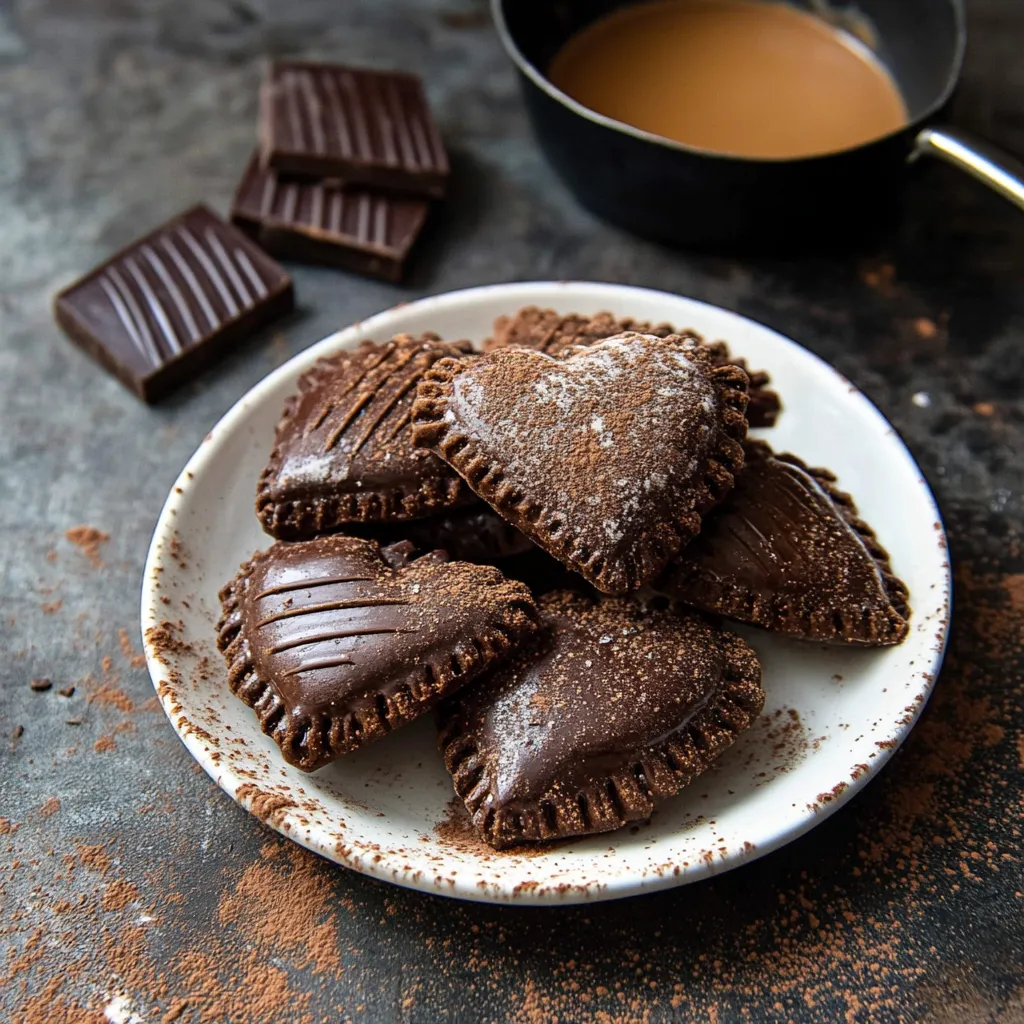
Serving and Presentation Excellence
The art of serving these hand pies extends beyond simply plating them. For dessert parties, I create a display with pies arranged at different heights on a tiered stand, some drizzled with white chocolate, others with dark, creating a stunning visual effect. When serving warm, I often plate them with a scoop of vanilla bean ice cream and a light dusting of cocoa powder. For gifting, I package them in boxes lined with parchment paper, adding a ribbon and handwritten note with reheating instructions.
Advanced Temperature and Texture Mastery
After years of perfecting these pies, I've learned that success lies in understanding the subtle temperature changes throughout the process. I now keep a marble pastry board in the freezer, which helps maintain the perfect dough temperature during rolling. The ganache should be cooled to exactly the consistency of soft peanut butter before filling - I test this by placing a small amount on a chilled plate. For the flakiest crust, I've found that chilling the assembled pies for exactly 15 minutes before baking creates the perfect texture while preventing the filling from leaking.
Chef's Essential Tips
Roll dough between parchment paper to prevent sticking
Chill cut-out shapes before filling if they become too soft
Use a paper template to ensure consistent heart shapes
Make extra ganache for drizzling on top after baking
Keep a ruler handy to check dough thickness
Storage Success
These hand pies keep beautifully at room temperature for 2 days when stored in an airtight container. For longer storage, freeze unfrosted pies for up to 3 months. Reheat frozen pies in a 300°F oven until warm for that fresh-baked taste.
Troubleshooting Common Issues
If dough is cracking: Too cold or needs more moisture
If filling leaks: Overfilled or edges weren't sealed properly
If crust isn't flaky: Butter pieces were too small or dough got too warm
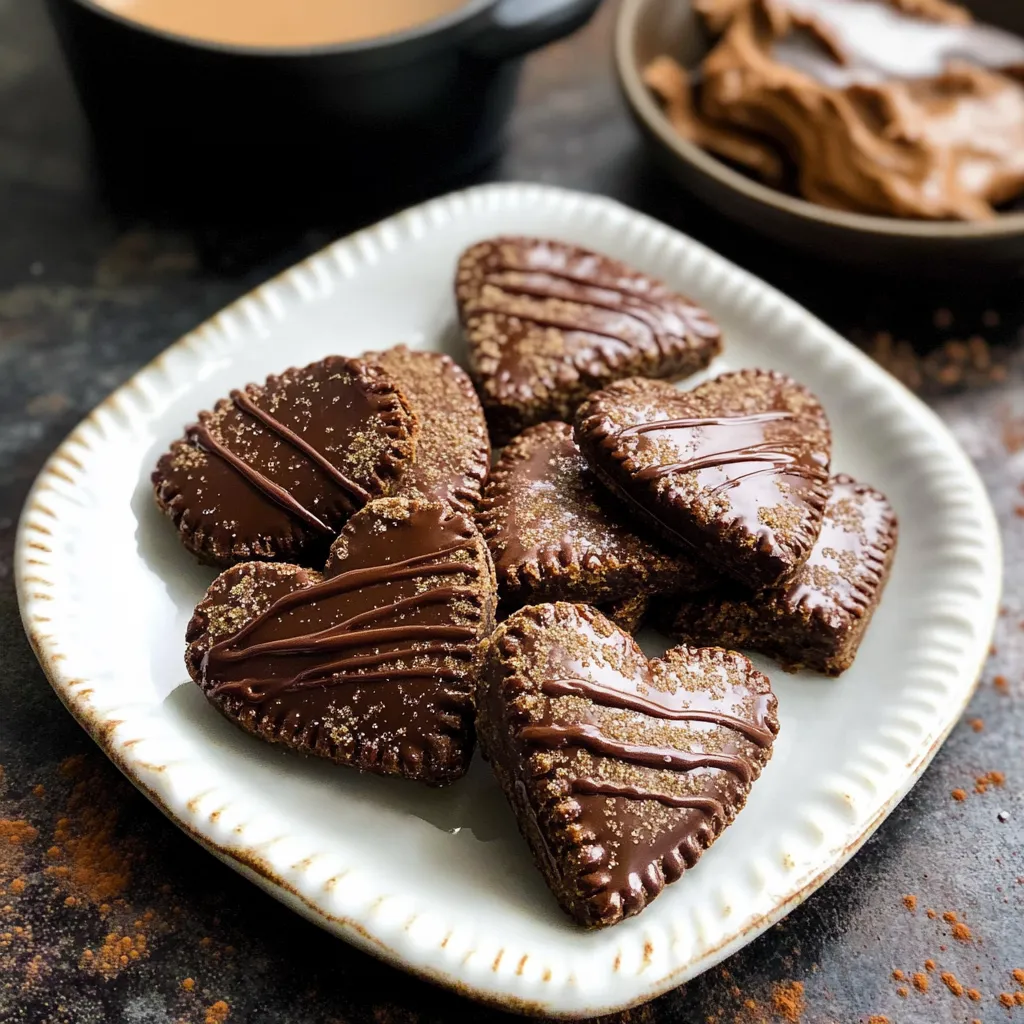
Creating these chocolate hand pies is a labor of love that rewards you with the perfect portable chocolate dessert. Whether shared with someone special or enjoyed alone with a cup of coffee, they prove that good things come in small packages.
Frequently Asked Questions
→ Can I make these hand pies ahead of time?
Yes! The dough can be made up to 5 days ahead and refrigerated, or frozen for 3 months. Assembled pies can be refrigerated for 2 days before baking.
→ What's the best chocolate to use?
Use pure chocolate bars (not chips) like Baker's or Ghirardelli for the best taste and texture in both filling and drizzle.
→ Why must the ingredients be cold?
Cold ingredients are crucial for a flaky pastry. Use ice-cold milk/cream and very cold butter.
→ Can I add peanut butter?
Yes! You can add peanut butter to both the ganache filling and chocolate drizzle for extra flavor.
→ How do I store these hand pies?
Store at room temperature for up to 2 days or in the refrigerator for up to 1 week. They also freeze well for up to 3 months.
Valentine's Day Chocolate Heart Hand Pies
Heart-shaped chocolate pastries filled with rich chocolate ganache. A perfect Valentine's Day treat to share with someone special!
131 egg beaten with 1 tablespoon milk (for egg wash)
142 tablespoons coarse sugar (optional)
Instructions
Step 01
Process flour, cocoa, sugar, salt, and cold butter in food processor until crumbly. Gradually add cold milk until dough forms. Divide, wrap, and chill for 2 hours.
Step 02
Roll dough on floured surface and cut into 3-inch hearts. Refrigerate hearts while preparing filling.
Step 03
Pour hot cream over chopped chocolate, stir until smooth. Add peanut butter if using. Let cool 15 minutes to thicken.
Step 04
Brush heart edges with egg wash, add filling, top with second heart and seal edges with fork. Brush tops with egg wash and sprinkle with sugar if desired.
Step 05
Bake at 400°F for 15-18 minutes until edges are set. Cool 10 minutes.
Step 06
Melt chocolate with oil for drizzle. Add peanut butter if using. Drizzle over cooled pies.
Notes
Use very cold ingredients for flakiest pastry
Pure chocolate bars work better than chocolate chips
Most components can be made ahead
Tools You'll Need
Food processor or pastry cutter
Rolling pin
3-inch heart cookie cutter
Baking sheets
Pastry brush
Allergy Information
Please check ingredients for potential allergens and consult a health professional if in doubt.
Contains dairy (butter, cream)
Contains wheat (flour)
Contains eggs
May contain nuts if using peanut butter
Nutrition Facts (Per Serving)
It is important to consider this information as approximate and not to use it as definitive health advice.

 Pin it
 Pin it
 Pin it
 Pin it