
 Pin it
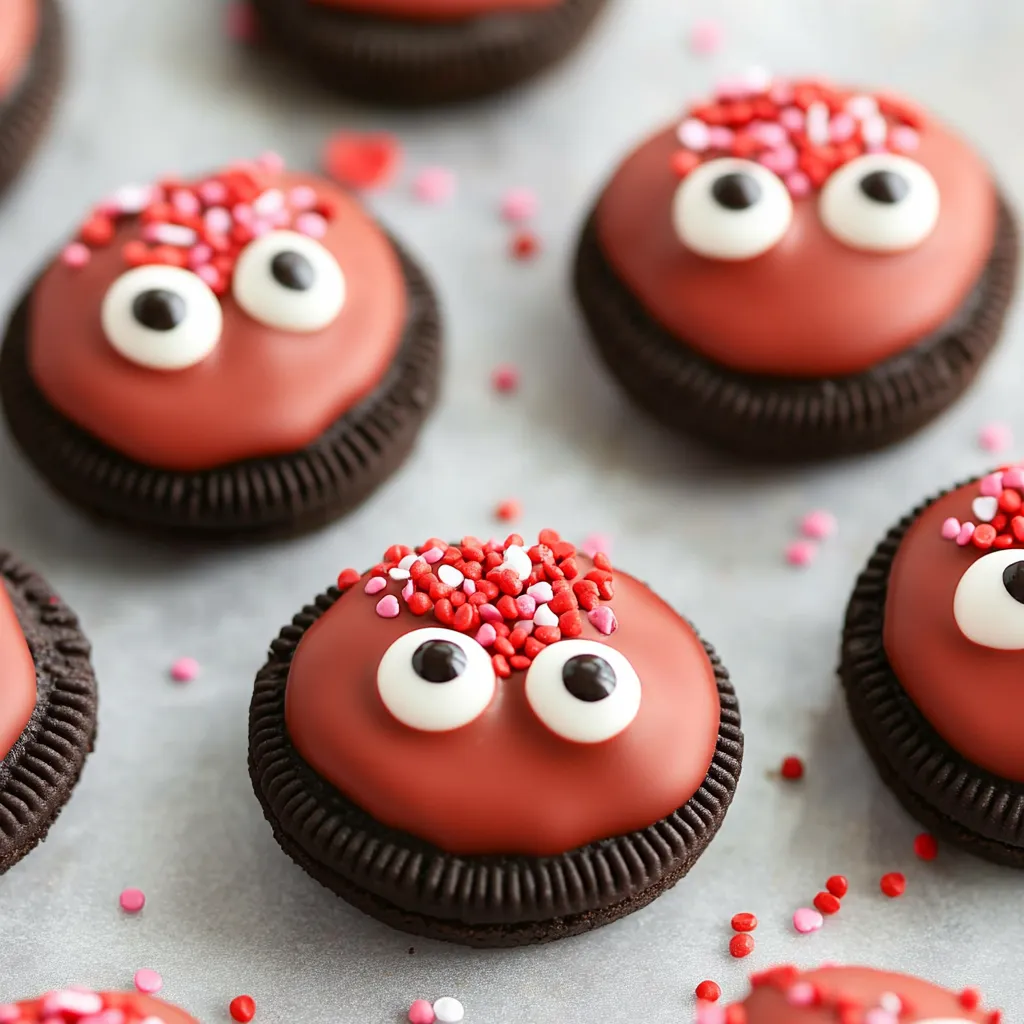
These charming Love Bug Cookies transform simple Oreos into adorable Valentine's treats that are as fun to make as they are to eat. With their shiny chocolate coating and cute decorative faces, these cookies bring smiles to everyone who sees them.
The first time I made these with my nieces, their giggles as they created different "bug expressions" with the candy eyes made the whole kitchen feel magical. Now it's become our annual Valentine's tradition.
Essential Ingredients Selection
- Oreo Cookies: Regular, not Double Stuf, for best dipping
- Chocolate Melts: High-quality wafers ensure smooth coating
- Candy Melts: Choose vibrant red for best visual impact
- Candy Eyes: Various sizes create different expressions
- Sprinkles: Heart shapes work best for the theme
 Pin it
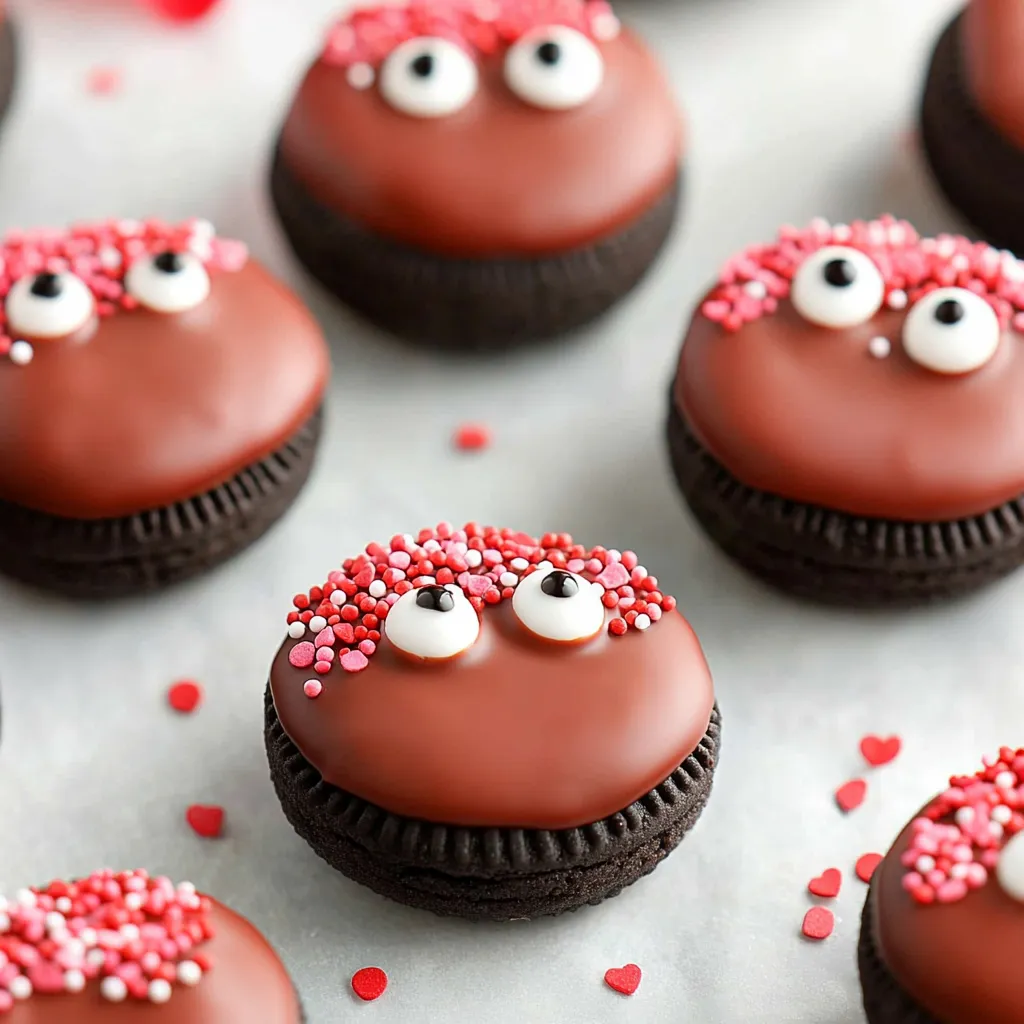
Detailed Instructions
- Mastering the Chocolate Coating
- Keep chocolate at proper temperature
- Tap gently to remove excess
- Use fork tines for smooth finish
- Let each layer set completely
- Creating Perfect Red Hearts
- Dip at slight angle for clean line
- Work quickly with decorations
- Keep red coating warm but not hot
- Add sprinkles immediately
- Adding Character Details
- Position eyes while chocolate is soft
- Create different expressions
- Keep decorations proportional
- Work on cool surface
 Pin it
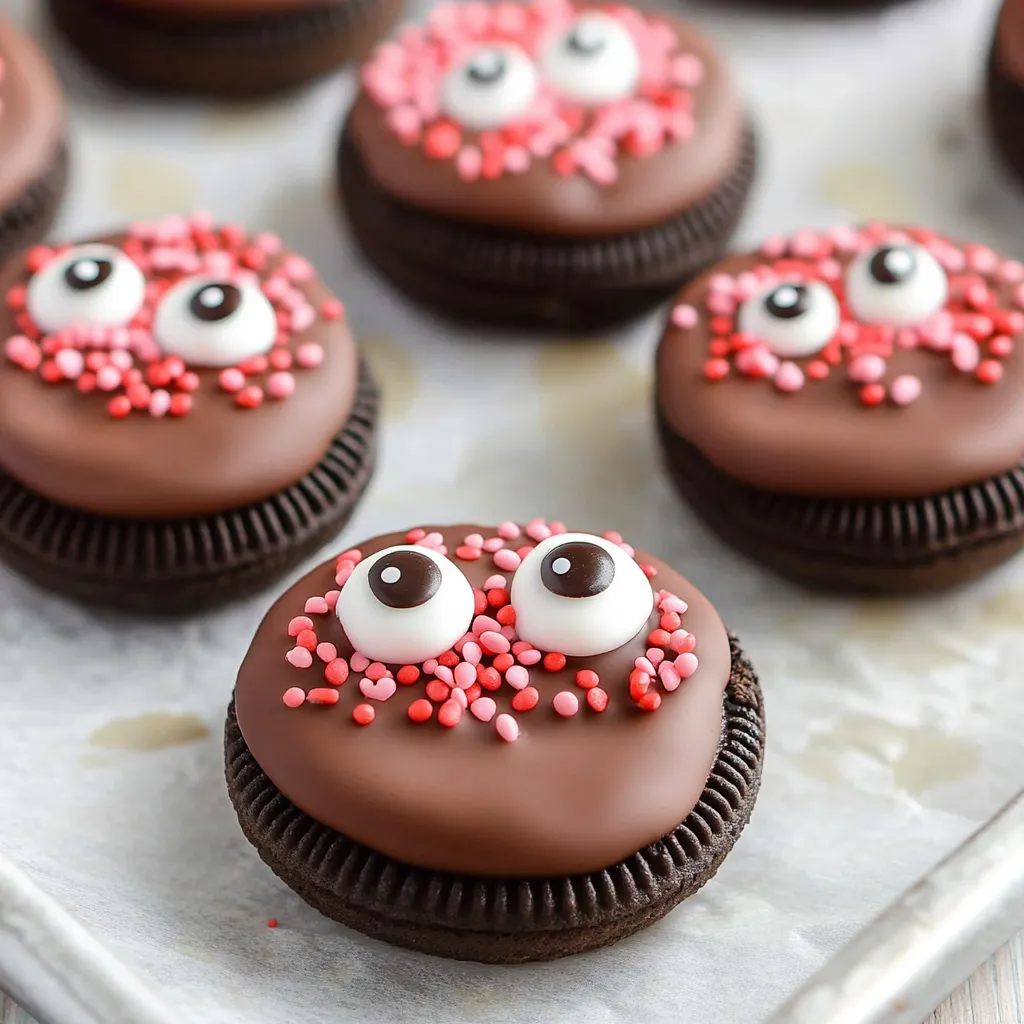
Every holiday season needs its special traditions, and making these love bugs has become one of our favorites. The way children's faces light up as they create their own unique bugs makes all the careful preparation worthwhile.
Temperature Management
Success lies in maintaining proper chocolate temperatures throughout the process. Too hot and it won't set properly; too cool and it becomes thick and clumpy. I keep a watchful eye on consistency and rewarm as needed.
After many batches of these love bugs, I've learned that the joy comes not just from the finished product, but from the creative process itself. Whether making them for a class party or as family gifts, these cookies bring Valentine's cheer to everyone involved.
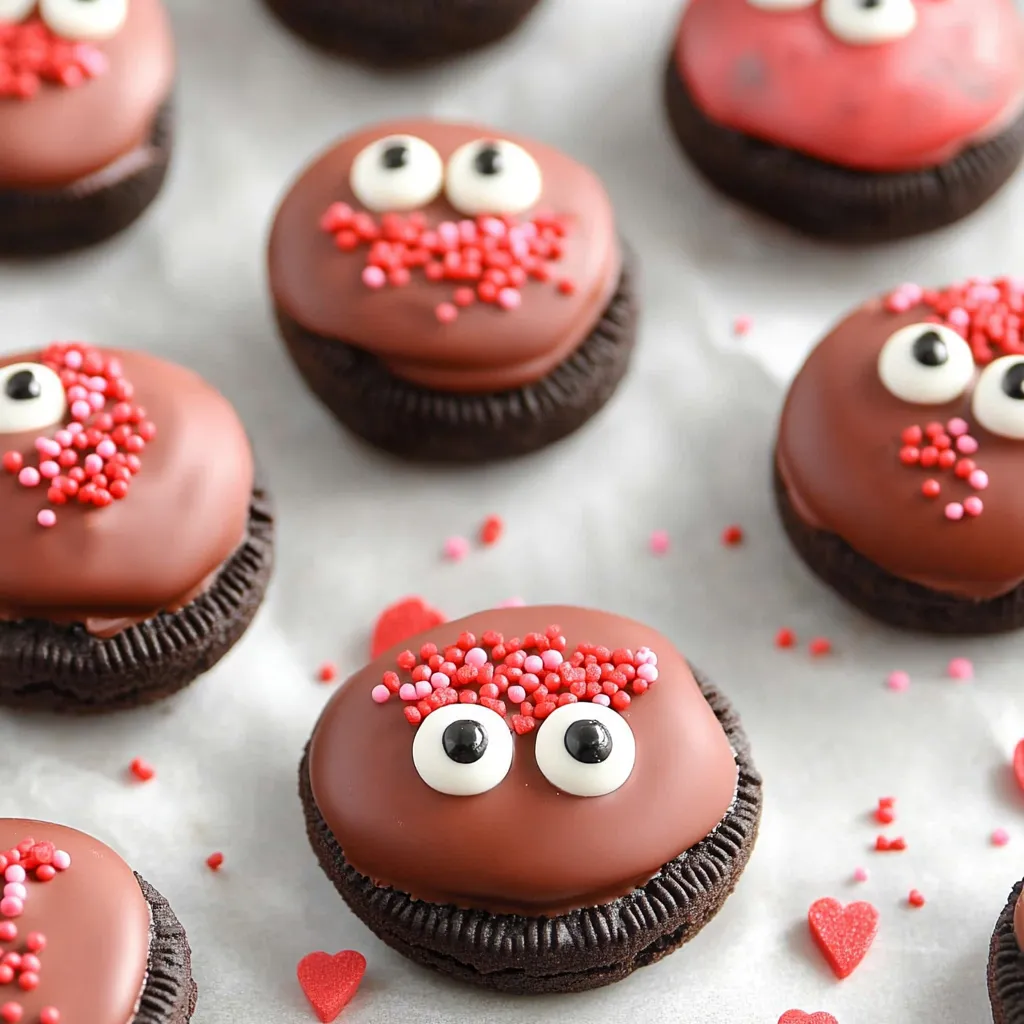
Achieving Professional Results
The key to picture-perfect love bugs lies in detail:
- Keep chocolate smooth and consistent
- Create clean dipping lines
- Position decorations symmetrically
- Handle with care while setting
Creative Variations
While traditional love bugs are charming, try these fun twists:
- Use pink and white for softer look
- Create different bug personalities
- Add antennae with thin piped chocolate
- Experiment with metallic sprinkles
Troubleshooting Common Issues
If your chocolate coating isn't smooth:
- Check temperature of melts
- Add paramount crystals if needed
- Use deeper dipping container
- Keep tools completely dry
 Pin it
Perfect Packaging Ideas
These bugs make adorable gifts when properly presented:
- Use clear cellophane bags with ribbons
- Create custom Valentine's boxes
- Add personalized gift tags
- Package in pairs or sets
Tips for Working with Kids
Making these with children requires special consideration:
- Set up stations for different tasks
- Use plastic tools for safety
- Keep wet wipes handy
- Make extra for inevitable snacking
After years of making these love bugs, I've learned that success comes from preparation and patience. The delight on people's faces when they receive these cute treats makes all the careful work worthwhile.
Remember, great love bug cookies are about creating personality and charm. Take time with each step, maintain proper chocolate temperatures, and enjoy the creative process. Happy decorating! 💝✨
The combination of shiny coating and playful decorations creates such adorable treats that everyone wants to know how they're made. Each batch is an opportunity to bring joy and sweetness to Valentine's Day celebrations.
Frequently Asked Questions
- → Can I make these ahead?
- Yes, they can be made several days ahead and stored in an airtight container.
- → Why do you need to work quickly?
- The melted chocolate will start to set, making it harder to get a smooth coating.
- → Can I use regular Oreos instead of Double Stuff?
- Yes, regular Oreos work fine, Double Stuff just gives a thicker look.
- → How long do these keep?
- They'll keep for up to 2 weeks in an airtight container at room temperature.
- → Can I use different colored candy melts?
- Yes, you can use any color to match your theme or occasion.