 Pin it
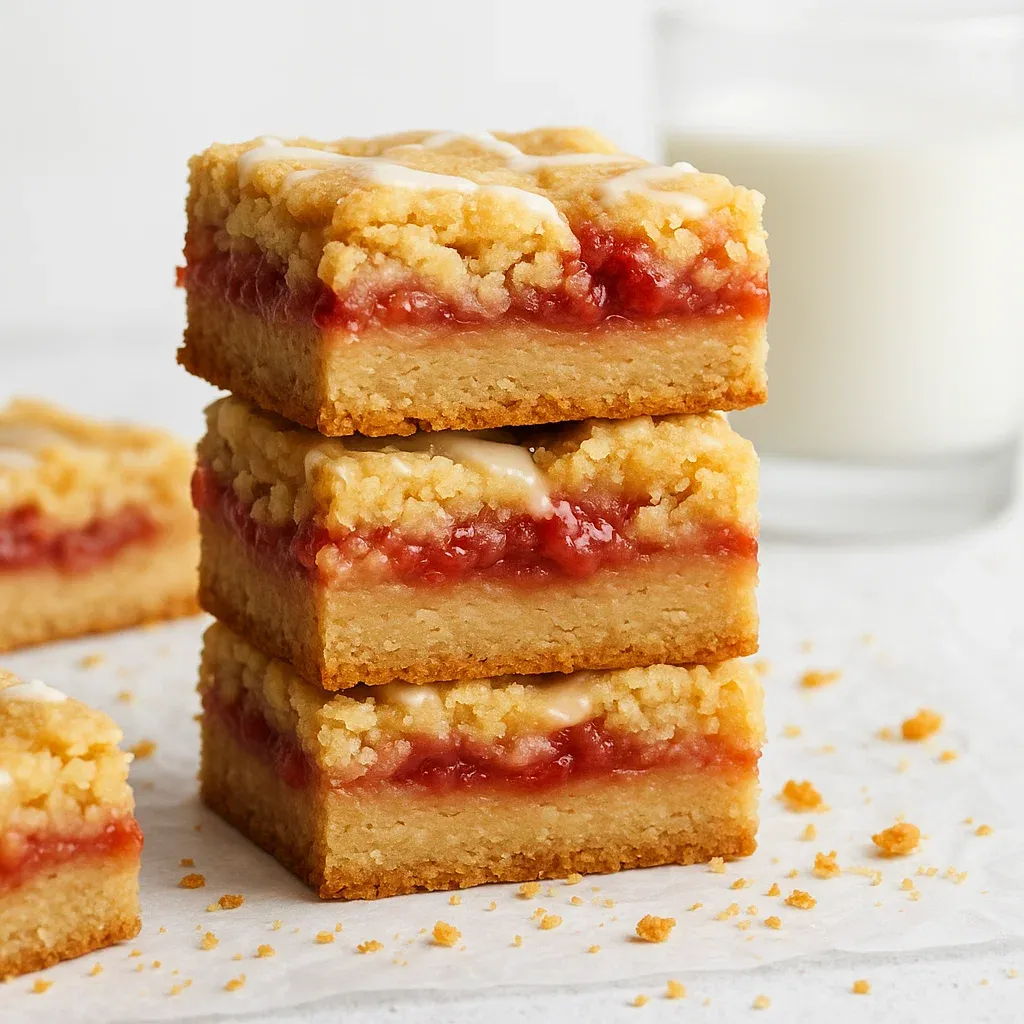
This strawberry crumble bars recipe transforms fresh summer berries into a delightful dessert that perfectly balances sweet fruit filling with buttery crumbly layers. The vanilla glaze adds just the right touch of sweetness, making these bars impossible to resist for strawberry lovers.
I first made these strawberry bars during berry picking season when my kitchen counter was overflowing with fresh strawberries. Since then, they've become my go to dessert whenever I want to impress guests without spending hours in the kitchen.
Ingredients
- Unsalted butter: at room temperature ensures proper creaming with sugars for that perfect tender crumb
- Combination of granulated and brown sugars: provides balanced sweetness and moisture
- Fresh or frozen strawberries: work equally well making this a year round treat
- Cornstarch: thickens the filling just enough without making it gummy
- Simple powdered sugar glaze: adds the perfect sweet finish
How To Make Strawberry Crumble Bars
- Prepare the shortbread base:
- Cream butter and sugars until light and fluffy for a full 3 minutes. This incorporates air which creates the tender texture in the final bars. Add the egg and vanilla, then gently mix in the dry ingredients just until combined. Over mixing will create tough bars, so stop when the dough begins pulling away from the sides of the bowl.
- Press the base and prebake:
- Reserve about 2 cups of dough for the topping, then firmly press the remaining dough into your parchment lined pan. Use the bottom of a measuring cup to create an even layer, paying special attention to the corners. Bake just until the edges turn slightly golden and the center is set, about 13 to 15 minutes.
- Make the strawberry filling:
- While the base cools, prepare your filling by combining strawberries, sugar, water and cornstarch in a saucepan. Simmer the mixture over medium low heat, mashing some berries with a fork to release juices. Cook until thickened enough that when you draw a line through the mixture on the back of a spoon, the line remains clear.
- Assemble and bake:
- Spread the slightly cooled filling over the baked base in an even layer. Take the reserved dough and form small flattened discs, then place them randomly over the filling, letting some strawberry filling peek through. This creates the beautiful crumble appearance and allows the filling to bubble up during baking.
- Add the finishing touch:
- Once the bars have completely cooled, whisk together the glaze ingredients until smooth and drizzle over the top. Allow the glaze to set before cutting into squares.
 Pin it
These strawberry crumble bars remind me of my grandmother's strawberry pie, but in a more portable form. The buttery shortbread base is her secret recipe that she passed down, and the scent of these bars baking always transports me back to her kitchen.
Storage Tips
For the best texture and flavor, store these bars in an airtight container at room temperature for up to 3 days. If your kitchen is warm, refrigeration will keep the bars fresher longer and prevent the glaze from becoming too soft. Simply bring to room temperature before serving for the best flavor experience.
 Pin it
Make Ahead Instructions
These strawberry crumble bars are perfect for preparing in advance. You can make the entire recipe up to 2 days before serving, or freeze the unglazed bars for up to 3 months. For freezing, wrap individual bars or the entire uncut slab tightly in plastic wrap and then aluminum foil. Thaw overnight in the refrigerator and add the fresh glaze just before serving.
Flavor Variations
The beauty of this recipe lies in its adaptability. Swap strawberries for blueberries, raspberries, or a mixed berry blend for different flavor profiles. For a tropical twist, try diced mango and pineapple with a touch of lime zest in the glaze. During fall, consider apple or pear filling with warm spices like cinnamon and nutmeg added to the crumble mixture.
Frequently Asked Questions
- → Can I use frozen strawberries instead of fresh?
Yes, frozen strawberries work well. Omit the water and cook the filling directly to achieve the right consistency.
- → How do I know when the filling is ready?
The filling is ready when it thickens and passes the spoon test. Draw a line through the back of a coated spoon, and if the jam stays separated, it's done.
- → Can I make these bars ahead of time?
Absolutely! You can make them a day ahead. Store them in an airtight container at room temperature or refrigerate for longer storage.
- → What’s the best way to cut these bars neatly?
Cool the bars completely before cutting. Use a sharp knife and wipe it clean with a damp cloth between cuts for a tidy finish.
- → Can I substitute the glaze with something else?
Yes, you can dust the bars with powdered sugar or drizzle melted white chocolate if preferred.
