
 Pin it
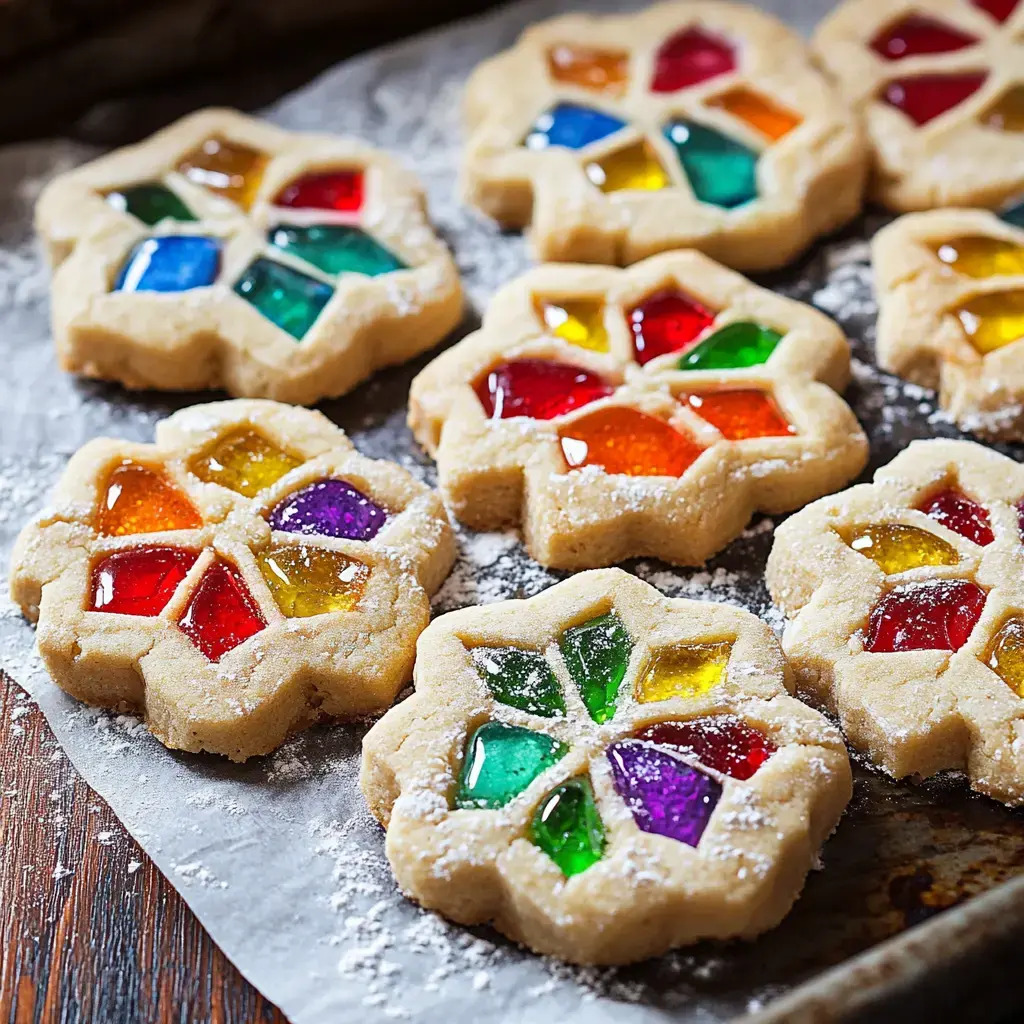
Let me share these magical cookies that transport me back to childhood Christmas memories! I discovered this recipe while helping my grandmother decorate her tree, and watching the candy melt into rainbow-colored windows still fills me with wonder. Last week my little ones helped make them, and seeing their eyes light up when the sunlight shone through the candy centers was pure joy!
The Magic Inside
These aren't just ordinary sugar cookies! When light catches those candy centers, they sparkle like little jewels. My friend Lisa hung them on her kitchen window last Christmas, and the morning sun turned her whole kitchen into a rainbow wonderland. The buttery cookie edges perfectly balance the sweet candy centers, making each bite absolutely delightful.
Gathering Your Ingredients
- Cookie Base:
- Fresh butter
- Pure vanilla
- Farm eggs
- Quality flour
- Fine sugar
- The Magic Touch:
- Colorful hard candies
- Sparkling sugar
- Pretty sprinkles
- Cookie cutters
- Parchment paper
Creating Window Magic
- Perfect Cookie Base
- The dough comes together like silk, so buttery and smooth. My daughter loves helping roll it out, saying it feels like play dough but smells so much better!
- Rainbow Centers
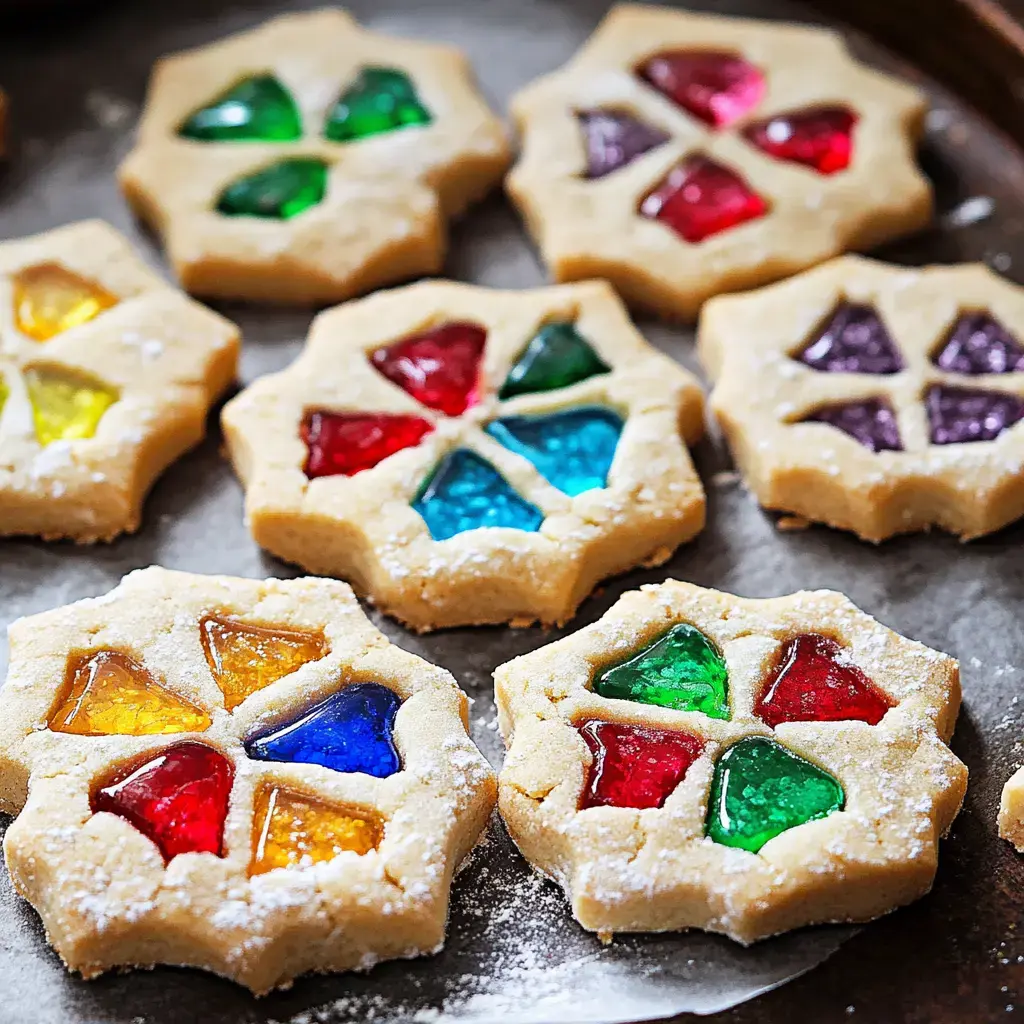
- Crushing the candies is like making fairy dust! Each color gets its own bag to stay pure and bright. The kids love sorting them by color and sprinkling them into the cookie centers.
- Baking Beauty
- Watching those candy pieces melt into perfect glass windows is like a kitchen chemistry experiment. The whole house fills with vanilla cookie scent!
 Pin it
My Cookie Secrets
Want to know what makes these cookies extra special? Roll the dough between parchment paper before chilling it saves so much hassle later. Keep your candy pieces not too fine, not too chunky pebble size is perfect for clear windows. And here's my favorite trick: place them near a window when they're done the light makes them absolutely magical!
Holiday Display
These cookies make the most beautiful holiday decorations! I love hanging them on my kitchen window with pretty ribbons, or arranging them on a cookie platter where light can shine through. Sometimes we make them as gift tags for special presents everyone always asks how we created the stained glass effect!
Planning Ahead
You can prep everything for these beauties ahead of time! The dough freezes beautifully, and I often crush extra candies to keep ready. Just remember to pull the dough out of the freezer the night before baking. Though honestly, they're so popular at our house, we rarely have leftovers to store!
Making It Your Own
While traditional holiday shapes are lovely, don't be afraid to get creative! My son loves making superhero symbols with colored centers, and my niece created beautiful butterfly cookies with rainbow wings. You can match candy colors to your holiday theme or mix them for a kaleidoscope effect!
 Pin it
More Than Just Cookies
These stained glass cookies have become such a special part of our holiday traditions! From peaceful morning baking sessions to watching children's faces light up as they hang their creations, each batch brings its own happy memories. They remind us that sometimes the simplest things, like sunshine through candy windows, can bring the most magical moments to our celebrations.
Frequently Asked Questions
- → What candies work best?
Jolly Ranchers or Life Savers work well. Avoid sticky candies or those with fillings.
- → Why chill the dough?
Chilling prevents spreading and helps maintain sharp cookie edges during baking.
- → Can these be frozen?
Yes, freeze up to 3 months once candy centers set. Layer between parchment paper.
- → How do I prevent sticking?
Use parchment paper or silicone mats. The melted candy will stick to unlined pans.