
 Pin it
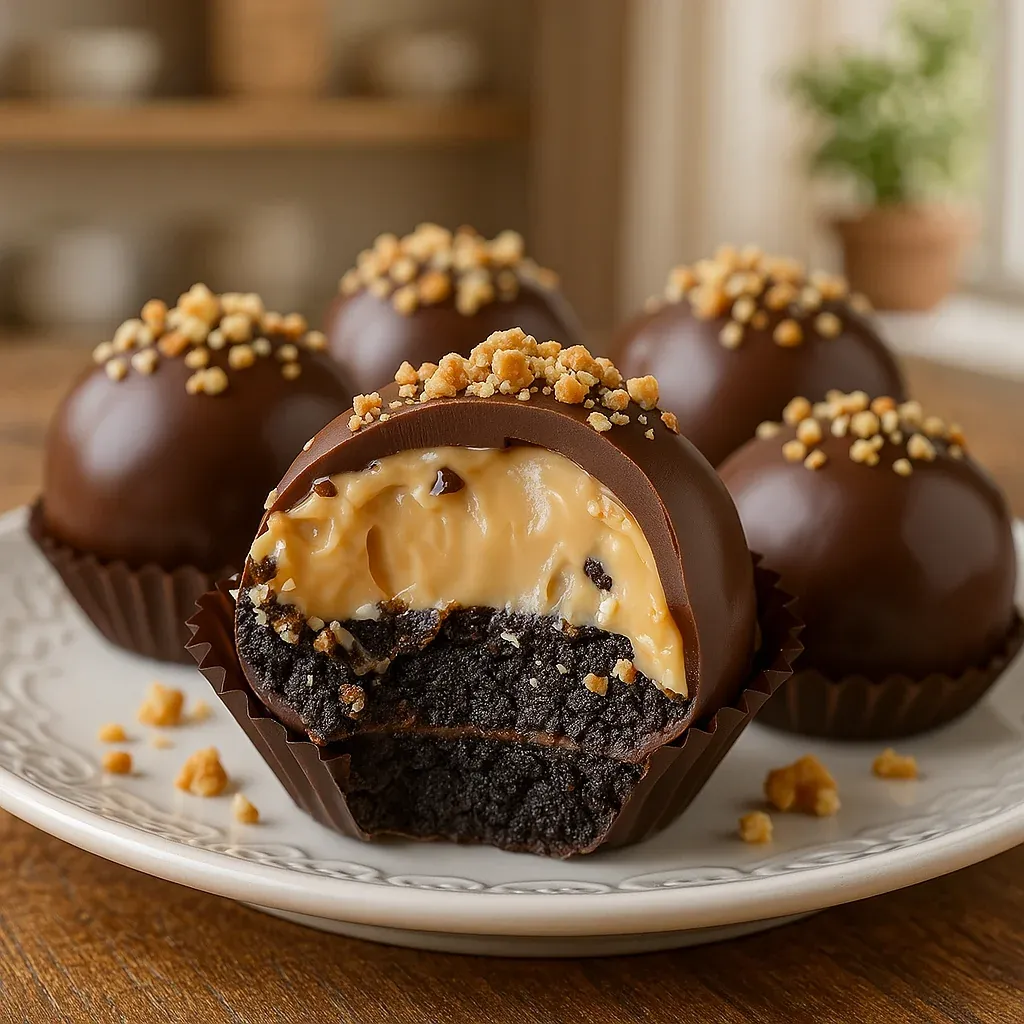
This hearty Reese's Oreo Balls recipe combines the irresistible flavors of chocolate, peanut butter, and Oreos into one decadent no-bake treat. Perfect for satisfying your sweet tooth or impressing guests at your next gathering, these bite-sized delights deliver an explosion of flavor in every bite.
I first made these Reese's Oreo Balls for my daughter's birthday party when the oven suddenly stopped working. What started as a kitchen emergency has become our most requested treat for family gatherings and holiday celebrations.
- 36 Oreo cookies: The classic chocolate sandwich cookies provide the perfect chocolatey base. Their cream filling adds sweetness and helps bind everything together.
- 8 oz cream cheese softened: Full fat cream cheese creates the most luxurious texture. Always use room temperature cream cheese for easy mixing.
- 1/2 cup creamy peanut butter: Choose a quality creamy peanut butter for the smoothest results. Natural peanut butter can separate and affect texture.
- 12 oz milk chocolate chips: The coating that holds everything together. High quality chocolate chips melt more smoothly than baking chocolate.
Step-by-Step Instructions
- Crush the Oreos:
- Place all Oreo cookies in a food processor and pulse until they become fine crumbs. Make sure no large pieces remain as they'll create lumps in your finished balls. If you don't have a food processor, place cookies in a heavy duty zip bag and crush with a rolling pin.
- Mix the Filling:
- Transfer Oreo crumbs to a large mixing bowl. Add softened cream cheese and peanut butter. Mix with an electric mixer on medium speed for about 2 minutes until completely combined and no white cream cheese streaks remain. The mixture should have a thick, dough-like consistency that holds together when pressed.
- Form the Balls:
- Using a tablespoon or small cookie scoop, portion the mixture into 1-inch balls. Roll between the palms of your hands to create smooth, even spheres. Work quickly as the mixture will soften with the warmth of your hands. If the mixture becomes too sticky, refrigerate for 15 minutes before continuing.
- Chill the Balls:
- Place the formed balls on a parchment-lined baking sheet. Refrigerate for at least 1 hour until firm. This crucial step ensures the balls hold their shape when dipped in warm chocolate and results in a better texture in the finished product.
- Melt the Chocolate:
- Place chocolate chips in a microwave-safe bowl. Heat in 30-second intervals, stirring between each, until completely melted and smooth. Be careful not to overheat or the chocolate will seize. For extra smooth chocolate, add 1 teaspoon of coconut oil or shortening while melting.
- Dip the Balls:
- Remove chilled balls from refrigerator. Using two forks, dip each ball into the melted chocolate, completely coating all sides. Gently tap the fork against the bowl to remove excess chocolate. Return each coated ball to the parchment-lined baking sheet.
 Pin it
Set the Coating
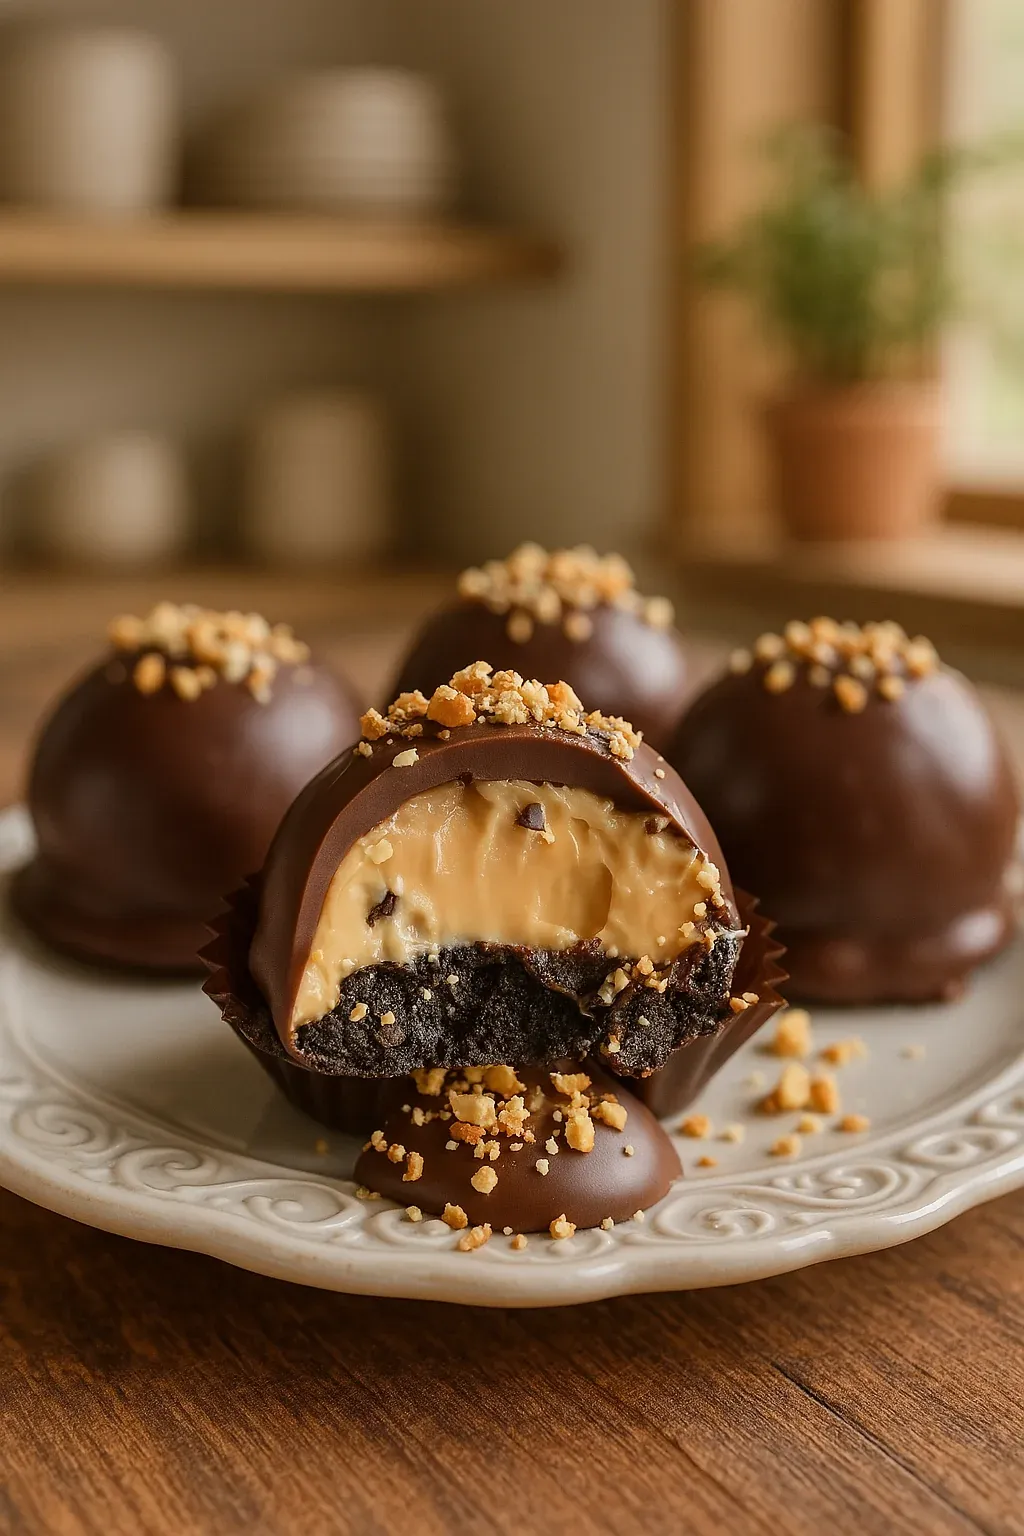
Return the chocolate-coated balls to the refrigerator for at least 30 minutes until the chocolate is completely set. This gives them that perfect snap when you bite into them and ensures the coating adheres properly to the filling.
My absolute favorite part of this recipe is the moment you bite through the chocolate shell into the creamy filling. It takes me back to childhood afternoons spent eating Oreos with my grandmother, but with the grown up addition of rich peanut butter.
Storage and Freshness
Always store Reese's Oreo Balls in an airtight container in the refrigerator. The cream cheese filling requires refrigeration for food safety. When properly stored, they will maintain peak freshness for about two weeks. For longer storage, place the balls in a freezer safe container with parchment between layers and freeze for up to three months. Thaw overnight in the refrigerator before serving.
Customization Options
One of the joys of this recipe is how easily you can customize it to create new flavor variations. Try using different Oreo flavors as your base golden Oreos create a beautiful contrast with the chocolate coating while mint Oreos add a refreshing twist. You can also experiment with different coating options like white chocolate, dark chocolate, or even colorful candy melts for seasonal treats. For added texture, try mixing chopped nuts or mini chocolate chips into the filling.
 Pin it
Serving Suggestions
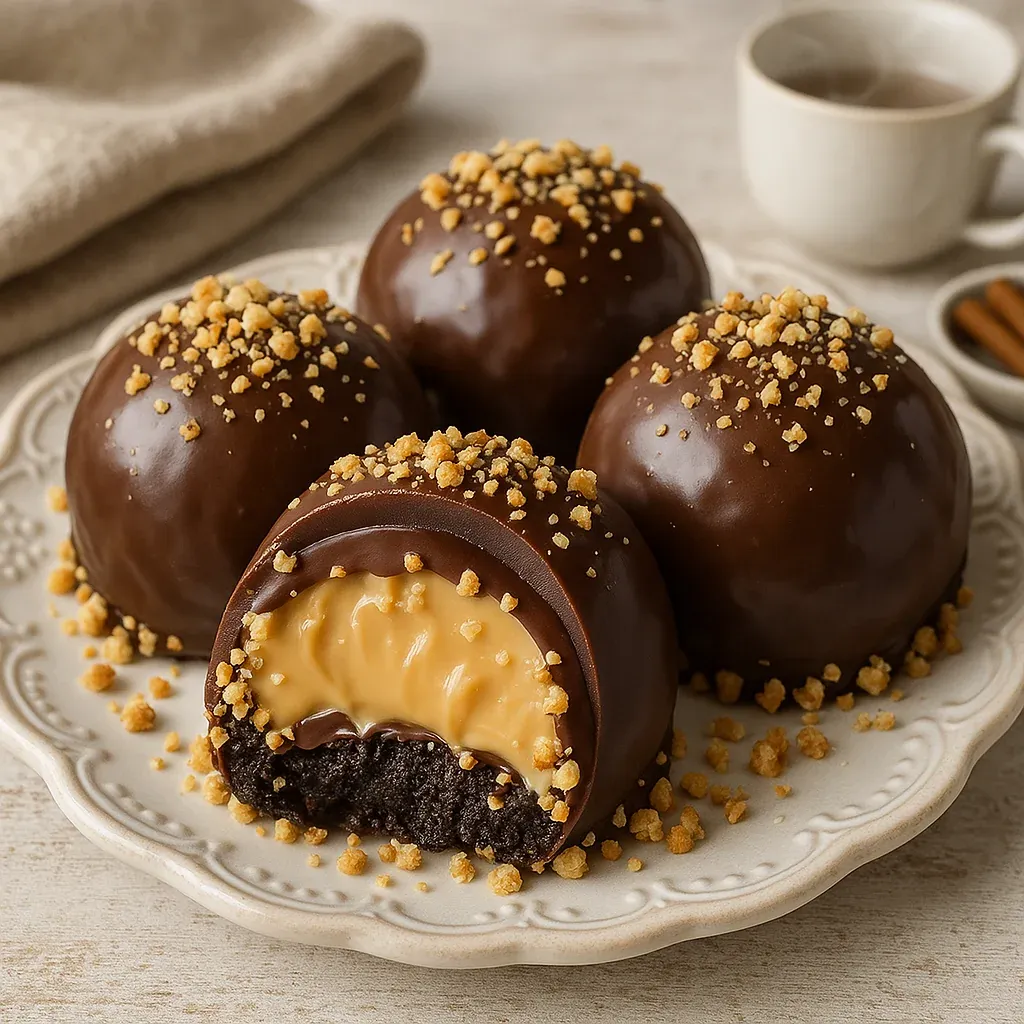
Present these decadent treats on a tiered dessert stand for an elegant display at parties. For a more casual presentation, place each ball in a mini cupcake liner for easy handling. They pair beautifully with coffee, milk, or dessert wines. For an extra special dessert, serve alongside a scoop of vanilla ice cream and drizzle with warm chocolate sauce or caramel.
Frequently Asked Questions
- → How do I crush Oreos without a food processor?
If you don’t have a food processor, place the Oreos in a resealable plastic bag and use a rolling pin to crush them into fine crumbs. Be sure to crush them as finely as possible to get a smooth filling texture.
- → Can I use white chocolate instead of milk chocolate?
Yes, you can use white chocolate for the coating. It adds a sweeter, creamier flavor that pairs wonderfully with the Oreo and peanut butter filling.
- → Can I make these with gluten-free Oreos?
Absolutely. Gluten-free Oreos work just as well for this recipe, making it suitable for those with gluten sensitivities.
- → How long do these treats last in the refrigerator?
When stored in an airtight container in the refrigerator, Reese’s Oreo Balls will stay fresh for up to 2 weeks.
- → Can these Oreo balls be made ahead of time?
Yes, you can make Reese’s Oreo Balls ahead of time. Store them in the refrigerator for up to 2 weeks, or freeze them for up to 2 months for longer storage.
- → Can I substitute crunchy peanut butter for creamy peanut butter?
Yes, you can use crunchy peanut butter for a different texture. However, creamy peanut butter typically provides a smoother filling.
- → Do I need to chill the balls before dipping in chocolate?
Yes, chilling the balls in the refrigerator for at least 1 hour ensures they hold their shape and makes coating them in chocolate easier.