
 Pin it
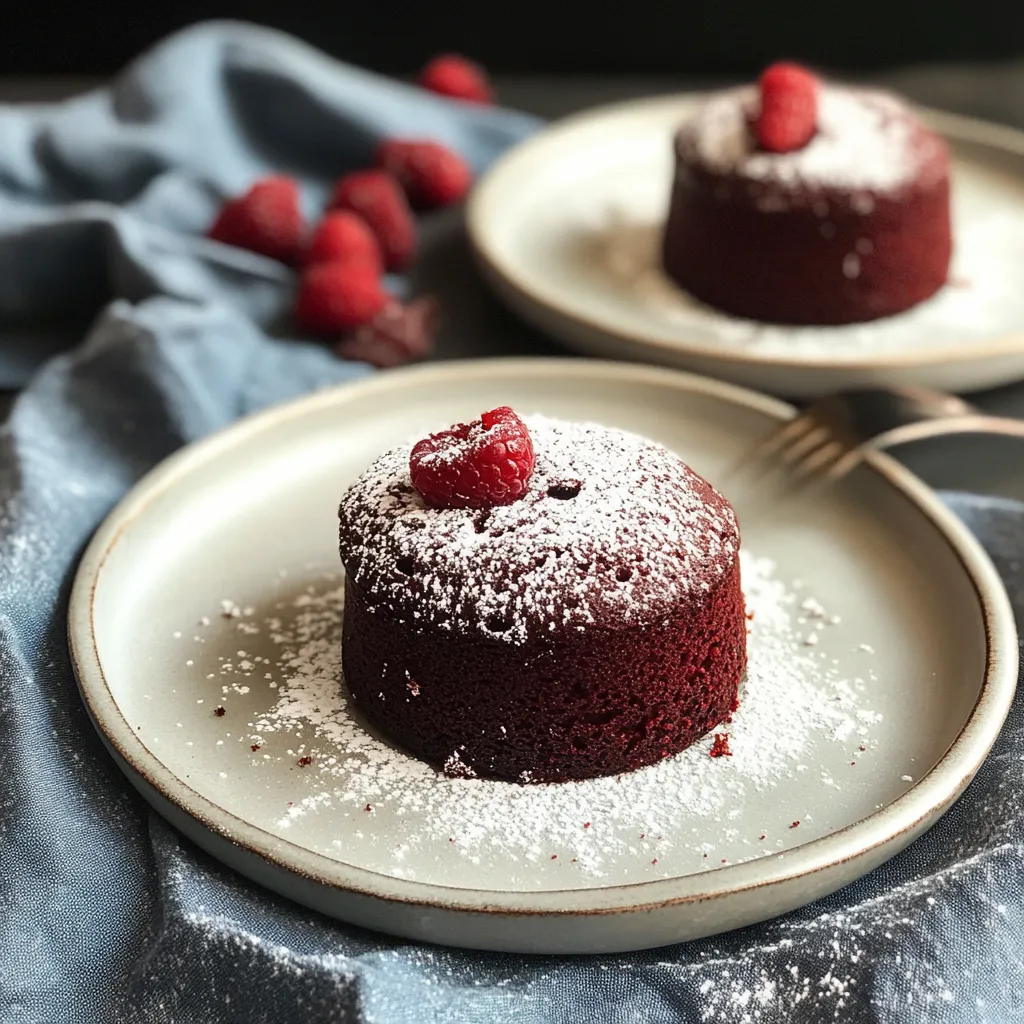
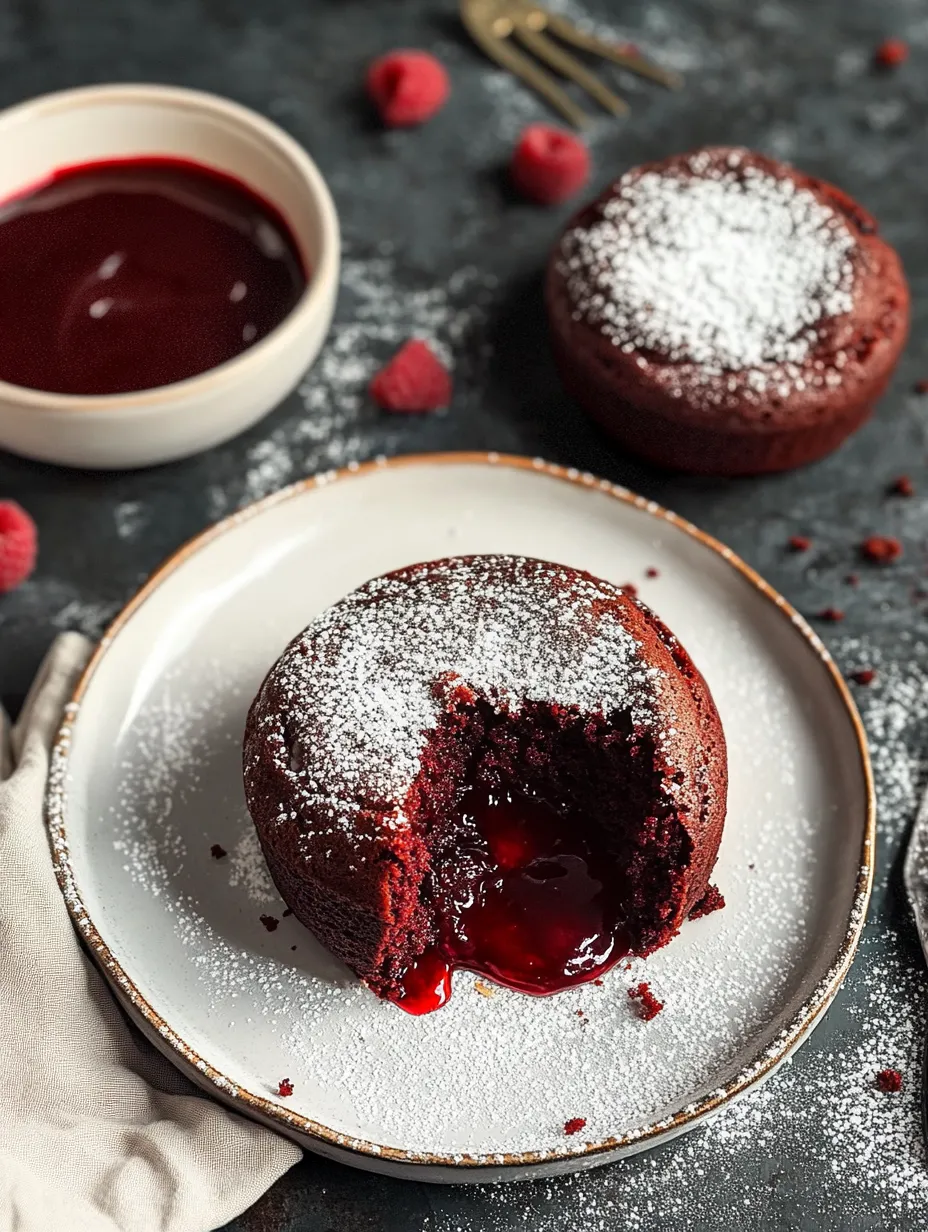
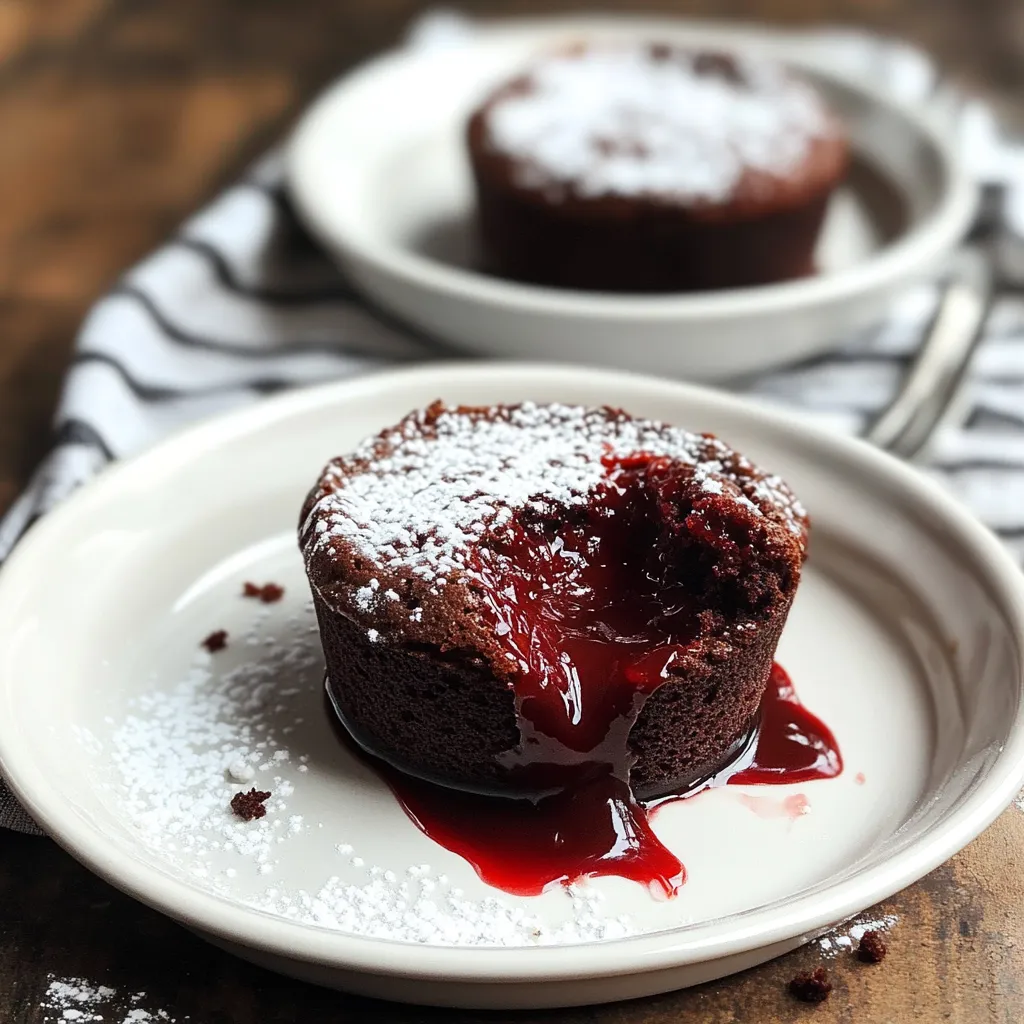
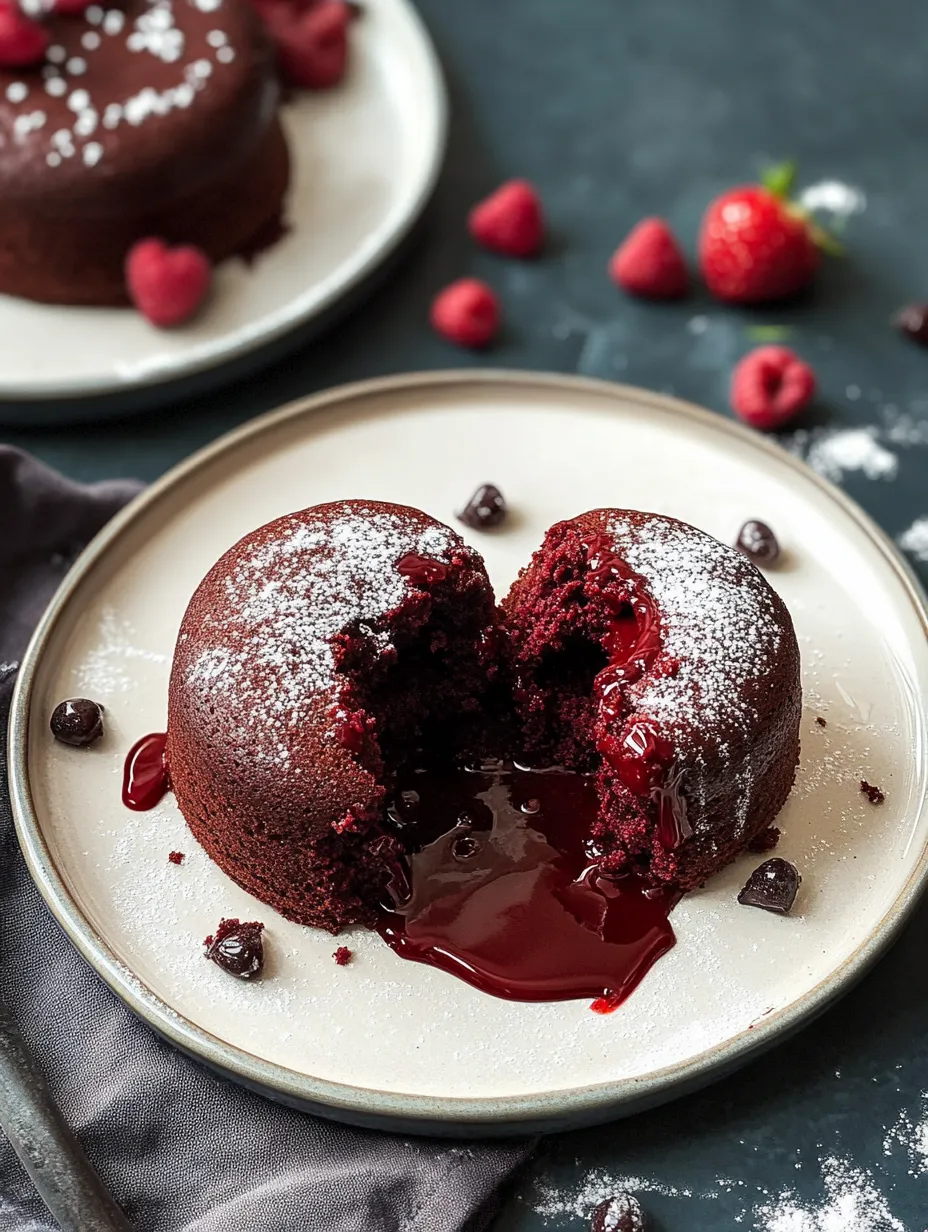
These Red Velvet Molten Lava Cakes transform simple ingredients into an elegant dessert for two, perfect for special occasions. Each cake features a tender chocolate exterior that gives way to a dramatic red velvet center that flows like molten lava. Ready in just 20 minutes, these individual cakes combine the beloved flavors of red velvet with the theatrical presentation of a lava cake. The result is a dessert that's both impressive and surprisingly simple to prepare.
Through testing many versions, I've found that precise timing and proper preparation create the perfect molten center.
Essential Ingredients Selection
- Quality semi-sweet chocolate ensures smooth texture
- Fresh eggs provide proper structure
- Red gel food coloring offers vibrant color
- Room temperature butter creates perfect blend
The key is using quality chocolate - it forms the foundation of both flavor and texture.
Detailed Cooking Instructions
- 1. Begin by precisely measuring ingredients
- - accuracy is crucial for lava cakes. Preheat oven to exactly 450°F. This high temperature creates the essential contrast between cooked exterior and molten center. Generously butter two 6-ounce ramekins, ensuring every crevice is coated. A light dusting of cocoa powder helps prevent sticking while maintaining the red color aesthetic.
- 2. Melt chocolate and butter
- using gentle heat. Place in microwave-safe bowl and heat in 20-second intervals, stirring between each. Stop when a few small chocolate pieces remain - they'll melt from residual heat. This prevents overheating which can make cakes grainy. Let cool slightly while preparing other ingredients.
- 3. In separate bowl, combine egg, sugar, salt, and vanilla.
- Whip with electric mixer for full 2-3 minutes until mixture becomes pale and triples in volume. This step is crucial for proper texture - undermixing results in dense cakes. The mixture should fall in thick ribbons when beater is lifted.
- 4. Gently fold melted chocolate mixture into egg mixture
- using rubber spatula. Cut through center, scrape bottom, and fold over top. Repeat just until combined - overmixing deflates the batter. Sift flour directly over batter and fold with same gentle technique.
- 5. Add gel food coloring gradually
- until desired color is achieved. Remember color will deepen slightly during baking. Divide batter evenly between prepared ramekins. Tap gently to remove air bubbles. Bake 10-11 minutes until edges are set but center jiggles slightly when gently shaken.
 Pin it
The secret is preparing everything before starting - once you begin, timing is critical.
Storage Solutions
While lava cakes are best served immediately, you can prepare batter up to 24 hours ahead. Store filled ramekins covered in refrigerator, bringing to room temperature 30 minutes before baking. Do not store baked cakes as they lose their molten center. For parties, prepare several batches of batter and bake as needed throughout evening. Ramekins can be buttered and cocoa-dusted several hours ahead.
 Pin it
Serving Suggestions
Serve cakes within 1-2 minutes of removal from oven. Dust with powdered sugar just before presenting. Consider complementary toppings like fresh whipped cream, vanilla ice cream, or fresh berries. For special occasions, garnish plate with raspberry coulis or chocolate sauce. Serve on warmed plates to maintain temperature longer.
Troubleshooting Tips
If centers aren't molten, reduce baking time by 1 minute. For cakes that stick, increase butter coating in ramekins. When color is too bright or artificial, reduce food coloring and add more gradually. If cakes collapse when unmolding, allow 30-60 seconds more cooling time. For uneven baking, check oven temperature with separate thermometer.
Make-Ahead Strategies
Prepare chocolate-butter mixture up to 2 hours ahead, rewarming gently before using. Measure and sift dry ingredients in advance. Have eggs at room temperature ready. For entertaining, set up assembly station with all components ready. Consider having backup ingredients for last-minute guests.
 Pin it
Recipe Variations
Try different chocolate combinations like dark and milk. Add espresso powder for mocha version. Consider cream cheese center for traditional red velvet flavor. Experiment with different food coloring for themed events. Always maintain basic technique while adapting flavors.
Frequently Asked Questions
- → Can I make these ahead?
- Yes, prepare and refrigerate in ramekins, adding extra baking time when ready
- → Why use gel food coloring?
- Gel color provides better red color in chocolate batter than liquid coloring
- → Can I use milk chocolate?
- Yes, but reduce sugar as milk chocolate is sweeter than semi-sweet
- → How do I know when they're done?
- Edges should be set but center should still wobble slightly
- → Can I double the recipe?
- Yes, recipe easily doubles or triples for more servings