
 Pin it
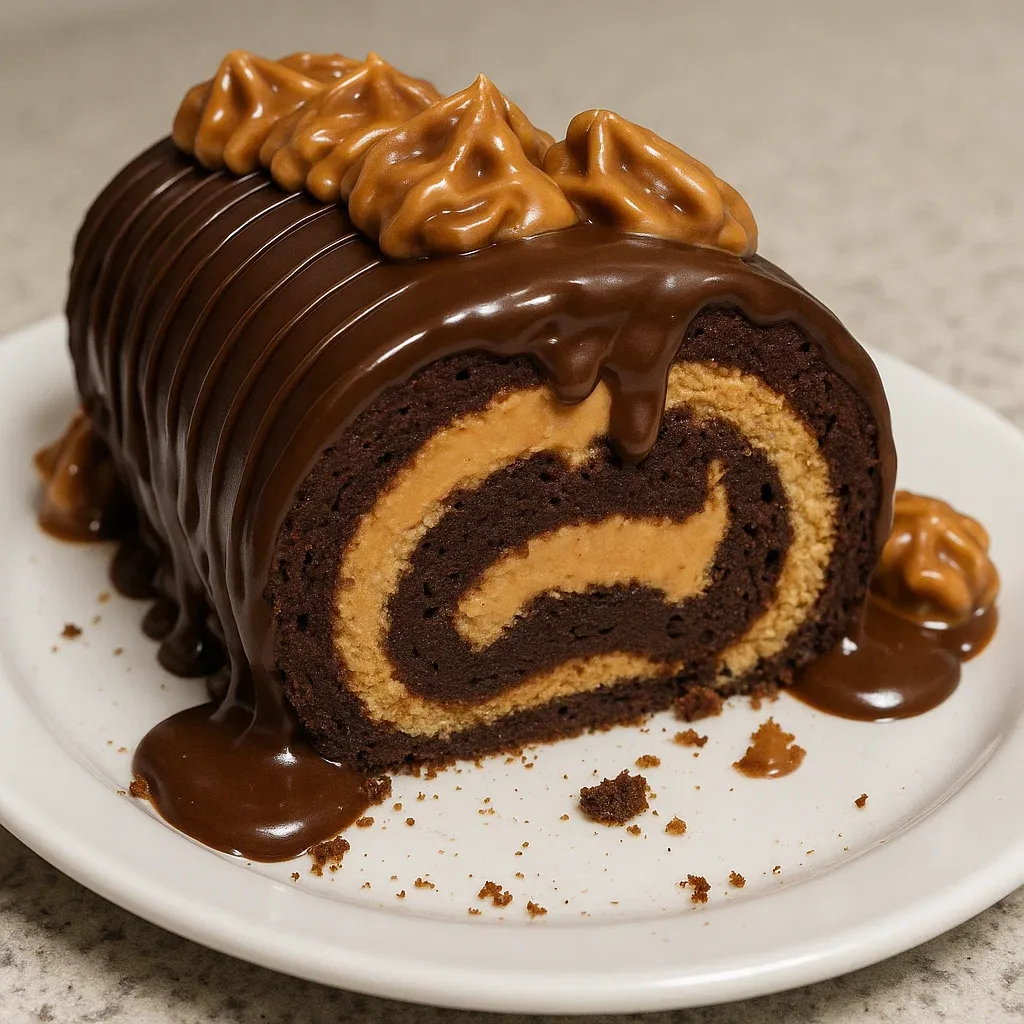
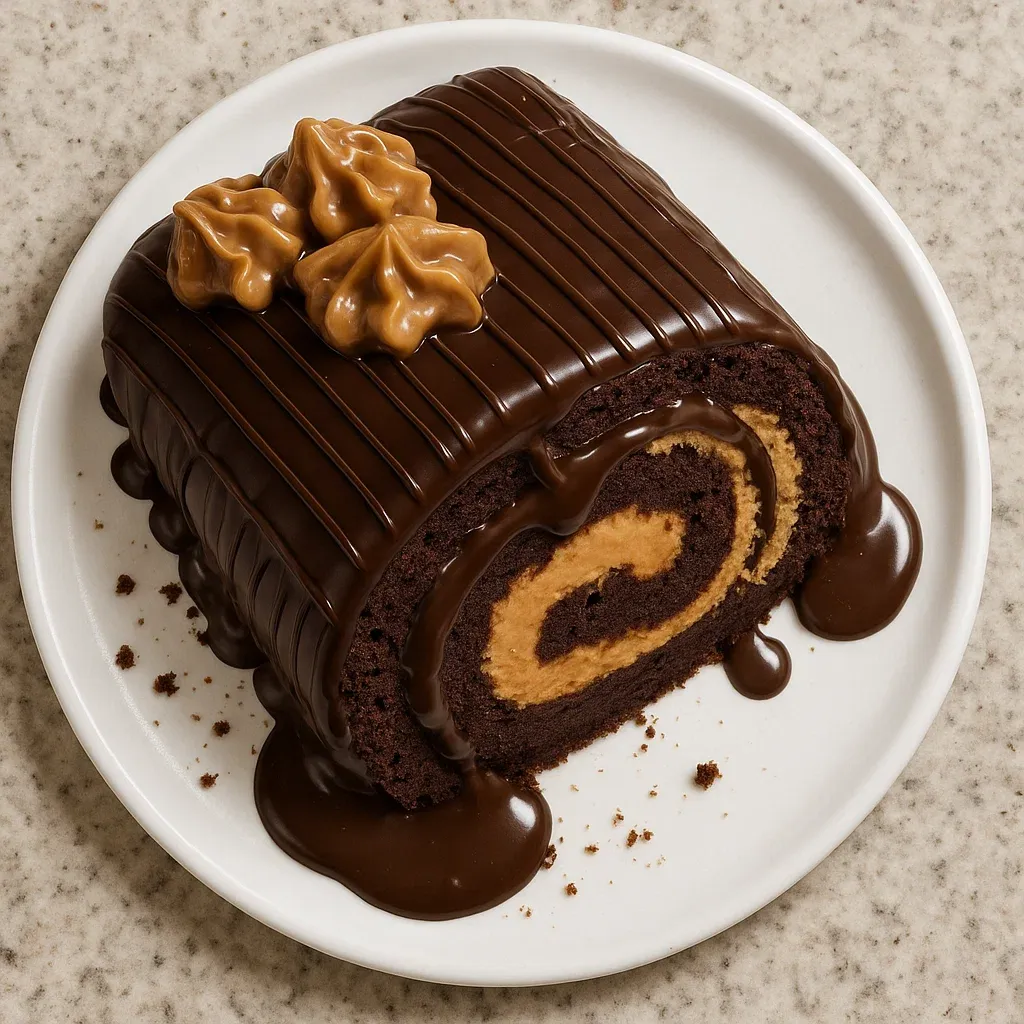
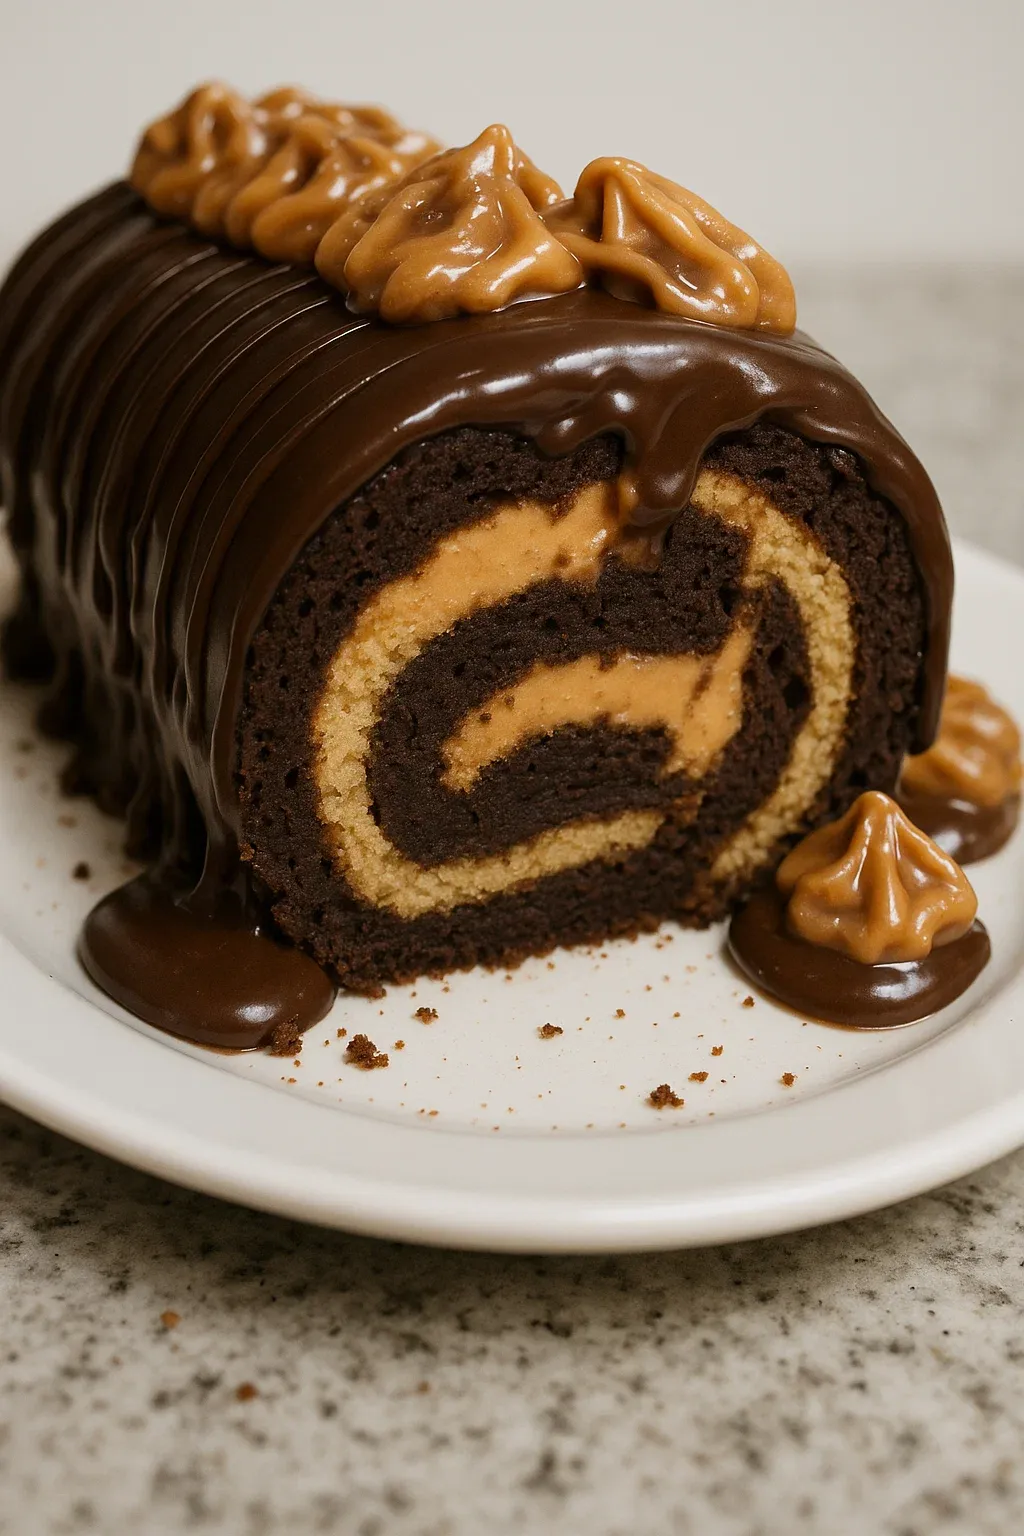
This hearty Peanut Butter Cup Chocolate Roll Cake transforms two classic flavors into an elegant dessert that looks like it took hours but comes together with surprising ease. The rich chocolate sponge wrapped around creamy peanut butter filling creates a showstopping spiral that slices beautifully to reveal its decadent layers.
I first made this cake for my nephew's birthday party when I needed something special but was short on time. The look on everyone's faces when I sliced into it made all the effort worthwhile, and now it's requested at virtually every family gathering.
Ingredients
- Large eggs: Four eggs provide structure and lift to create that perfect spongey texture essential for rolling without cracks
- All purpose flour: Creates the foundation for our cake while keeping it light enough to roll
- Unsweetened cocoa powder: Delivers rich chocolate flavor without making the cake too sweet
- Baking powder: A small amount ensures the cake rises just enough without becoming too fluffy to roll
- Salt: Enhances all the flavors and balances sweetness
- Granulated sugar: Sweetens the cake batter and helps create volume when beaten with eggs
- Powdered sugar: Used for both dusting the towel and sweetening the filling without graininess
- Smooth peanut butter: Choose a commercial brand like Jif or Skippy for the most reliable texture in the filling
- Heavy cream: Whips into a light base for our filling making it spreadable and decadent
- Mini peanut butter cups: Adds texture and concentrated bursts of peanut butter chocolate flavor
How To Make Peanut Butter Cup Chocolate Roll Cake
- Prepare the oven and pan:
- Begin by preheating your oven to 350°F and lining your baking sheet with parchment paper ensuring it covers the sides for easy removal later. A light coating of cooking spray under the parchment helps it stay in place.
- Create the egg base:
- Beat the eggs and granulated sugar for a full 5 minutes until the mixture has tripled in volume and become pale yellow. This extended beating creates the air bubbles that replace traditional leavening agents making the cake light enough to roll.
- Incorporate dry ingredients:
- Sift the flour cocoa powder baking powder and salt together to remove any lumps before gently folding them into the egg mixture. Use a rubber spatula and perform a figure eight motion cutting through the middle to preserve the air you worked so hard to create.
- Bake the sponge:
- Spread the batter evenly using an offset spatula to reach the corners. Tap the pan gently to release large air bubbles. The cake bakes quickly so start checking at 10 minutes a properly baked cake should spring back when touched in the center.
- Prepare for rolling:
- While the cake bakes lay out a clean kitchen towel and dust it generously with powdered sugar. This prevents sticking when you roll the hot cake. Work quickly when the cake comes out inverting it immediately onto the towel before it has a chance to cool and become less flexible.
- Make the filling:
- Whip the heavy cream to soft peaks before gently folding in the powdered sugar and peanut butter. The filling should be thick enough to hold its shape but still spreadable. If too thick add a tablespoon of heavy cream if too loose refrigerate briefly.
- Assemble the cake:
- Once cooled unroll the cake gently spread the filling leaving a half inch border and sprinkle chopped peanut butter cups evenly across the surface. Roll it back up using the towel to guide but not include it this time helping you achieve a tight spiral without applying too much pressure.
 Pin it
This cake reminds me of the chocolate peanut butter ice cream my grandmother would serve on summer evenings. The combination is timeless and I find myself returning to it whenever I need a foolproof crowd pleaser. The mini peanut butter cups add that perfect bit of textural contrast that makes everyone smile with recognition at the first bite.
Preventing Cake Cracks
The most common issue with roll cakes is cracking, but several techniques help prevent this. First, never overbake the cake—even one minute too long can make it too dry to roll. Second, rolling the cake while warm trains it into shape. Finally, let the cake cool completely before unrolling to add filling; rushing this step often leads to tears in the cake. If small cracks do appear, don't worry—the filling and powdered sugar topping will hide minor imperfections.
 Pin it
Storage Tips
The finished roll cake will keep beautifully in the refrigerator for up to three days when wrapped tightly in plastic wrap. For longer storage, slice the cake into individual portions and freeze them on a baking sheet until solid before transferring to an airtight container. This method allows you to thaw just what you need for unexpected guests or late night cravings. Let frozen slices thaw in the refrigerator for about two hours before serving for the best texture.
Serving Suggestions
While this cake is certainly delicious on its own, you can elevate it further with thoughtful accompaniments. A scoop of vanilla bean ice cream provides wonderful temperature contrast, while a drizzle of warm chocolate ganache adds another layer of decadence. For a more formal presentation, dust each plate with cocoa powder and garnish with fresh berries and mint leaves. Pair with coffee or a glass of milk for the ultimate comfort dessert experience.
Frequently Asked Questions
- → How do I prevent cracks in the roll cake?
To prevent cracks, avoid overbaking the cake and roll it while it's still warm. This helps the cake hold its shape. Allow it to cool completely before adding the filling.
- → Can I make this cake ahead of time?
Yes, the cake can be made one day in advance. Store it in the refrigerator, wrapped tightly, to maintain freshness.
- → Do I need special equipment to make this cake?
No special equipment is necessary. Standard baking tools like a sheet pan, whisk, and spatula are enough.
- → Can I freeze the roll cake?
Yes, the cake can be frozen for up to two months. Wrap it tightly in plastic wrap and store it in an airtight container for best results.
- → What type of peanut butter should I use?
For the best texture, use a commercial smooth peanut butter like Jif or Skippy. Natural or chunky peanut butter may impact the filling's consistency.
- → What can I use instead of mini peanut butter cups?
If you don't have mini peanut butter cups, chopped chocolate bars or chocolate chips can be used for similar bursts of flavor.