
 Pin it
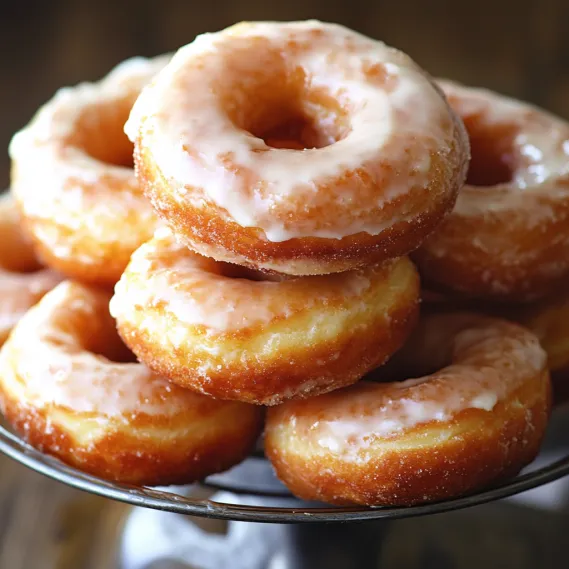
This sour cream doughnut recipe transforms your kitchen into a bakery, delivering those classic old-fashioned doughnuts with their signature crackly exterior and tender cake-like interior. The secret lies in using sour cream for that subtle tangy flavor that balances perfectly with the sweet glaze.
I first made these doughnuts during a snow day with my kids, and they've become our weekend tradition ever since. The joy on their faces when they bite into that fresh glazed doughnut reminds me why homemade always tastes better than store-bought.
Ingredients
- Cake flour: Creates a more delicate crumb than all-purpose flour for a tender doughnut
- Nutmeg: Provides that classic doughnut shop flavor you instantly recognize
- Sour cream: Adds tanginess and moisture resulting in a perfectly tender texture
- Butter: At cool room temperature incorporates properly without becoming greasy
- Corn syrup: In the glaze creates that professional bakery shine and prevents crystallization
- Canola oil: Maintains a steady frying temperature without imparting unwanted flavors
Step-by-Step Instructions
- Prepare the dough:
- Mix your dry ingredients first to ensure even distribution of leaveners and spices throughout the dough. When beating the butter and sugar, continue until the mixture looks like wet sand before adding egg yolks. This method creates the perfect foundation for the tender crumb.
- Mix with precision:
- The alternating addition of dry ingredients and sour cream is crucial. Start and end with flour to prevent a sticky mess. Mix just until smooth without overworking the gluten. The texture should be slightly sticky but manageable. Climate matters here. If your kitchen is warm or humid, you might need an extra tablespoon of flour.
- Chill thoroughly:
- Refrigerating for a full hour is non-negotiable. The dough needs to firm up completely to maintain shape during cutting and frying. I've tried shortcuts here, and trust me, room temperature dough falls apart in hot oil.
- Roll and cut carefully:
- Maintaining that half-inch thickness ensures the perfect doughnut. Too thin and they become crispy throughout. Too thick and they may remain doughy inside. Use plenty of flour on your work surface and cutters to prevent sticking. The secondary chill after cutting is essential for clean edges.
- Master the fry:
- Temperature control is everything. At 325°F, the doughnuts cook through without burning on the outside. Watch your thermometer obsessively. Frying too hot creates a dark exterior with raw insides, while too cool will make them absorb excess oil. The characteristic cracks form as they fry, giving old-fashioned doughnuts their unique appearance.
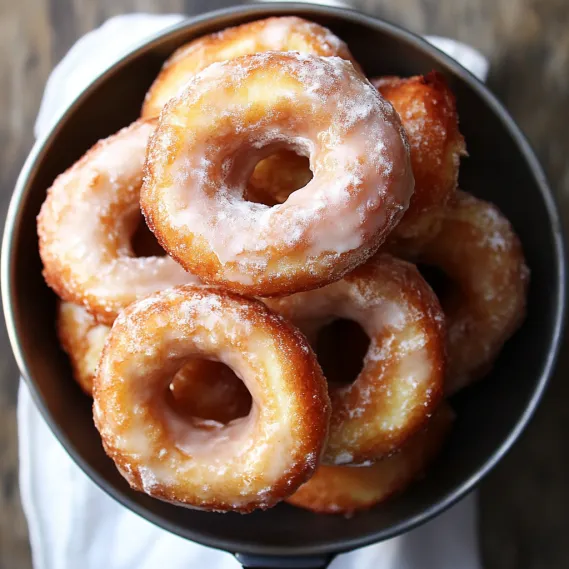
- Glaze while warm:
- Dip each doughnut while still slightly warm. The residual heat helps the glaze adhere and set properly. The 20-minute rest allows the glaze to form that thin, crackly shell that makes these doughnuts irresistible.
Nutmeg is my favorite ingredient in this recipe. It might seem like a small addition, but it provides that unmistakable doughnut shop aroma that transports me back to Saturday mornings with my grandmother. She would always let me be the one to dip the doughnuts in glaze, creating memories as sweet as the treats themselves.
Storage Tips
These doughnuts truly shine when eaten the same day, preferably within hours of frying. If you must store them, place in a paper bag first, then loosely in an airtight container. This helps maintain the texture of the glaze while preventing them from becoming soggy. Never refrigerate these doughnuts as the cold air will accelerate staling.
 Pin it
Perfect Timing
The inactive time makes these ideal for weekend baking. Start the dough after breakfast, then fry mid-morning for perfect timing. The beauty of cake doughnuts versus yeast doughnuts is their relative speed. While traditional yeasted versions require multiple rises, these sour cream beauties need just one hour of chilling before you can transform them into golden perfection.
Flavor Variations
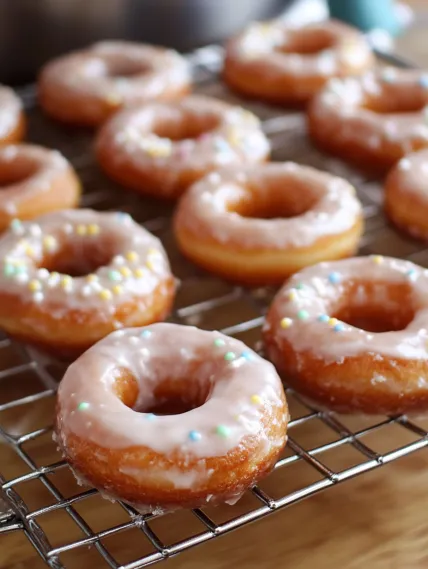
The basic recipe serves as an excellent canvas for creativity. Try adding lemon or orange zest to the dough for a citrus variation. The glaze can be flavored with maple, chocolate, or even a touch of bourbon for adult gatherings. During fall, cinnamon and a hint of apple cider in the glaze create a seasonal treat that pairs perfectly with hot coffee on crisp mornings.
 Pin it
Frequently Asked Questions
- → Can I use all-purpose flour instead of cake flour?
Yes, you can substitute all-purpose flour for cake flour, but the doughnuts may be slightly denser. For a closer match to cake flour, mix 2 tablespoons of cornstarch with every cup of all-purpose flour.
- → What’s the purpose of nutmeg in the dough?
Nutmeg adds a subtle, warm spice that enhances the classic flavor of these doughnuts. If you don't enjoy nutmeg, you can reduce the quantity or omit it altogether.
- → Can I bake these doughnuts instead of frying?
Frying is essential to achieve the characteristic texture and flavor of these doughnuts. Baking them will result in a different consistency, closer to a cake.
- → How do I store leftover doughnuts?
Store leftover doughnuts in an airtight container at room temperature for up to 2 days. However, they are best enjoyed fresh on the same day.
- → Why is the dough chilled before frying?
Chilling the dough helps it firm up, making it easier to cut and shape. Cold dough also helps the doughnuts hold their structure better during frying.