
 Pin it
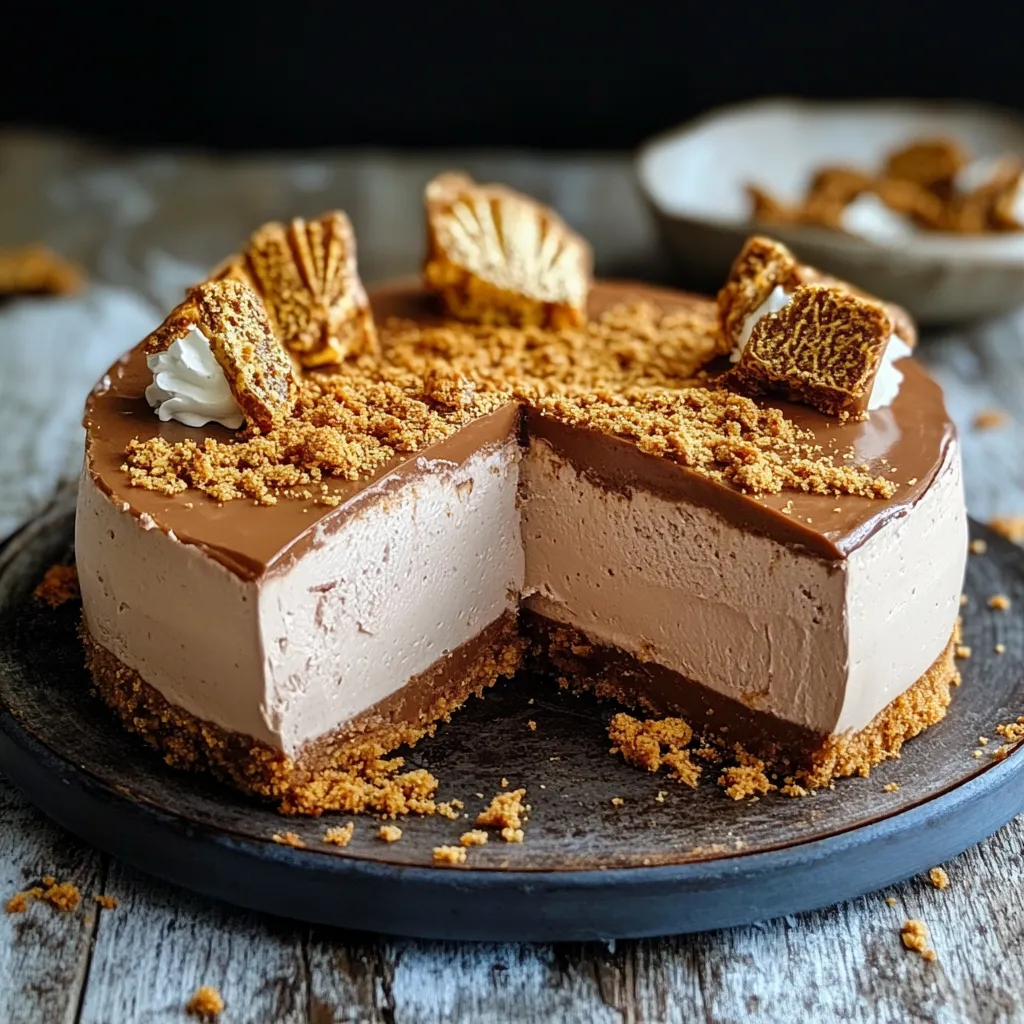
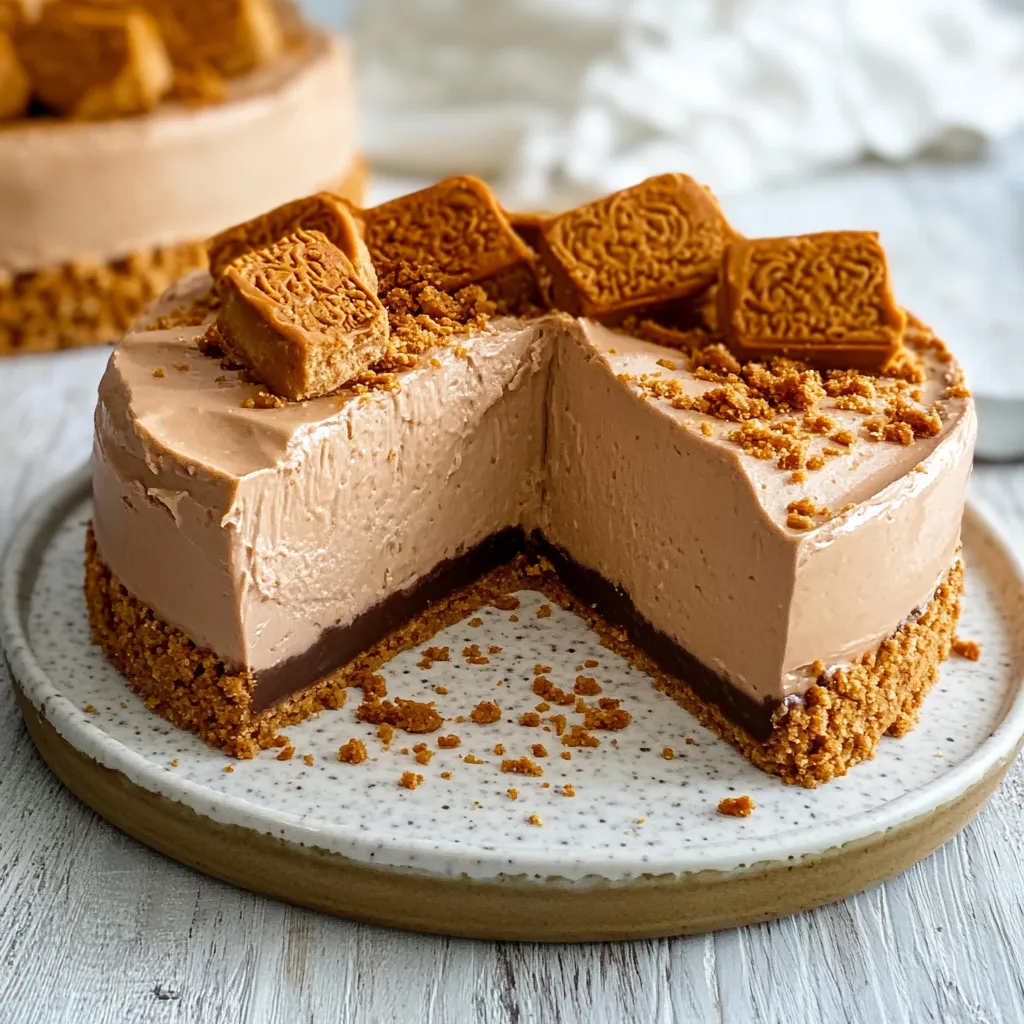
The moment I discovered the combination of Biscoff and Nutella in a no-bake cheesecake, I knew I'd found something extraordinary. This dessert marries the caramelized spice of Lotus biscuits with the rich hazelnuttiness of Nutella, all wrapped in a creamy cheesecake embrace. Every time I make this, the rich aroma of cookie butter fills my kitchen, bringing back memories of European cafés and cozy afternoon treats.
The first time I served this at my book club gathering, there was complete silence followed by a chorus of "Oh my goodness!" as everyone took their first bite. Now it's become my most requested dessert for special occasions.
Essential Ingredients and Selection Tips
- Lotus Biscuits (290g): Use fresh, crisp cookies for the best base. The caramelized flavor is essential to the dessert's signature taste
- Cream Cheese (500g): Full-fat cream cheese is non-negotiable here. I've tried lower-fat versions, but they don't set properly
- Double Cream (400ml): Look for heavy whipping cream with at least 36% fat content. The higher fat percentage ensures a stable structure
- Nutella (450g): Always use room temperature Nutella for smooth incorporation. I sometimes warm it slightly if it's too firm
- Biscoff Spread (200g): The smooth variety works best for the topping. Store-brand cookie butter doesn't melt as nicely
- Butter (100g): Use unsalted butter to control the saltiness. European-style butter adds extra richness
 Pin it
Detailed Step-by-Step Instructions
- Create the Perfect Base
- Pulse biscuits until they become fine, even crumbs
- Warm butter just until melted, not hot
- Mix thoroughly until every crumb is coated
- Press firmly using a flat-bottomed glass
- Chill until completely firm
- Master the Filling
- Whip cream until peaks hold their shape but aren't grainy
- Beat cream cheese until completely smooth
- Add Nutella gradually to prevent lumps
- Fold gently to maintain airiness
- Check bottom of bowl for unmixed ingredients
- Perfect the Assembly
- Pour filling in stages to prevent air pockets
- Tap pan gently to release bubbles
- Smooth top with offset spatula
- Clean edges for professional look
- Chill until completely set
- Execute the Topping
- Warm Biscoff spread slowly
- Test temperature on a small area first
- Pour from center outward
- Create deliberate swirl patterns
- Add garnishes before setting
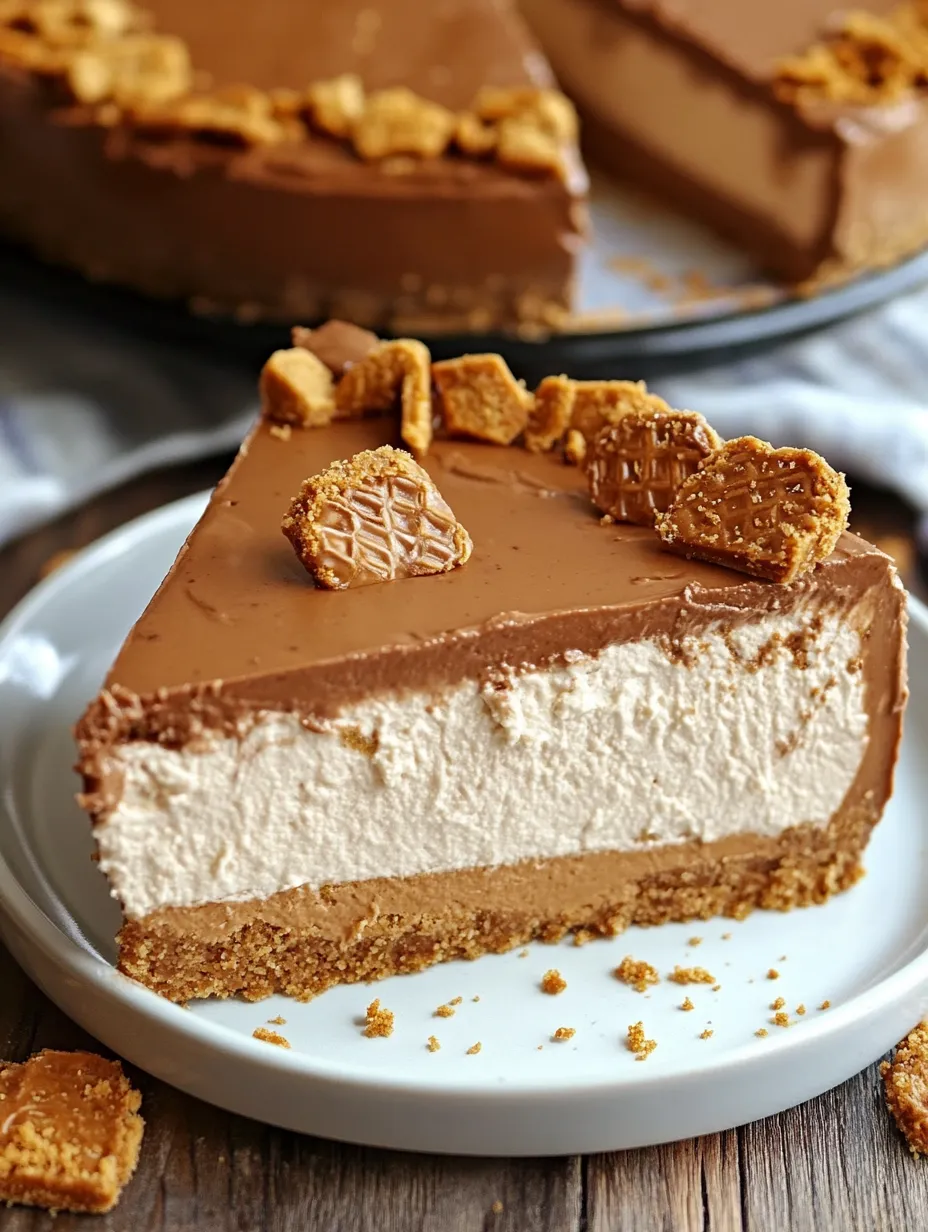
- Achieve the Perfect Slice
- Warm knife under hot water
- Wipe blade clean between cuts
- Apply gentle, steady pressure
- Clean blade for each slice
- Serve immediately after cutting
 Pin it
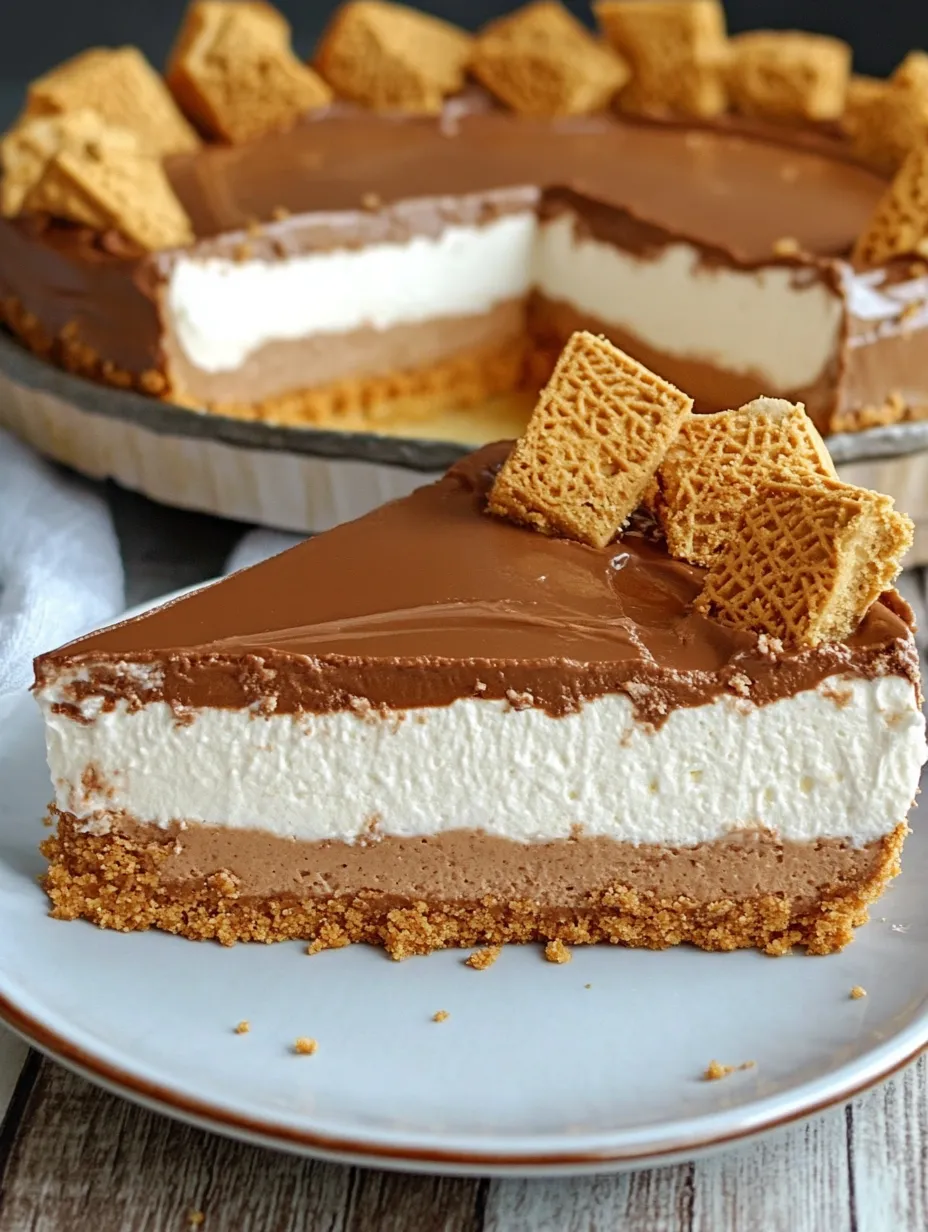
When I first started making this cheesecake, I discovered that taking my time with each layer made all the difference. The base needs to be completely chilled before adding the filling, and the filling must be set before adding the Biscoff topping.
Planning Ahead
I've learned that this cheesecake tastes even better when made a day ahead. The flavors meld together beautifully, and the texture becomes perfectly creamy. Just add the Biscoff topping and garnishes before serving.
Troubleshooting Tips
Sometimes the filling can seem too soft after mixing. If this happens, I chill it for 15-20 minutes before pouring it onto the base. This helps maintain distinct layers and ensures proper setting.
Serving Suggestions
I love to serve this cheesecake with a small pitcher of warm Nutella sauce on the side. The contrast between the cold cheesecake and warm sauce creates an incredible taste experience.
After countless times making this dessert, I've come to appreciate how it brings together simple ingredients to create something truly special. The combination of textures and flavors makes it more than just another cheesecake - it's a dessert that creates memories.
Mastering the Art of Layering
Through numerous iterations, I've developed a foolproof method for achieving those picture-perfect layers. I start by chilling the base until it's completely firm - at least an hour. Then, I add the Nutella filling in three stages, smoothing each layer before adding the next. This prevents air pockets and ensures even distribution. Finally, I let the topping cool slightly before pouring it on, which helps create that beautiful drip effect around the edges.
Storage Solutions and Make-Ahead Tips
This cheesecake can be made up to three days ahead, stored properly. I keep it in the springform pan, covered with plastic wrap, until ready to serve. For the freshest taste, I add the Biscoff topping and garnishes just before presenting. If you need to transport it, freeze it for an hour first - this helps maintain its shape during travel.
Creative Variations
Over time, I've experimented with several delicious variations:
- Adding a layer of crushed hazelnuts between the base and filling
- Swirling extra Nutella through the Biscoff topping for a marbled effect
- Creating mini versions in muffin tins for individual servings
- Using dark chocolate ganache drizzles for extra decoration
 Pin it
Temperature Matters
The success of this cheesecake often depends on temperature control. Room temperature cream cheese blends more smoothly, while cold cream whips to stiffer peaks. I've found that setting ingredients out 30 minutes before starting (except the cream) gives the perfect working temperature.
Presentation Ideas
For special occasions, I create a dessert bar around this cheesecake. Small bowls of warmed Nutella and Biscoff spread, fresh berries, whipped cream, and extra crushed Lotus biscuits allow guests to customize their slices. The interactive element always makes for a memorable dessert experience.
The Perfect Slice
The key to achieving clean, professional-looking slices lies in temperature and technique. I chill the cheesecake thoroughly, then dip my knife in hot water and dry it completely between each cut. This extra effort results in picture-perfect portions that showcase all the beautiful layers.
Frequently Asked Questions
- → Can I make this ahead of time?
- Yes! It's actually best made a day ahead and can be kept refrigerated for up to 3 days.
- → Why isn't my cheesecake setting properly?
- Make sure to whip the cream to stiff peaks and use full-fat cream cheese. Always chill for at least 6 hours.
- → Can I freeze this cheesecake?
- Yes, wrap it well and freeze for up to 2 months. Thaw overnight in the refrigerator.
- → Can I use different cookies for the base?
- Yes, graham crackers or digestive biscuits work well as alternatives to Biscoff cookies.
- → What if I can't find Biscoff spread?
- Any cookie butter or speculoos spread will work. You could also use caramel sauce as an alternative.