
 Pin it
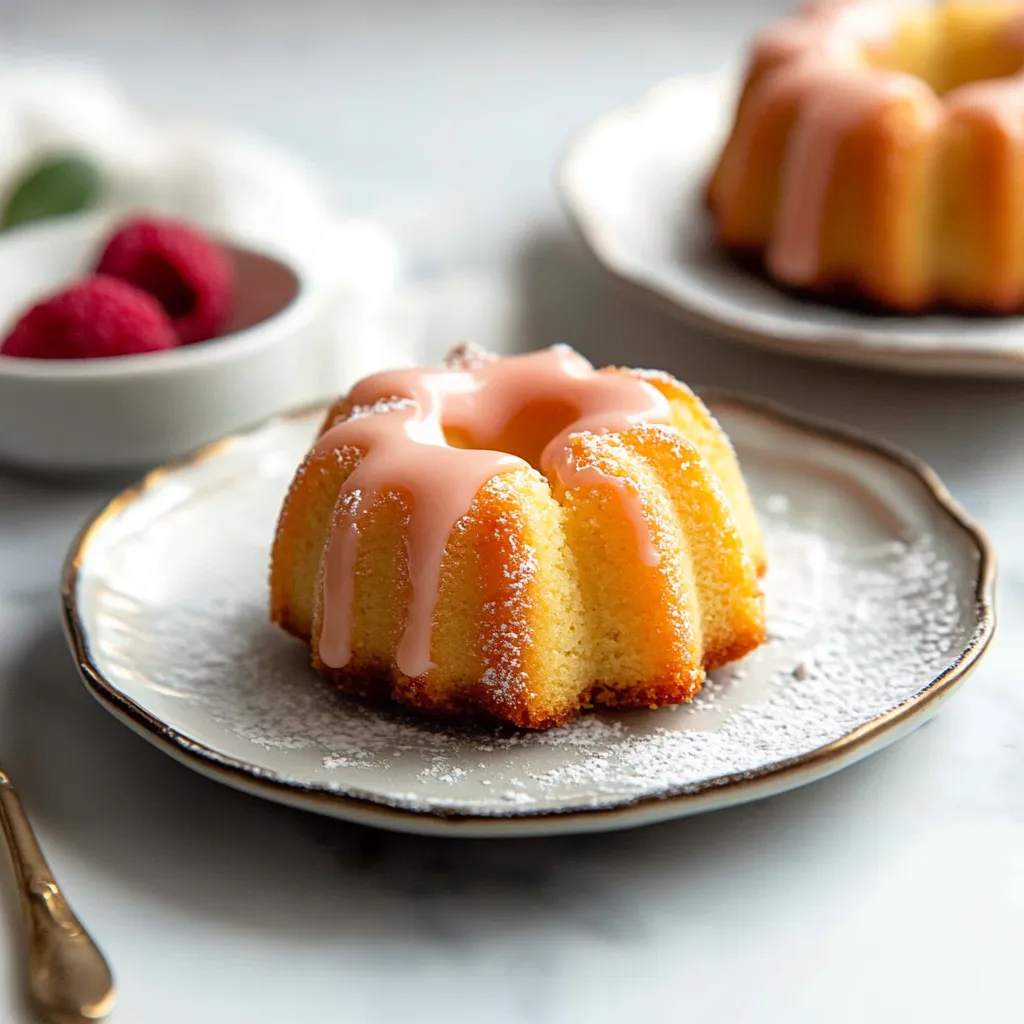
The art of crafting the perfect pound cake lies in its exquisite simplicity, and these Mini Vanilla Pound Cakes capture that essence in charming individual portions. Each tiny cake showcases a perfectly tight crumb, rich with vanilla beans and wrapped in a delicate raspberry glaze that adds both beauty and bright flavor. These petite treasures prove that good things truly do come in small packages.
Last weekend, I served these at a garden party, and watching guests' faces light up at their individual cakes made all the careful measuring worthwhile. The raspberry glaze caught the afternoon sun like tiny pink jewels.
Essential Ingredients and Selection Tips
- Butter - European-style butter with higher fat content creates exceptional richness
- Sour Cream - Full-fat only; it's crucial for that velvety texture
- Vanilla Bean - Look for pods that are plump and flexible, not brittle
- Eggs - Room temperature eggs incorporate better, creating a finer crumb
Through countless batches, I've learned that properly measuring flour by spooning and leveling makes the difference between a tender cake and a heavy one. Like my grandmother always said, baking is a science first.
Detailed Instructions
- Perfect Preparation
- 1. Begin with truly room temperature ingredients - this isn't just a suggestion, it's crucial for proper emulsification. Meanwhile, grease your mini Bundt pan meticulously, reaching every ridge and crevice. Even non-stick pans need this attention.
- Creating the Base
- 2. Beat your softened butter until creamy, then add sugar gradually. This step requires patience - cream until the mixture is noticeably lighter in both color and texture, about 3-4 minutes. This creates the foundation for your cake's structure.
- Building Texture
- 3. Add eggs one at a time, allowing each to fully incorporate before adding the next. Scrape down the bowl frequently - those butter bits hiding at the bottom need to join the party. Add sour cream and vanillas until just combined.
- Finishing the Batter
- 4. Gradually add your dry ingredients, mixing on low speed just until combined. The batter should be thick and luxurious. Don't overmix here - stop as soon as the last flour streak disappears.
- Perfect Portioning
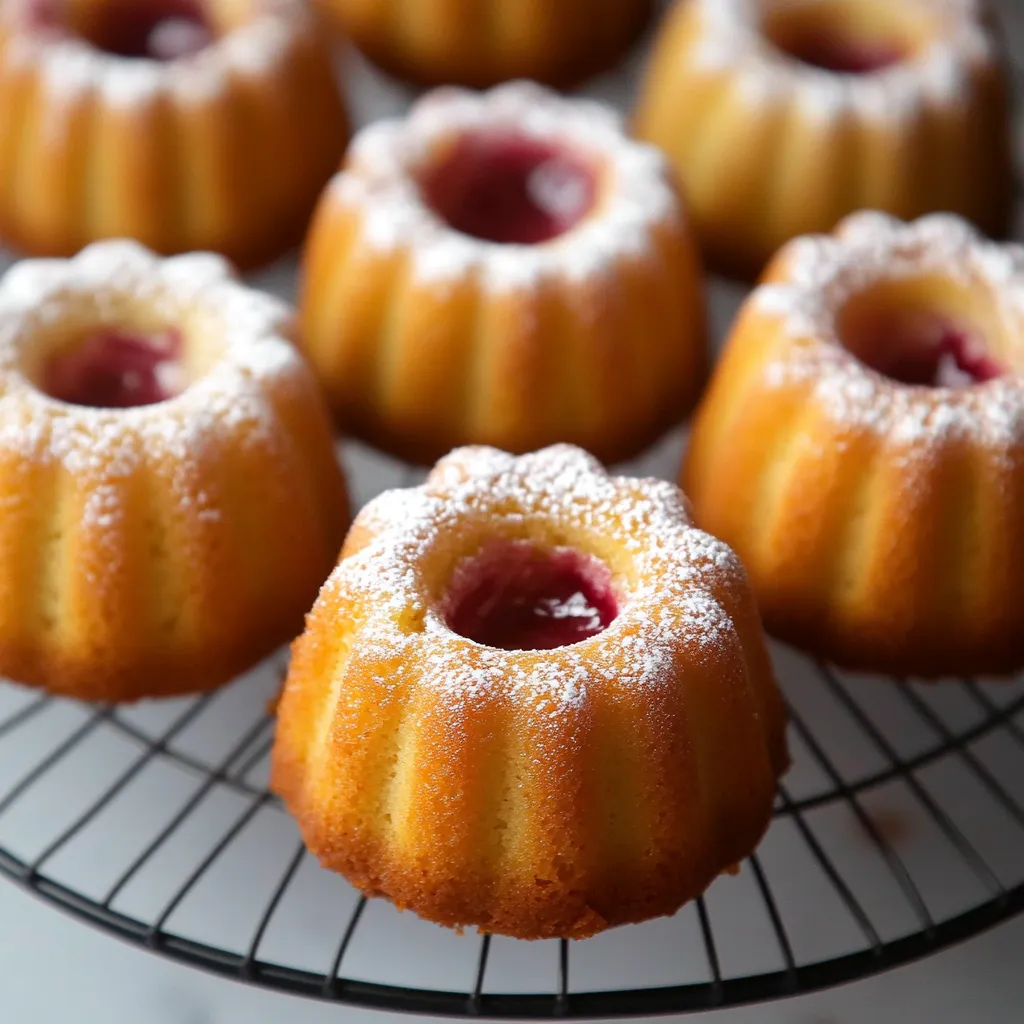
- 5. Fill each cavity about 2/3 full - these cakes need room to rise. Tap the pan gently on the counter to release any air bubbles that could create holes in your finished cakes.
 Pin it
Last month, I discovered that brushing the pan with melted butter then dusting with flour creates the most reliable release.
The Art of Temperature Control
Understanding temperature is crucial for these delicate cakes. Room temperature ingredients create a perfectly emulsified batter, while proper oven temperature ensures even baking. I've found that rotating the pan halfway through baking promotes uniform browning.
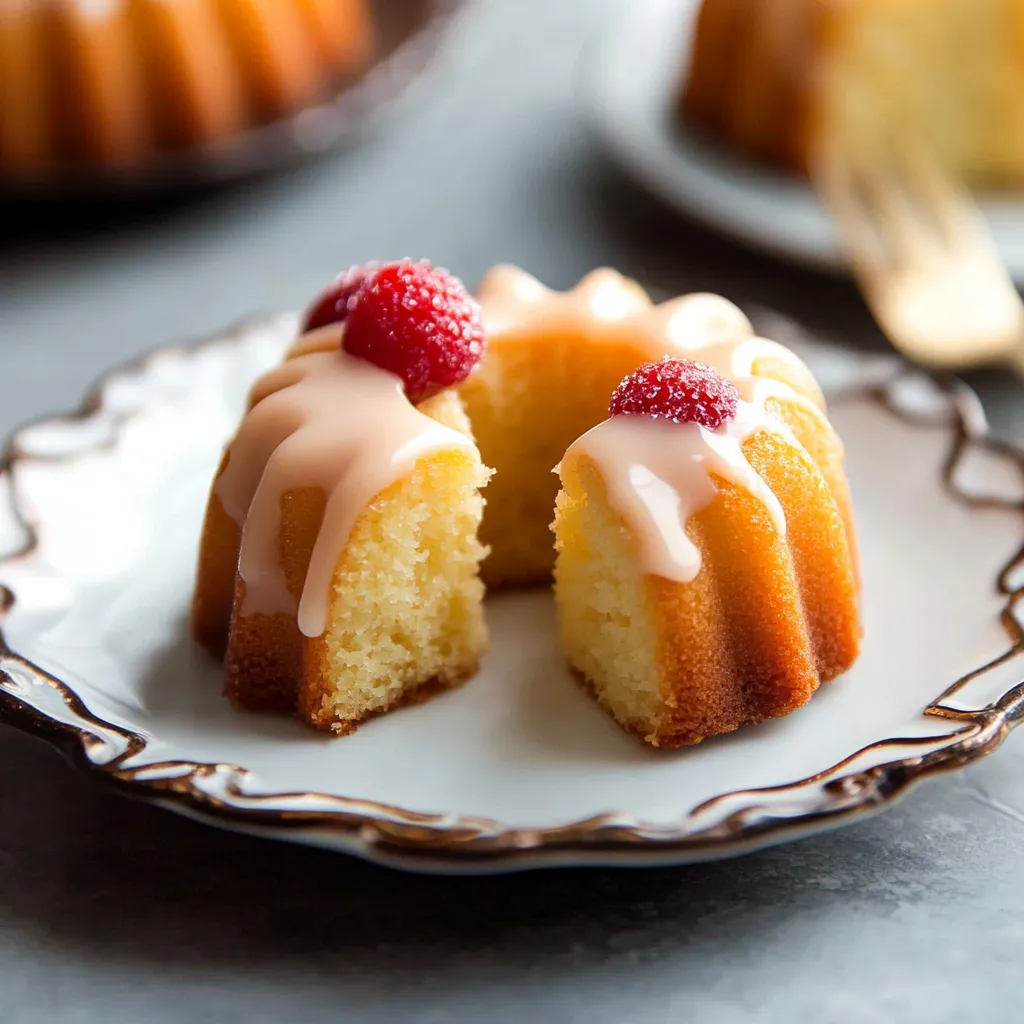
Mastering the Glaze
The raspberry glaze isn't just pretty - it's a careful balance of sweetness and fruit. Mashing the berries with sugar helps release their juices, while straining ensures a silky-smooth finish. Add liquid gradually to achieve the perfect dripping consistency.
 Pin it
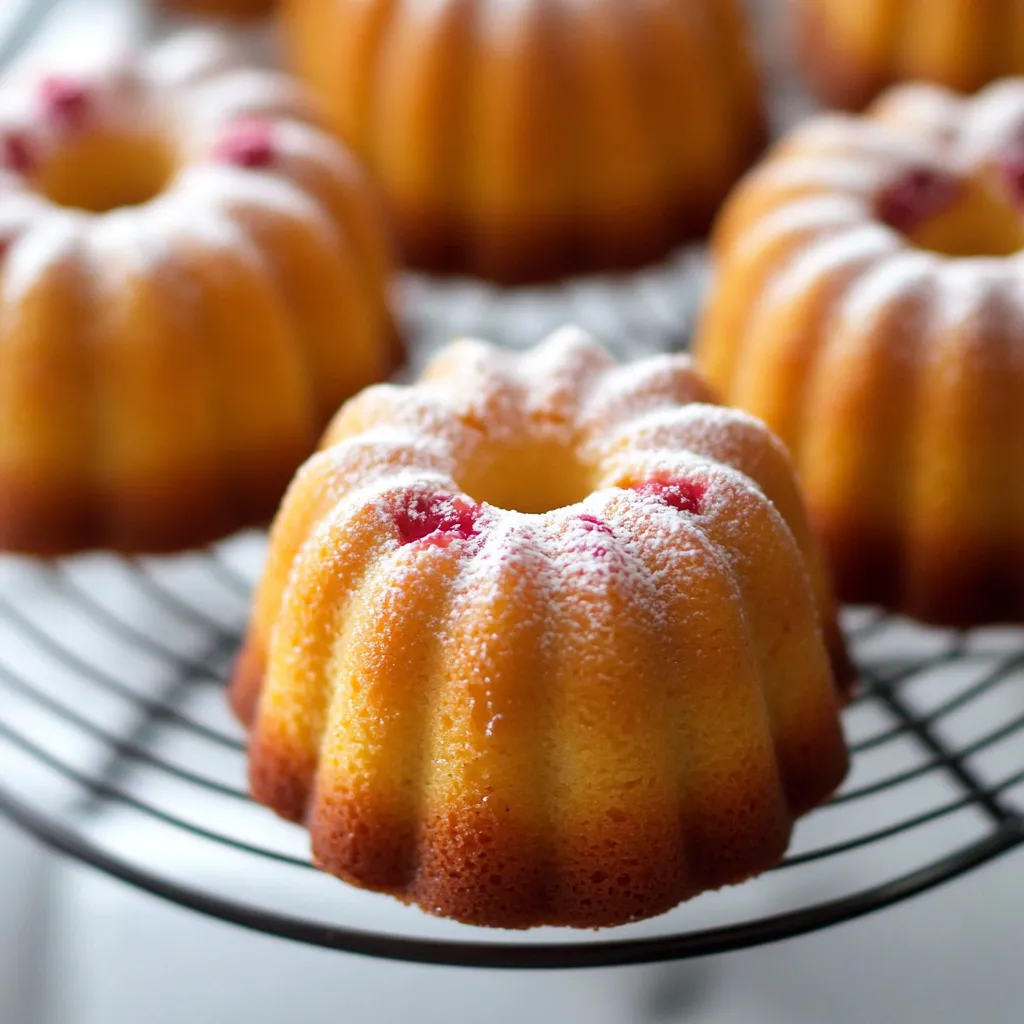
The Art of Pan Selection
The choice of pan dramatically affects the final presentation and baking time. Nordic Ware mini Bundt pans produce the sharpest details, but any quality mini Bundt pan works well when properly prepared. I've found that dark-colored pans require reducing the oven temperature by 25°F to prevent over-browning. If using a mini loaf pan instead, the baking time needs to be adjusted - usually about 5-7 minutes longer due to the different depth and shape.
Mastering Moisture Balance
The secret to perfectly moist mini pound cakes lies in the balance of wet ingredients. While the classic pound cake ratio provides the foundation, the addition of sour cream is crucial. Through testing, I've discovered that room temperature sour cream incorporates more smoothly, creating a more uniform crumb. The vanilla bean seeds not only add flavor but also help distribute moisture evenly throughout each cake.
Storage and Revival Techniques
These cakes actually improve with a day's rest, as the flavors deepen and meld. Store them under a cake dome at room temperature for up to 3 days, or freeze unglazed cakes for up to 3 months. To revive slightly dried cakes, brush them with a simple syrup made from equal parts sugar and water before glazing. This trick, learned from a pastry chef friend, works wonders.
Chef's Essential Tips
- Use a pastry brush to grease every nook of the pan
- Let cakes cool in the pan for exactly 5 minutes - no more, no less
- For the smoothest glaze, sift your confectioners' sugar before mixing
Each time I make these cakes, I'm reminded that attention to detail makes all the difference.
 Pin it
Final Thoughts
These Mini Vanilla Pound Cakes are more than just dessert - they're individual works of art that bring joy to any occasion. The combination of rich, vanilla-flecked cake and bright raspberry glaze creates something truly special. Whether served at an elegant tea party or wrapped as a heartfelt gift, these little cakes prove that sometimes the smallest treats make the biggest impression.
Frequently Asked Questions
- → Can I use a different pan for Valentine's Day?
- Yes, mini loaf pans or a regular loaf pan can be used. See the recipe notes for adjustments to bake times.
- → How do I store the Valentine's Day cakes?
- Store leftover iced cakes at room temperature for 1-2 days or in the refrigerator for up to 5 days.
- → Can I freeze the Valentine's Day cakes?
- Yes! Bake, cool, wrap, and freeze the cakes. Thaw overnight in the refrigerator before icing.
- → Can I omit the vanilla bean?
- Yes, if you don't have a vanilla bean, you can add an extra 1/2 teaspoon of vanilla extract.
- → Why room temperature ingredients?
- Room temperature ingredients mix together more easily and evenly, resulting in a better batter and cake.