
 Pin it
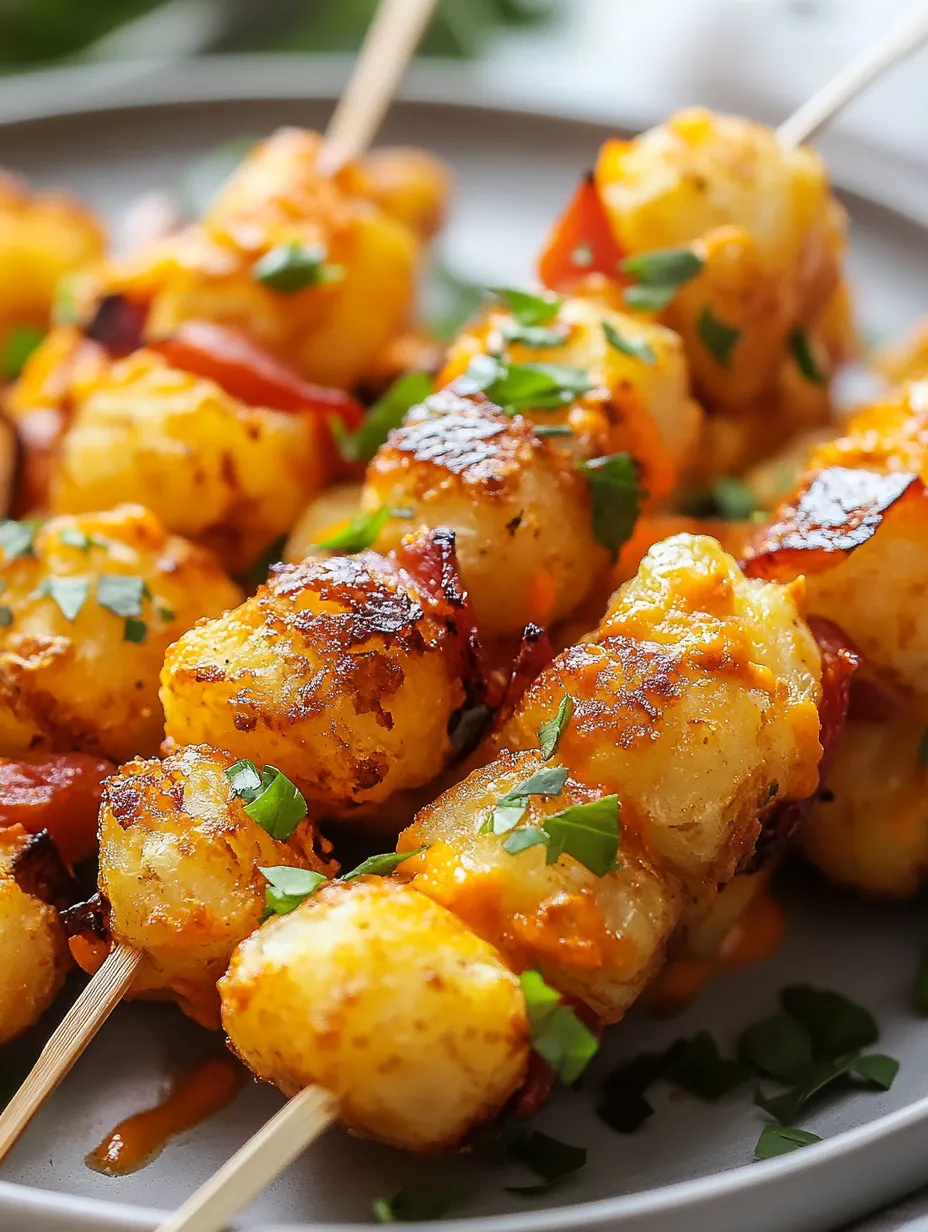
These irresistible Loaded Tater Tot Skewers transform humble frozen tots into a show-stopping appetizer. Crispy tater tots threaded onto skewers, loaded with melted cheese, crispy bacon, and fresh green onions create the perfect party bite. I discovered this recipe while looking for an elevated twist on classic game day snacks, and it's become my most-requested appetizer for casual gatherings.
Last weekend, I served these at a casual get-together, and they disappeared faster than any other dish. The combination of crispy potatoes, melty cheese, and savory bacon had everyone reaching for seconds.
Essential Ingredients and Selection Tips
- Tater Tots - Keep frozen until ready to use for best crispiness
- Bacon - Cook until extra crispy for better texture
- Cheese - Use a melting cheese like cheddar or mozzarella
- Green Onions - Fresh ones provide the best color and crunch
- Sour Cream - Full-fat creates the best dipping sauce
The magic happens when the cheese melts over the crispy tots and combines with the bacon and green onions, creating the perfect savory bite.
Detailed Cooking Instructions
- Step 1: Prepare the Tots
- Bake tater tots according to package directions at 425°F, ensuring they're extra crispy. Proper spacing prevents sogginess.
- Step 2: Cook the Bacon
- Make bacon until very crispy, then chop into small pieces. Crispy bacon maintains better texture when added to the skewers.
- Step 3: Prep Toppings
- Shred cheese, chop green onions, and have all toppings ready before assembling. Organization makes assembly easier.
- Step 4: Thread Skewers
- Once tots are cool enough to handle, carefully thread 4-5 tots onto each skewer, leaving small spaces between each tot.
- Step 5: Add Toppings
- Sprinkle cheese over tots while still warm, allowing it to melt slightly. Add bacon bits and green onions.
- Step 6: Final Touch
- Return loaded skewers to oven briefly just to melt cheese completely, about 2-3 minutes.
- Step 7: Garnish and Serve
- Add final garnishes and serve with sour cream or your favorite dipping sauce.
 Pin it
I learned the importance of properly crisping the tots after my first attempt resulted in skewers that fell apart. Now I ensure they're golden brown before threading.
From Frozen to Fabulous
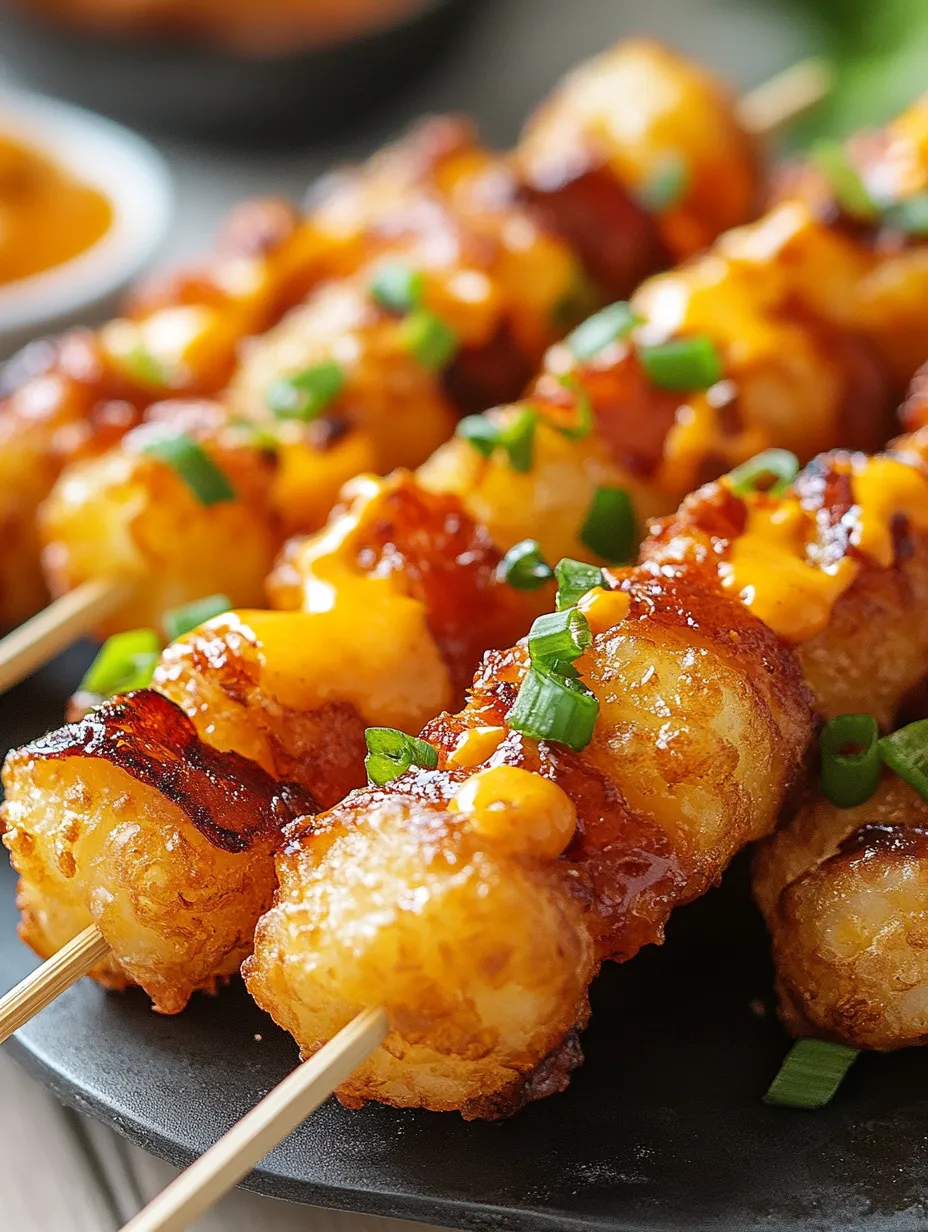
The transformation of humble frozen tater tots into an elegant appetizer never fails to amaze guests. While tots are often relegated to kids' meals or casual snacking, this preparation elevates them to party-worthy status. The key lies in proper preparation - achieving that perfect golden crunch that can support the weight of delicious toppings while maintaining its integrity from plate to palate.
 Pin it
A Symphony of Textures
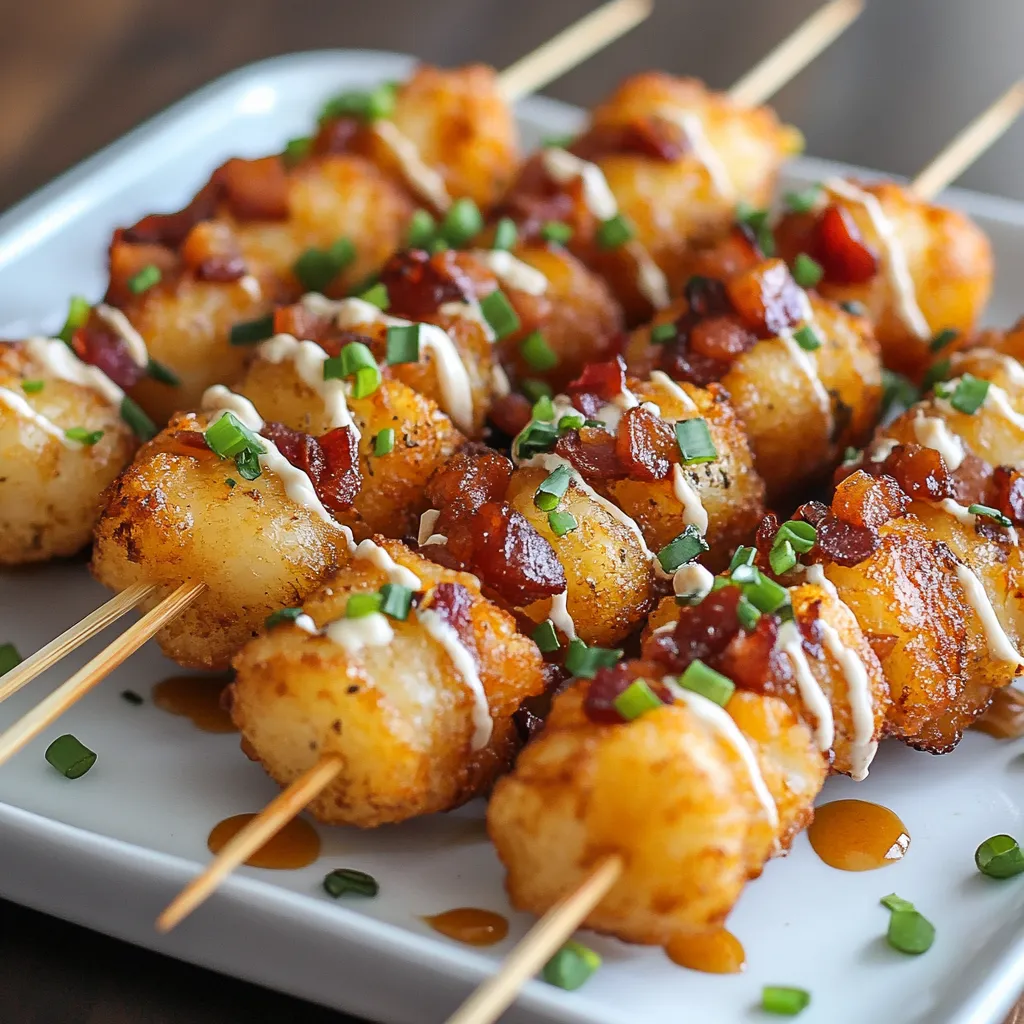
What makes these skewers truly special is the interplay of textures in each bite. The exterior crunch of the perfectly baked tot gives way to a creamy interior, while the melted cheese provides a luxurious coating that binds crispy bacon bits and fresh green onions. This careful balance of crispy, creamy, and crunchy elements creates an addictive bite that keeps guests coming back for more.
Entertaining Made Easy
Perhaps the greatest virtue of these skewers is their versatility in entertaining situations. They can be partially prepared in advance, with tots baked and toppings prepped hours before guests arrive. The final assembly and brief heating creates an impressive display of freshly made appetizers without keeping the host trapped in the kitchen. The skewer presentation also makes them ideal for both seated dinners and standing receptions - no plates required.
Chef's Essential Tips
- Use metal skewers for easy reuse, or soak wooden ones in water first
- Keep tots frozen until ready to bake for maximum crispiness
- Line baking sheet with parchment for easy cleanup
- Prep all toppings before tots come out of oven
- Consider offering multiple dipping sauce options
These loaded skewers have become my signature party appetizer. They combine everyone's favorite comfort foods into one perfect bite that's fun to eat and surprisingly easy to make.
 Pin it
Final Tips
- Make extra - they disappear quickly!
- Set up a topping bar for guests to customize their own
- Keep warm in a low-temperature oven if needed
- Consider different cheese combinations for variety
- Save bacon grease for an extra-flavorful dipping sauce