
 Pin it
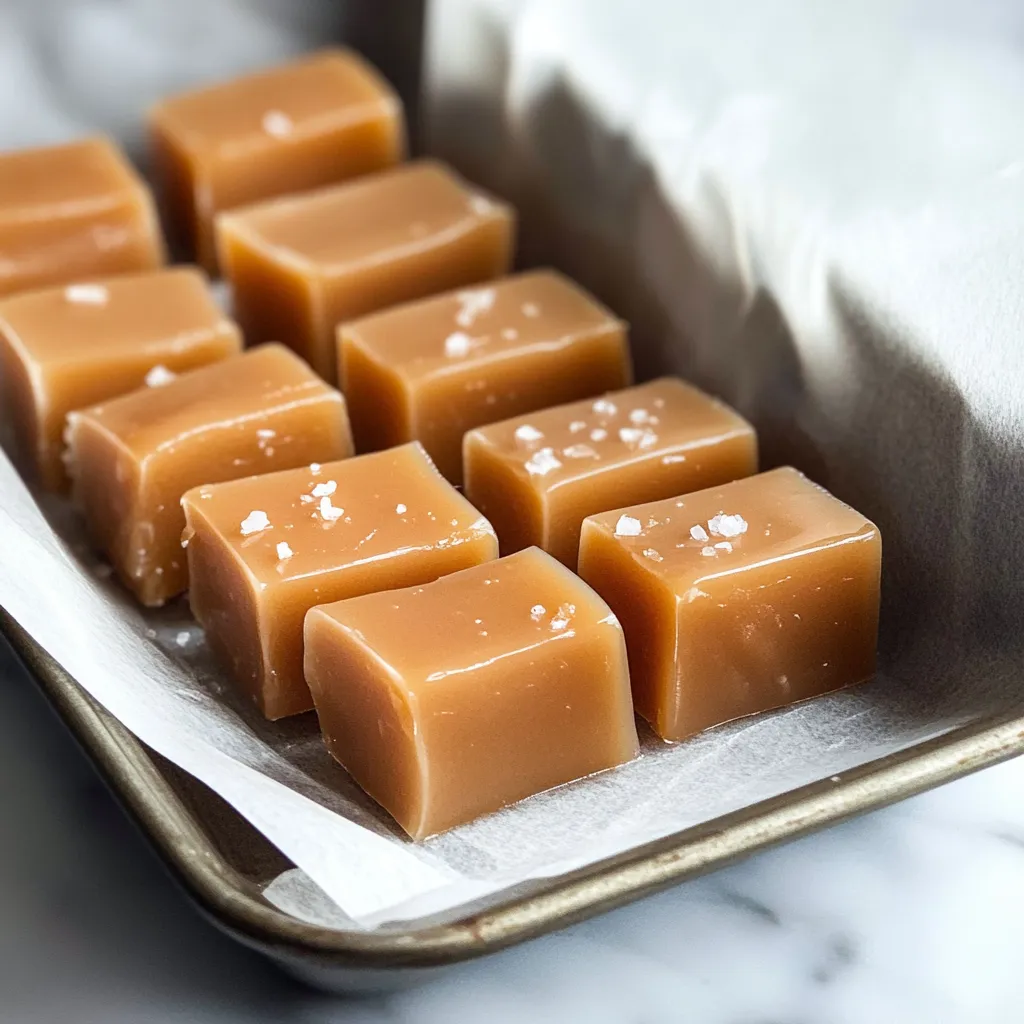
Turn everyday kitchen stuff into fancy, melt-in-your-mouth caramels that are just as good as anything you’d buy from a fancy candy store. This super simple recipe shows you how to make caramels that are perfectly soft and chewy, with just the right mix of sweet and salty. You’ll see, making candy at home isn’t as hard as you might think!
After making tons of batches of these, I’ve learned that the secret is really all about getting the temperature just right, and watching the clock.
Essential Ingredients
- Granulated Sugar: Regular white sugar is perfect
- Light Corn Syrup: This is what keeps your caramels from getting grainy
- Heavy Cream: Make sure it’s the thick kind, at least 36% fat
- Unsalted Butter: Get good quality butter, and let it soften up a bit
- Sea Salt: Use the flaky kind for sprinkling on top
- Water: Just a little bit to get the sugar wet at the start
- Vanilla Extract: Real vanilla extract, not the fake stuff, for the best flavor
Detailed Instructions
- 1. Get Your Pan Ready:
- Line a loaf pan with parchment paper, make sure to leave some extra hanging over the sides so you can lift the caramels out later. Give the parchment a light brush of oil. Clip your candy thermometer to the side of the pan, make sure the tip isn’t touching the bottom.
- 2. Start Cooking the Sugar:
- In a heavy-bottomed pan, mix together the sugar, corn syrup, and water. Stir it just once to get the sugar damp. Turn the heat on to medium and let it come to a boil. Once it’s boiling, put a lid on for about a minute.
- 3. Watch the Temperature Climb:
- Take the lid off and keep cooking without stirring. Let it cook until the edges start to turn a nice golden, amber color. While that’s happening, warm up your cream and butter in the microwave until the butter’s melted. Keep it warm and covered until you need it.
- 4. Add the Cream Carefully:
- Once your sugar mix is amber, slowly pour in the warm cream mixture while you’re stirring. Be careful, it’s gonna bubble up like crazy! Keep cooking and stirring until your candy thermometer hits exactly 240°F (115°C).
- 5. Almost Done:
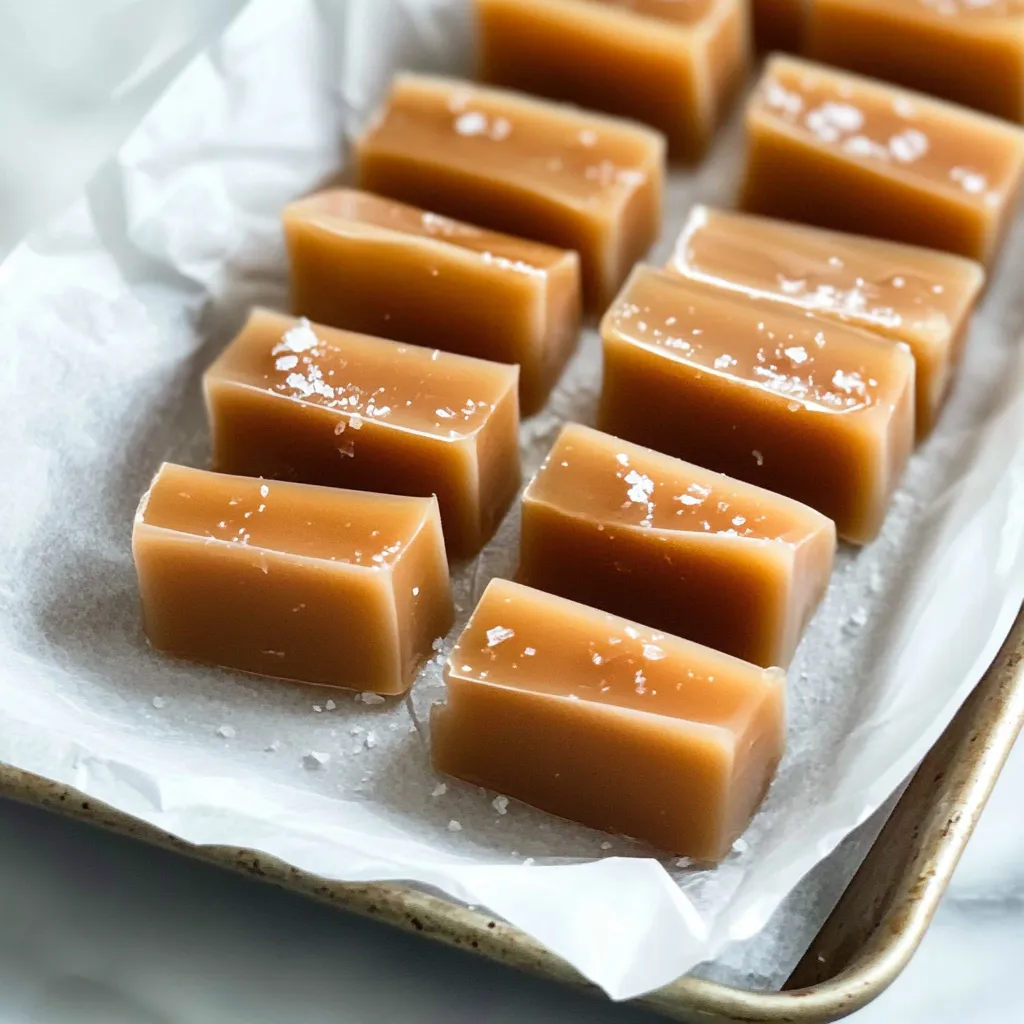
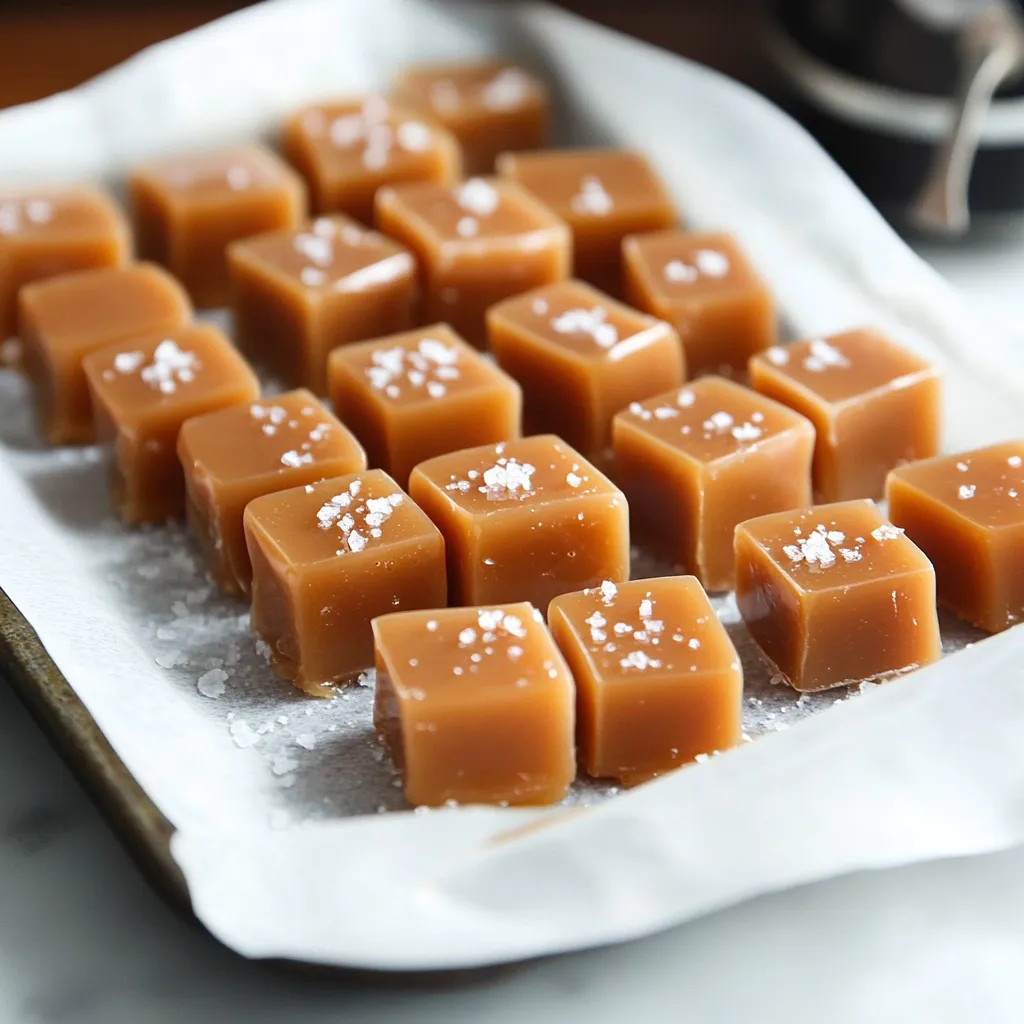
- Quickly pour the hot caramel into your prepared pan. Let it cool on the counter for about twenty minutes, then sprinkle the flaky sea salt over the top. Now, just let it sit and set up completely, this will take around four hours.
 Pin it
Storage and Serving
Once they’re firm, lift the caramels out of the pan using those parchment paper overhangs. Use a big knife that you’ve warmed up in hot water (and dried off between cuts) to slice the caramels into one-inch squares. For a nice touch, wrap each caramel piece individually in little squares of wax paper, and twist the ends to seal them up. Keep the wrapped caramels in a single layer until you’re ready to serve them.
 Pin it
Perfect Pairings
These buttery caramels are awesome for gifting! Put them in pretty boxes or cute mason jars if you’re giving them away. They go so well with a cup of strong coffee, rich hot chocolate, or a cozy afternoon tea. If you’re making a dessert platter, put these next to some dark chocolate truffles and crumbly shortbread cookies. They’re also a super sweet addition to cookie boxes for the holidays or Valentine’s Day treats.
Storage Solutions
Keep your wrapped caramels in a container that seals tight, and they’ll be good at room temperature for up to two weeks. Put parchment paper between the layers to stop them from sticking together. If you want to keep them longer, you can put them in the fridge for up to a month. Just remember to let refrigerated caramels sit out and warm up a bit before you eat them, that way they’ll be soft and flavorful.
 Pin it
These homemade caramels are proof that you really can make amazing candy at home, it’s totally doable and so worth it! You just need to watch the temperature and be a little patient. Whether you’re handing them out as gifts or just enjoying them yourself, they taste like you got them from a fancy candy shop, showing off how great homemade treats can be. Perfect for any special time or just when you’re really craving something sweet and special.
Frequently Asked Questions
- → Do I really need a candy thermometer?
- Yes, a candy thermometer is crucial for achieving the right texture. Without it, it’s difficult to ensure the caramel cooks to the correct temperature.
- → Can I use unsalted butter instead of salted?
- Absolutely! If using unsalted butter, add 1/4 teaspoon of fine salt to compensate for the missing saltiness.
- → What if the caramels are too soft?
- For firmer caramels, cook the mixture to 245°F (118°C) instead of 240°F (115°C). Alternatively, refrigerate them briefly to firm up.
- → Can I double the recipe?
- It’s not recommended to double the recipe, as controlling the temperature becomes more challenging. Instead, make multiple batches for larger quantities.
- → How long do these caramels last?
- Stored properly in an airtight container, these caramels can last up to two weeks in the refrigerator or one month in the freezer.