
 Pin it
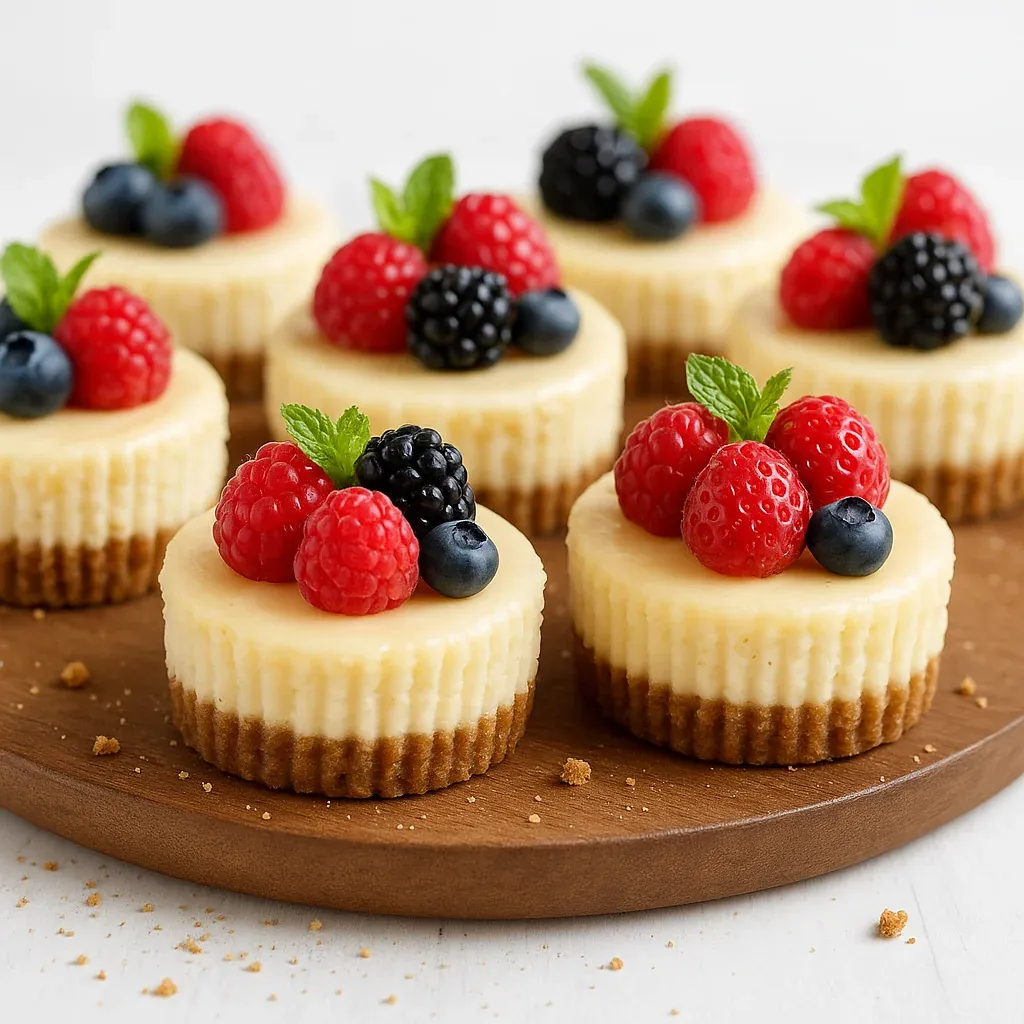
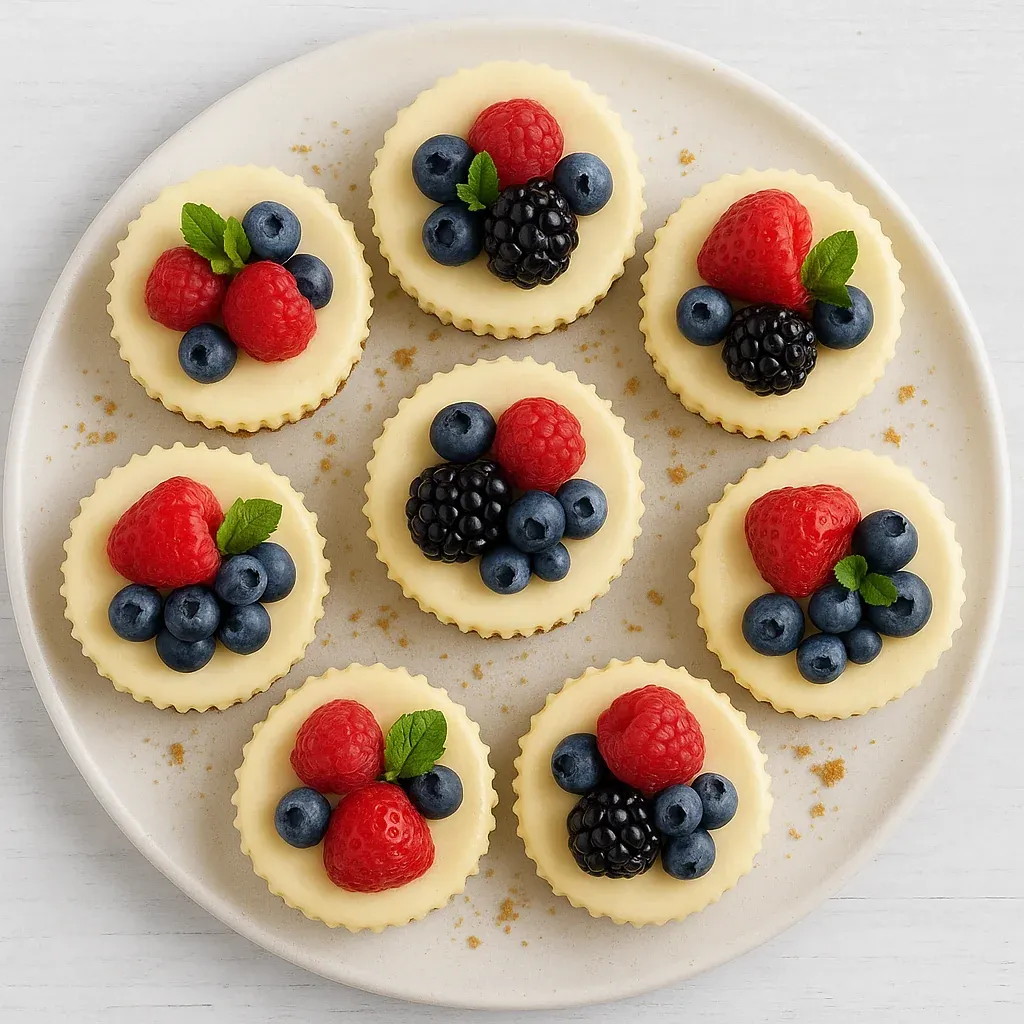
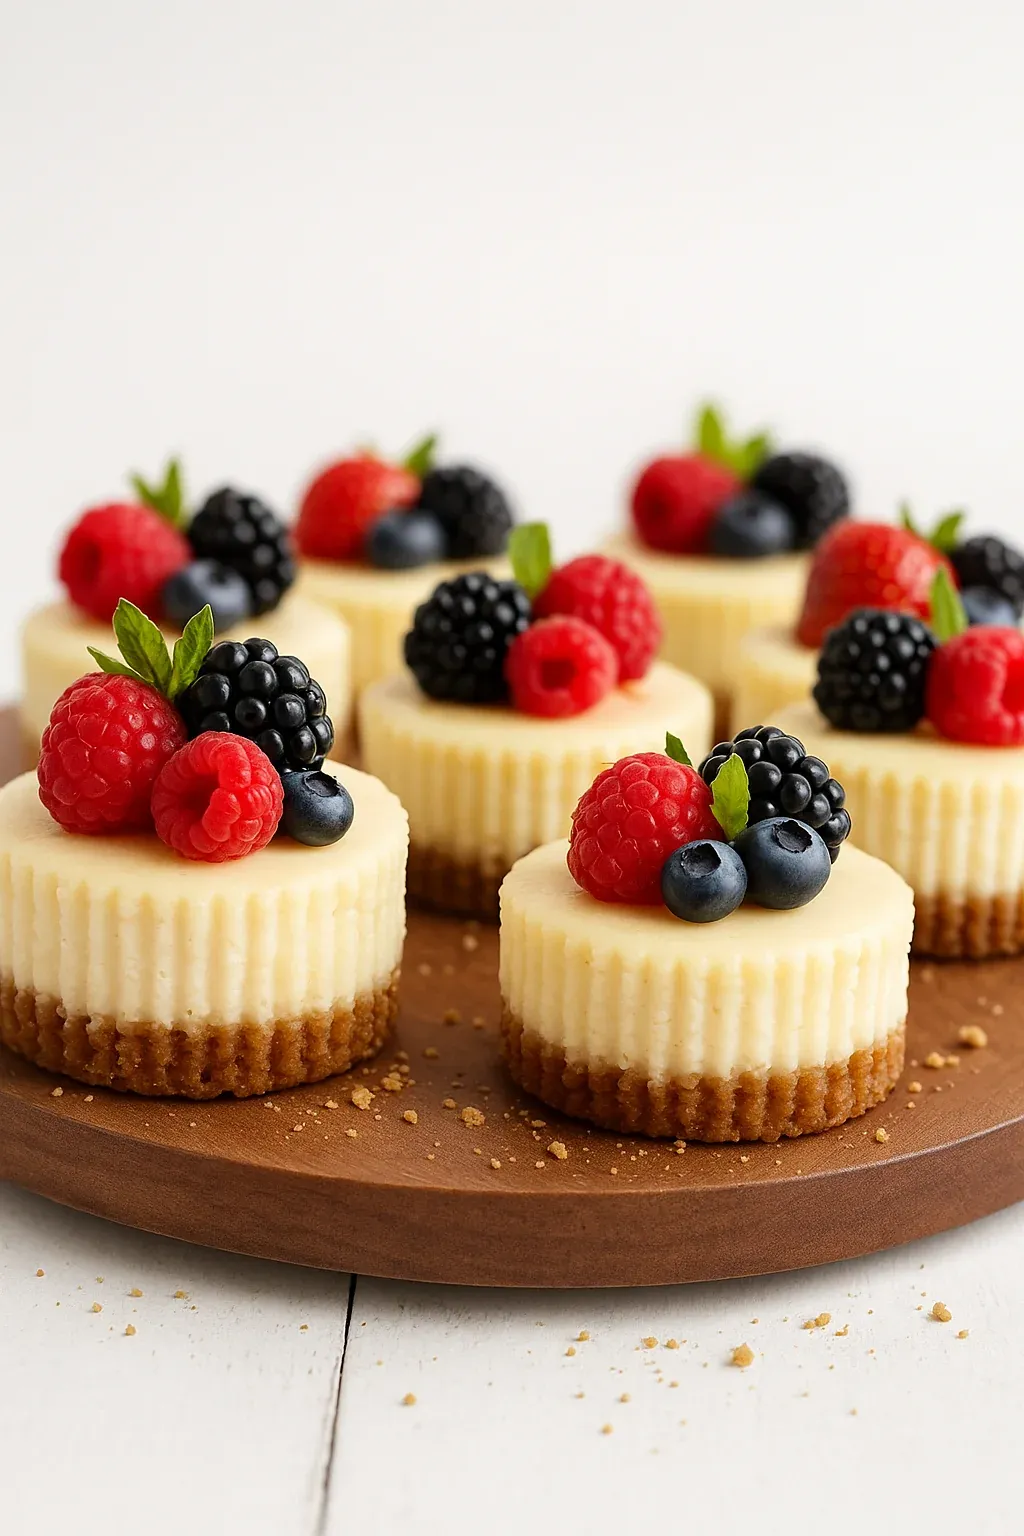
This luscious gluten-free mini cheesecake recipe has been my secret weapon for dinner parties and family gatherings for years. These perfectly portioned treats deliver all the creamy indulgence of traditional cheesecake in an adorable handheld size that never fails to impress guests.
I first created these mini cheesecakes for my celiac sister who missed her favorite dessert terribly. The look on her face when she took that first bite reminded me why I love cooking for others so much. Now they're requested at virtually every family function.
Ingredients
- Gluten free graham cracker crumbs: Provide the perfect crunchy base. I prefer Schär Honeygrams for their authentic flavor and reliable gluten free certification.
- Light brown sugar: Adds depth to the crust with its subtle molasses notes.
- Butter: Binds the crust together while adding richness. Use unsalted to control the sodium level.
- Cream cheese: Forms the heart of this recipe. Full fat creates the creamiest texture but reduced fat works in a pinch.
- Sour cream: Introduces a subtle tang that balances the sweetness perfectly.
- Eggs: Provide structure and that signature silky cheesecake texture.
- Granulated sugar: Sweetens without overpowering the delicate flavor profile.
- Vanilla extract: Enhances all the other flavors. Always opt for pure rather than imitation.
- Lemon juice: Brightens the entire dessert with just a hint of acidity.
Step-by-Step Instructions
- Prepare the Pan:
- Preheat your oven to exactly 350°F and line a standard 12-cup muffin tin with cupcake liners. The liners make removal effortless and maintain the cheesecakes' shape. If using paper liners, consider a quick spritz of cooking spray for easier removal.
- Create the Crust:
- Crush your gluten free graham crackers into fine crumbs using a food processor for the most consistent texture. If you lack a processor, place crackers in a sturdy zip-top bag and crush with a rolling pin. Combine the crumbs thoroughly with brown sugar and melted butter until the mixture resembles wet sand. Scoop about 1½ tablespoons into each liner and firmly press down with the back of a measuring spoon to create an even, compact layer.
- Mix the Filling:
- Ensure all refrigerated ingredients have reached room temperature to prevent lumps. Beat cream cheese on low to medium speed for a full 1-2 minutes until completely smooth and fluffy. This initial beating is crucial for texture. Gradually incorporate sour cream, eggs, sugar, vanilla, and lemon juice, beating just until combined. Overbeating after adding eggs can introduce too much air, leading to cracks.
- Fill and Bake:
- Using a greased cookie scoop for consistency, divide the silky filling among the prepared crusts, filling each liner to the top. Bake for exactly 20 minutes until the edges are just set and centers still have a slight jiggle. The tops may begin to show the faintest golden color. They will rise while baking and settle as they cool, which is completely normal.
- Cool and Chill:
- Allow the cheesecakes to cool completely at room temperature before covering and refrigerating for at least 3 hours. For best flavor and texture, refrigerate overnight. The extended chilling time allows the flavors to meld and the texture to set properly.
 Pin it
The lemon juice is my secret ingredient in this recipe. Though just a teaspoon, it brightens the entire flavor profile without making the cheesecakes taste lemony. My grandmother taught me this trick years ago, and I have never made a cheesecake without it since. The difference is subtle but significant.
Topping Ideas
These mini cheesecakes are delightful on their own, but toppings can transform them for any occasion. Fresh berries make a vibrant, naturally sweet addition that contrasts beautifully with the rich filling. For chocolate lovers, a drizzle of ganache or a sprinkle of chocolate shavings elevates the dessert to new heights. During fall and winter months, consider a homemade caramel sauce with a pinch of sea salt or spiced apple compote for seasonal flair. For special occasions, a dollop of freshly whipped cream and a mint sprig creates an elegant presentation that never fails to impress guests.
Storage Tips
These mini cheesecakes truly shine as a make ahead dessert option. After cooling completely, keep them refrigerated in an airtight container for up to 5 days. Leave the cupcake liners on until ready to serve to maintain their shape and prevent drying out. For longer storage, freeze the plain cheesecakes without toppings in a single layer until solid, then transfer to a freezer safe container with parchment between layers. They maintain perfect quality for one month frozen. Thaw overnight in the refrigerator or at room temperature for about 10 minutes before serving and add fresh toppings just before presenting.
 Pin it
Troubleshooting Tips
Sometimes even experienced bakers encounter issues with cheesecakes. If your filling has lumps, the most likely culprit is cold ingredients. Next time, place refrigerated items in warm water for a few minutes before using. Cracks on top indicate either overmixing after adding eggs or baking at too high a temperature. Fortunately with mini cheesecakes, any cracks will fill in as they cool and settle. If your crust seems crumbly, add an additional tablespoon of melted butter next time. For the creamiest possible texture, avoid opening the oven door during baking, as temperature fluctuations can affect the setting process.
Ingredient Substitutions
This recipe offers flexibility to accommodate various dietary needs. For a dairy free version, substitute plant based cream cheese and sour cream alternatives made from almond, cashew, or coconut. Just be aware the texture may be slightly different. Coconut oil can replace butter in the crust for those avoiding dairy completely. For a lower sugar option, swap granulated sugar with monk fruit sweetener or erythritol at a 1:1 ratio, though the texture may be slightly altered. Those avoiding eggs can experiment with commercial egg replacers, though the setting properties will differ somewhat from traditional cheesecake.
Frequently Asked Questions
- → Can I make these cheesecakes ahead of time?
Yes, you can prepare the mini cheesecakes in advance. Once cooled, refrigerate them covered and serve within a couple of days. Add toppings before serving.
- → What is the best way to prevent lumps in the batter?
Use room-temperature ingredients to ensure the batter mixes smoothly. Quickly bring ingredients to room temperature by placing them in warm water for 2-3 minutes.
- → Can these mini cheesecakes be frozen?
Yes, they can be frozen plain (without topping) in a freezer-safe container for up to a month. Defrost overnight in the refrigerator or at room temperature for 5-10 minutes.
- → What toppings go well with these cheesecakes?
Fresh fruit like berries, chocolate ganache, caramel drizzle, or whipped cream are all excellent choices for topping the mini cheesecakes.
- → What if my cheesecakes crack on top?
Don't worry if cracks appear. Once cooled, the tops will naturally sink and the cracks will fill themselves in. Topping with decorations can also hide imperfections.