
 Pin it
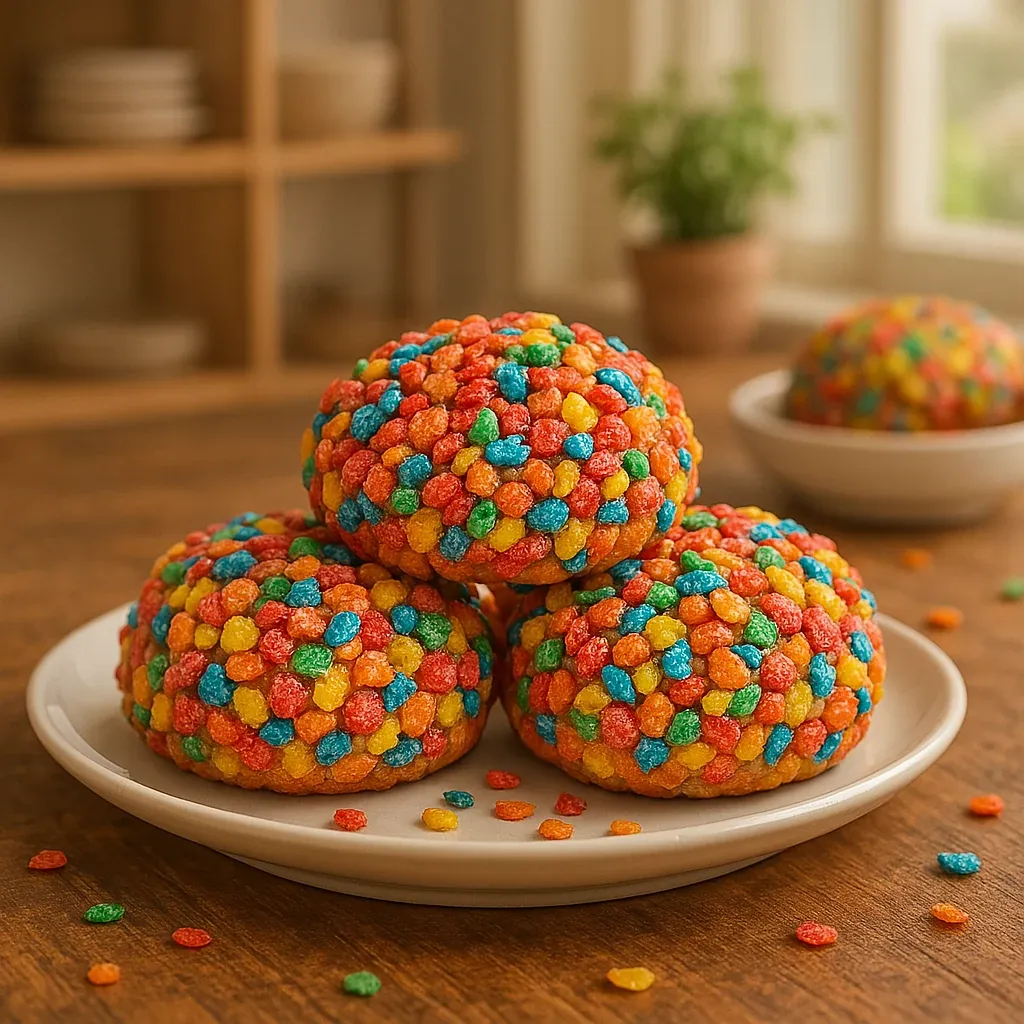
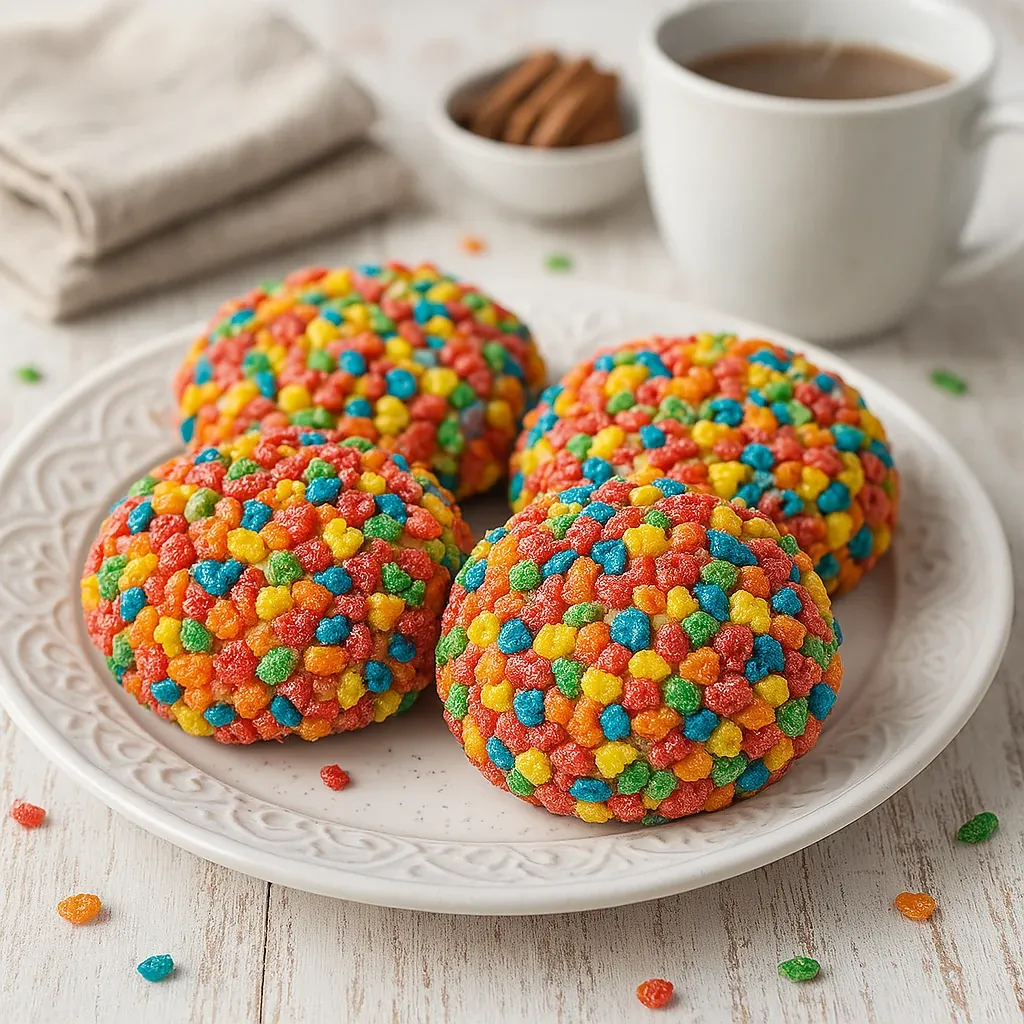
This fruity pebbles cookie recipe transforms a beloved childhood cereal into a delightful sweet treat perfect for satisfying your inner child. The colorful cereal adds both visual appeal and a delicious crunch to these soft and chewy cookies, creating a dessert that brings joy with every bite.
I first made these cookies for my niece's birthday party, and they were such a hit that they've become my signature contribution to family gatherings. The way children's eyes light up when they see these colorful treats never fails to make me smile.
- Unsalted butter: softened to room temperature for proper creaming and rich flavor
- Granulated sugar: provides sweetness and helps create crisp edges
- Brown sugar: adds moisture and a hint of caramel flavor for depth
- Egg: works as a binder for the cookie structure
- Vanilla extract: enhances all the flavors and adds warmth
- All-purpose flour: provides the structure for these soft cookies
- Baking soda: helps the cookies rise and spread properly
- Salt: balances the sweetness and enhances flavor
- Fruity Pebbles cereal: adds color, crunch, and the signature fruity flavor
- White chocolate chips: optional but adds creamy sweetness that complements the fruity flavor
- Prepare the Oven and Equipment:
- Heat your oven to 350°F and line your baking sheets with parchment paper. This temperature creates the perfect environment for cookies that remain soft in the center while developing slightly crisp edges.
- Cream the Butter and Sugars:
- Place the softened butter, granulated sugar, and brown sugar in a large mixing bowl and beat for 3 to 4 minutes until the mixture becomes notably lighter in color and fluffy in texture. This incorporates air into the dough which helps create that perfect cookie texture.
- Add Wet Ingredients:
- Add the egg and vanilla extract to your butter mixture and mix thoroughly until completely incorporated, about 1 minute. The mixture should look smooth and slightly glossy. Scrape down the sides of the bowl to ensure everything is well mixed.
- Combine Dry Ingredients:
- In a separate bowl, whisk together the flour, baking soda, and salt until evenly distributed. This ensures that the leavening agent is distributed throughout the dough for even rising.
- Merge Wet and Dry Mixtures:
- Gradually add the dry ingredients to the wet mixture, mixing on low speed just until combined. Overmixing at this stage can develop too much gluten resulting in tough cookies instead of tender ones.
- Add the Star Ingredients:
- Gently fold in the Fruity Pebbles cereal and white chocolate chips, if using. Use a spatula rather than a mixer for this step to preserve the cereal pieces and prevent them from breaking down too much.
- Shape and Bake:
- Scoop rounded tablespoons of dough and roll into balls. Place them on your prepared baking sheet, leaving about 2 inches between each cookie. Bake for 8 to 10 minutes until the edges are just set but the centers still look slightly underdone; they will continue cooking on the hot baking sheet.
- Finishing Touches:
- While the cookies are still warm, gently press additional Fruity Pebbles onto the tops for extra color and crunch. Allow the cookies to cool on the baking sheet for 5 minutes before transferring to a cooling rack to finish cooling completely.
 Pin it
My favorite part of making these cookies is watching the colorful cereal transform the simple cookie dough into something special. The moment when I open the oven and see the bright speckled cookies always makes me smile and remember Saturday morning cartoons with a big bowl of cereal.
Perfect Storage Techniques
The key to maintaining the texture of these cookies lies in proper storage. Once completely cooled, place them in an airtight container with parchment paper between layers. At room temperature, they'll stay fresh for about 4 days. For longer storage, freeze the baked cookies in a single layer then transfer to a freezer bag or container where they'll keep for up to 3 months. You can even freeze the unbaked dough balls and bake them straight from frozen, adding just 1 to 2 minutes to the baking time.
Creative Variations
These cookies provide an excellent base for creative experimentation. Try mixing in different cereals such as Cocoa Pebbles for a chocolate version or substituting a portion of the all-purpose flour with graham cracker crumbs for a s'mores-inspired twist. For special occasions, consider adding a simple icing drizzle in contrasting colors or pressing extra cereal on top immediately after baking for added visual appeal. During holiday seasons, incorporate seasonal sprinkles alongside the cereal for festive-themed cookies that celebrate any occasion.
Serving Suggestions
These colorful cookies make a stunning presentation when stacked on a tiered plate for parties or arranged around the edge of a bowl of vanilla ice cream for an impressive dessert. For a delightful after-school snack, pair them with cold milk either for dipping or alongside. They also make excellent gifts when packaged in clear cellophane bags tied with colorful ribbons, making them perfect for birthday party favors or holiday gifting. Consider serving them as part of a nostalgic dessert board alongside other childhood favorites for a fun-themed gathering.
 Pin it
Frequently Asked Questions
- → Can I use a different cereal instead of Fruity Pebbles?
Yes, you can substitute Fruity Pebbles with your favorite cereal, such as Cocoa Pebbles, Rice Krispies, or even Fruit Loops, for a unique flavor and texture.
- → How do I store these cookies to keep them fresh?
Store the cookies in an airtight container at room temperature for up to 4 days. You can also refrigerate them for up to a week or freeze the dough for longer storage.
- → Can I make these cookies gluten-free?
Yes, simply replace the all-purpose flour with a 1:1 gluten-free flour blend. Double-check the cereal’s packaging to ensure it’s certified gluten-free.
- → Can I add other mix-ins to these cookies?
Absolutely! White chocolate chips, rainbow sprinkles, or a drizzle of icing make great additions. You can also fold in chopped nuts or dried fruits for added texture.
- → How should I prepare the dough for freezing?
Roll the cookie dough into balls and place them on a baking sheet. Freeze until firm, then transfer to a freezer bag or container and store for up to three months. Bake directly from frozen for slightly longer bake times.