These no-bake Oreo balls are the perfect blend of cookies and cream in truffle form. Starting with regular Oreo cookies crushed into fine crumbs, then mixed with creamy cream cheese, these treats are incredibly easy to make but look and taste like they came from a fancy candy shop. The secret to their perfect texture is using brick-style cream cheese and chilling the mixture before shaping. Once formed into balls, they're dipped in melted chocolate for a beautiful finish. You can get creative with toppings like sprinkles or extra Oreo crumbs, and even try different Oreo flavors like Golden or Mint. They're perfect for parties, holiday gatherings, or gift-giving, and you can make them ahead since they store beautifully in the fridge for up to two weeks.
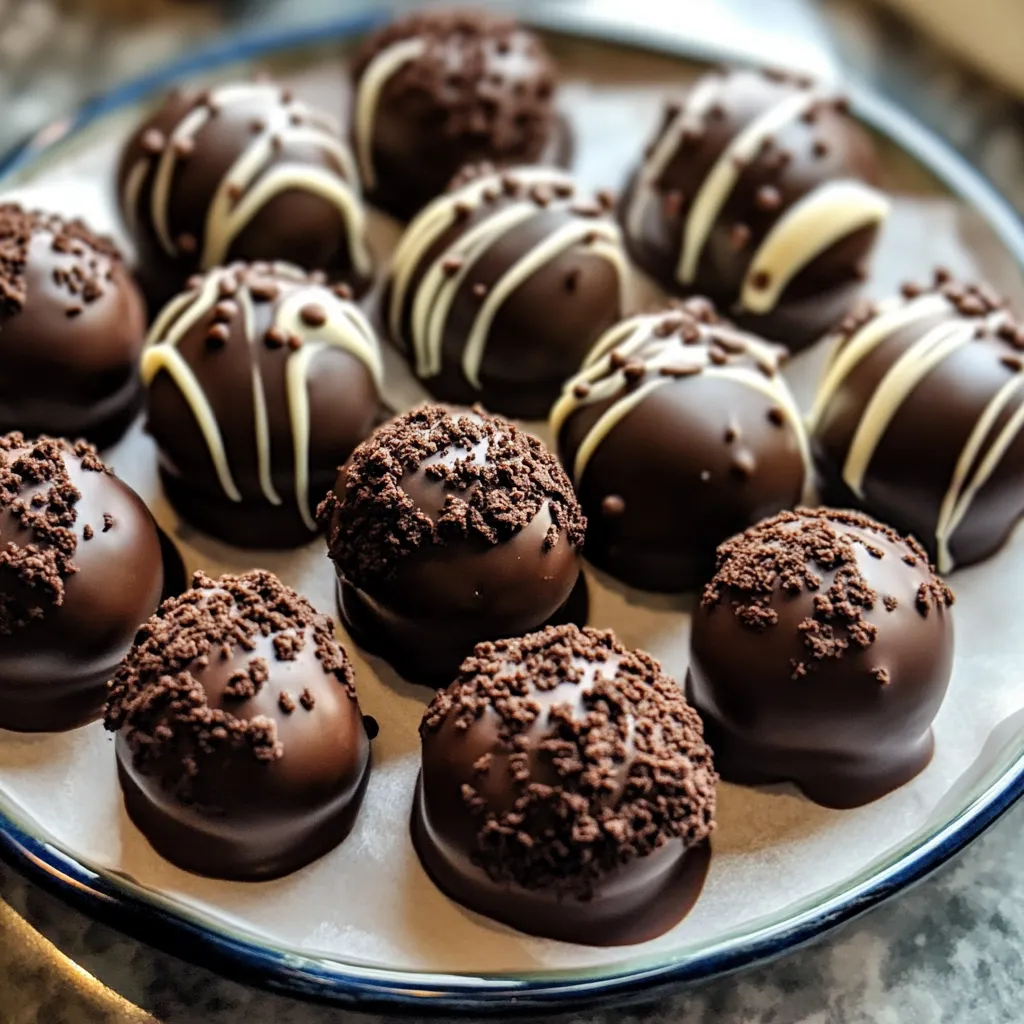
Pin itHow to Make Oreo Balls (Truffles) | cookingkeys.com
Imagine biting into a perfectly chocolate-coated Oreo ball - that moment when the smooth chocolate shell gives way to reveal a velvety, cookies-and-cream center. These no-bake treats combine the beloved flavors of classic Oreos with rich cream cheese, all enrobed in premium chocolate. In my kitchen, they've become the most requested dessert at family gatherings, transforming simple ingredients into irresistible bite-sized delights.
Last Christmas, I made several batches as gifts for neighbors. My elderly neighbor, who usually politely declines sweets, called the next day asking for the recipe. The secret? Taking time to achieve the perfect cookie-to-cream cheese ratio and using quality chocolate for dipping.
Essential Ingredients and Selection Tips
Oreo Cookies: Stick with classic Oreos, not Double-Stuf. The standard filling ratio ensures perfect texture. I've tried every variety, but original remains my go-to
Cream Cheese: Only use full-fat brick cream cheese at room temperature. Low-fat versions can make the mixture too soft
Chocolate: Choose high-quality baking bars like Ghirardelli or Lindt. Chocolate chips contain stabilizers that affect melting
Vegetable Oil: A touch of neutral oil creates the perfect dipping consistency. I prefer refined coconut oil for its clean taste
Optional Toppings: Keep sprinkles, extra Oreo crumbs, or contrasting chocolate ready for decorating
Detailed Cooking Instructions
The Setup Stage Begin with your workspace organization - I lay out two baking sheets lined with parchment paper, set up the food processor, and ensure all ingredients are at room temperature. Having everything ready prevents the mixture from getting too soft while you search for tools.
Crumb Creation Start with the Oreo transformation. Place whole Oreos (cream filling and all) into your food processor. Pulse in 5-second bursts until you achieve a fine, uniform texture - like dark, moist sand. Any chunks will affect your final texture, so take your time here. If using a rolling pin method, double-bag those cookies to prevent a mess.
The Crucial Blend Add your softened cream cheese to the cookie crumbs. Pulse in 10-second intervals, stopping to scrape down the sides. You're looking for a cohesive mixture that resembles thick cookie butter. When no white streaks remain, you've hit the sweet spot.
Rolling Excellence Here's where patience becomes crucial. Using a 1-tablespoon scoop (or a spoon if you're freestyling), portion out the mixture. Roll each portion between your palms until perfectly smooth - think small golf balls. Place them on your prepared sheet. If the mixture starts sticking, chill it for 15 minutes, then resume rolling.
The Chocolate Magic While your balls chill (minimum 1 hour), prepare the chocolate coating. Chop your chocolate bars into uniform pieces - this ensures even melting. Create a double boiler by setting a heatproof bowl over simmering water. Add chocolate and oil, stirring gently until you achieve a smooth, glossy pool.
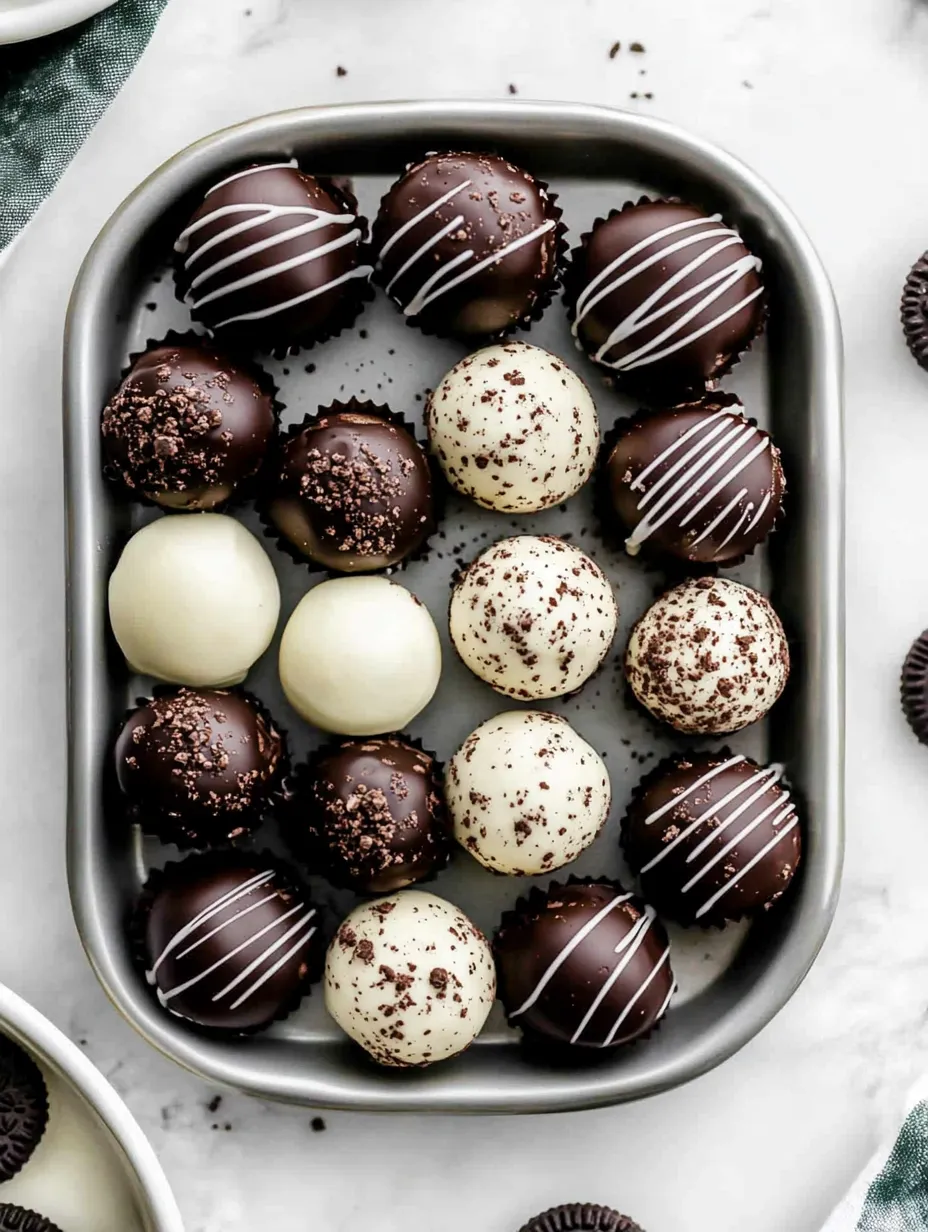
Pin itHow to Make Oreo Balls Recipe (Truffles) | cookingkeys.com
My journey with these Oreo balls began when my daughter requested them for her school bake sale. What started as a simple recipe has evolved into our signature holiday treat, with each batch teaching me something new about chocolate work.
The Art of Dipping
Achieving that perfect chocolate coating took practice. I've learned to let the melted chocolate cool slightly before dipping - too hot and it thins the coating, too cool and you get lumps. A fork tapped gently on the bowl's edge creates those beautiful professional-looking drips.
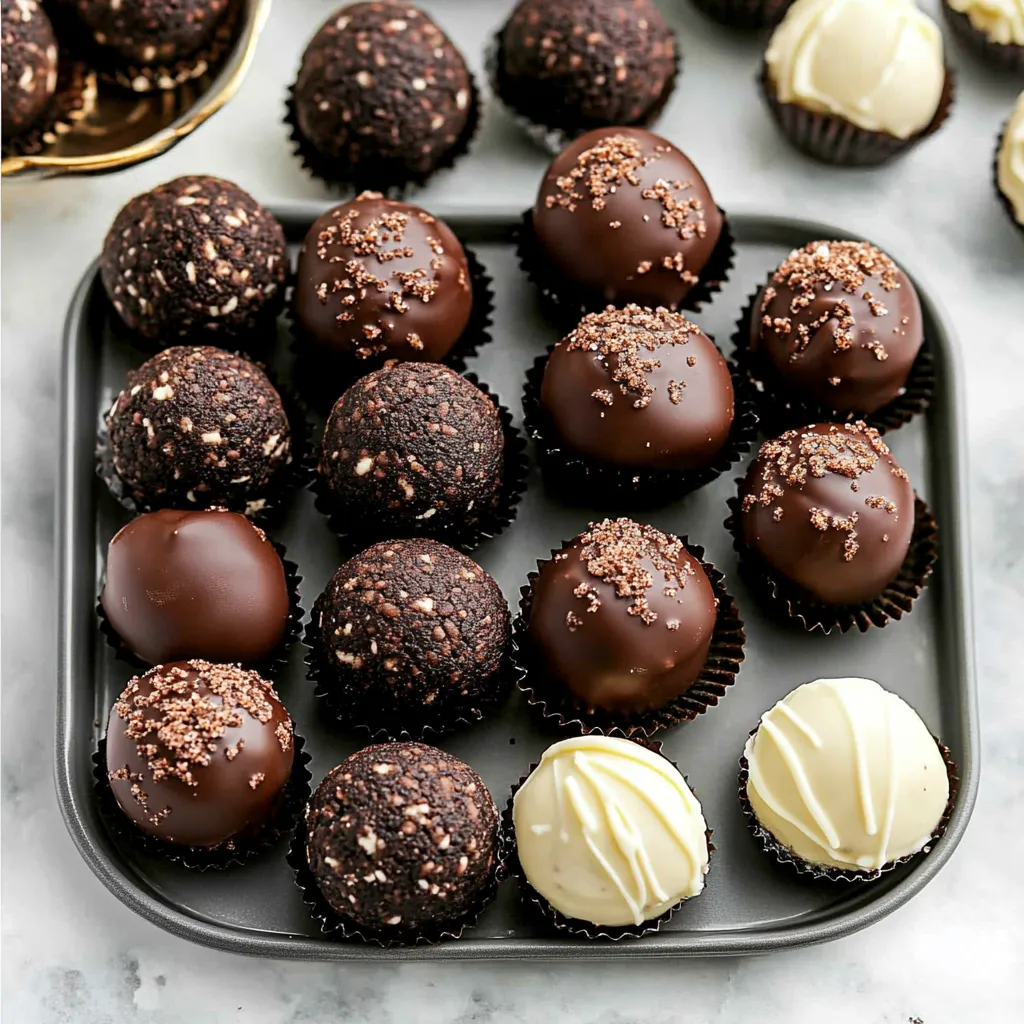
Pin itHow to Make Oreo Balls | cookingkeys.com
Storage Success
Through trial and error, I discovered these actually develop better flavor after 24 hours in the refrigerator. The texture becomes perfectly fudgy, and the flavors meld beautifully. They'll keep for up to three weeks when stored properly.
Seasonal Variations
Throughout the year, I adapt these truffles to match different celebrations. Mint Oreos with a sprinkle of crushed candy canes for Christmas, golden Oreos with pastel sprinkles for spring, and classic ones with orange drizzle for Halloween. The possibilities are endless, but the technique remains the same.
Gifting Guide
These truffles make spectacular gifts when presented thoughtfully. I've found that small paper candy cups nestled in decorative boxes create the most professional look. For transport, keep them chilled and separate layers with parchment paper. A simple ribbon and handwritten note complete the perfect homemade gift that rivals any artisanal chocolate shop.
Temperature Mastery
Working with chocolate-covered treats has taught me to respect kitchen conditions. During humid summer months, I keep them refrigerated until just before serving. In winter, letting them sit at room temperature for 10 minutes before eating brings out their best texture and flavor. These little adjustments make all the difference in the final experience.
Chef's Essential Tips
Master the double-boiler technique for the smoothest chocolate coating - keep water hot but not boiling
Allow each layer of chocolate to set completely before adding decorative drizzles
Always line storage containers with parchment paper between layers
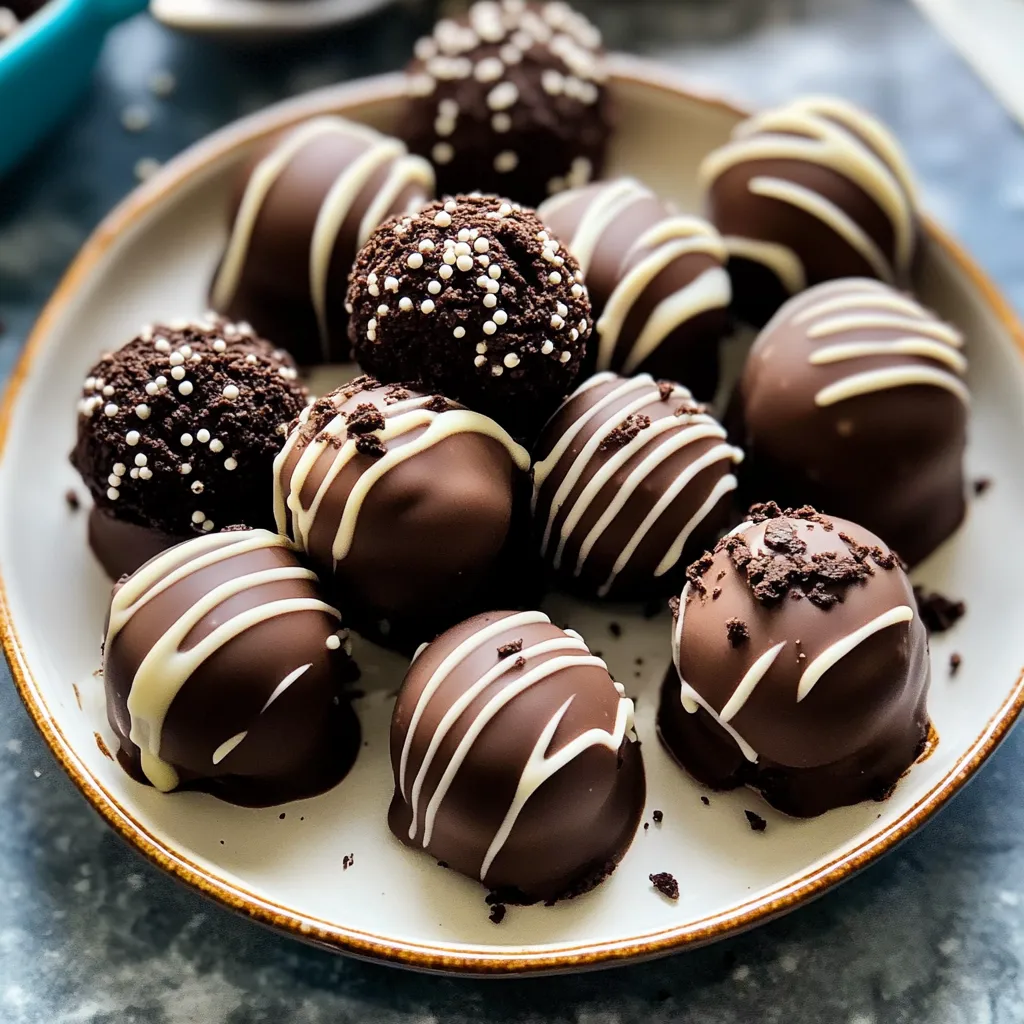
Pin itHow to Make Oreo Balls Delicious (Truffles) | cookingkeys.com
Final Thoughts
These Oreo truffles are more than just a simple dessert - they're little bites of joy that bring people together. Whether you're making them for a special occasion or just because, the combination of familiar flavors transformed into something elegant never fails to impress. Each batch is an opportunity to create something beautiful, and the smiles they bring make every step worthwhile.
Frequently Asked Questions
→ Can I use Double-Stuf Oreos?
No, stick to regular Oreos as Double-Stuf will make the mixture too soft to hold shape properly.
→ Why is my mixture too sticky to roll?
If the mixture is sticky, refrigerate it for 15 minutes before rolling into balls. This makes handling much easier.
→ Can I freeze these Oreo balls?
Yes, you can freeze the finished truffles for up to 3 months. Thaw overnight in the refrigerator.
→ Can I use different flavored Oreos?
Yes, regular, Golden, Mint Creme, and peanut butter Oreos all work great in this recipe.
→ Why can't I use chocolate chips for coating?
Chocolate chips contain stabilizers that prevent them from melting smoothly. Use baking chocolate bars for the best coating.
No-Bake Oreo Cream Cheese Balls
These easy no-bake Oreo balls combine crushed cookies and cream cheese, dipped in chocolate for an irresistible homemade treat.

 Pin it
 Pin it
 Pin it
 Pin it