
 Pin it
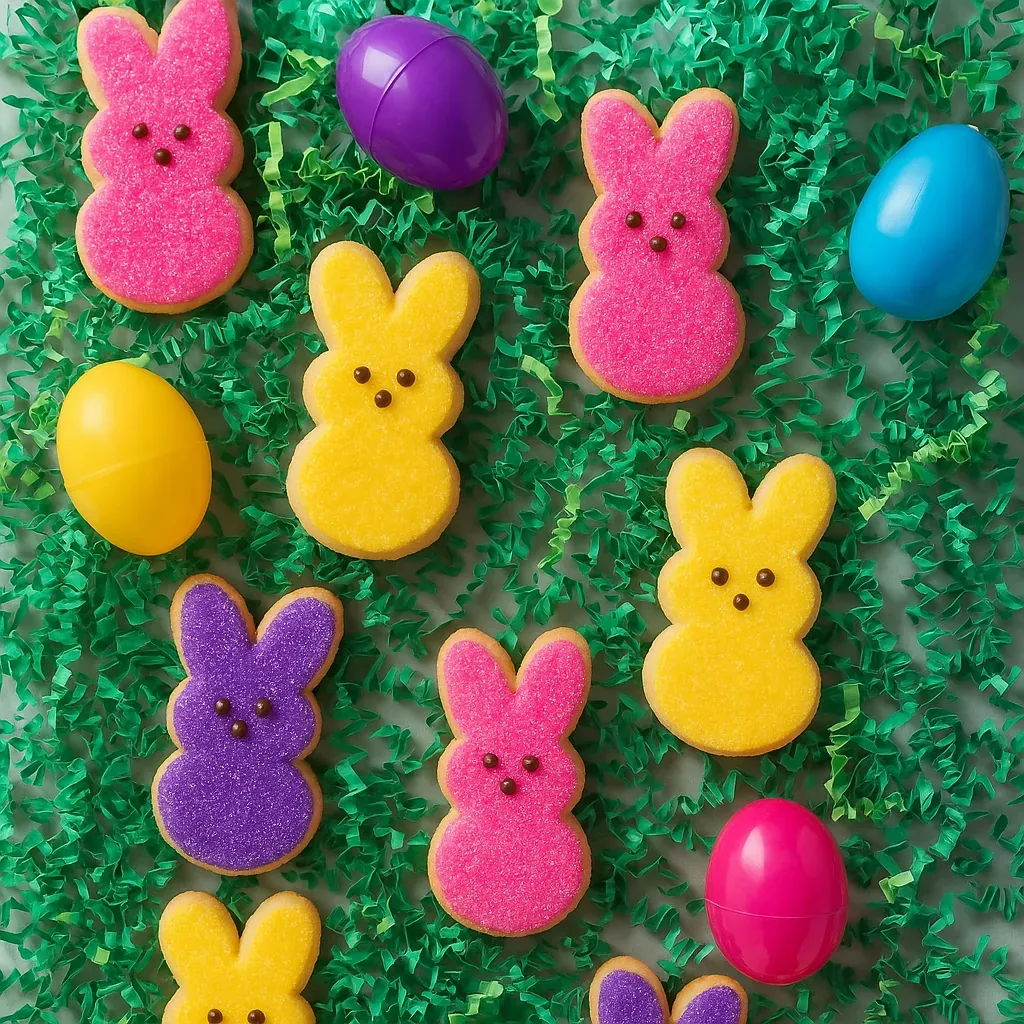
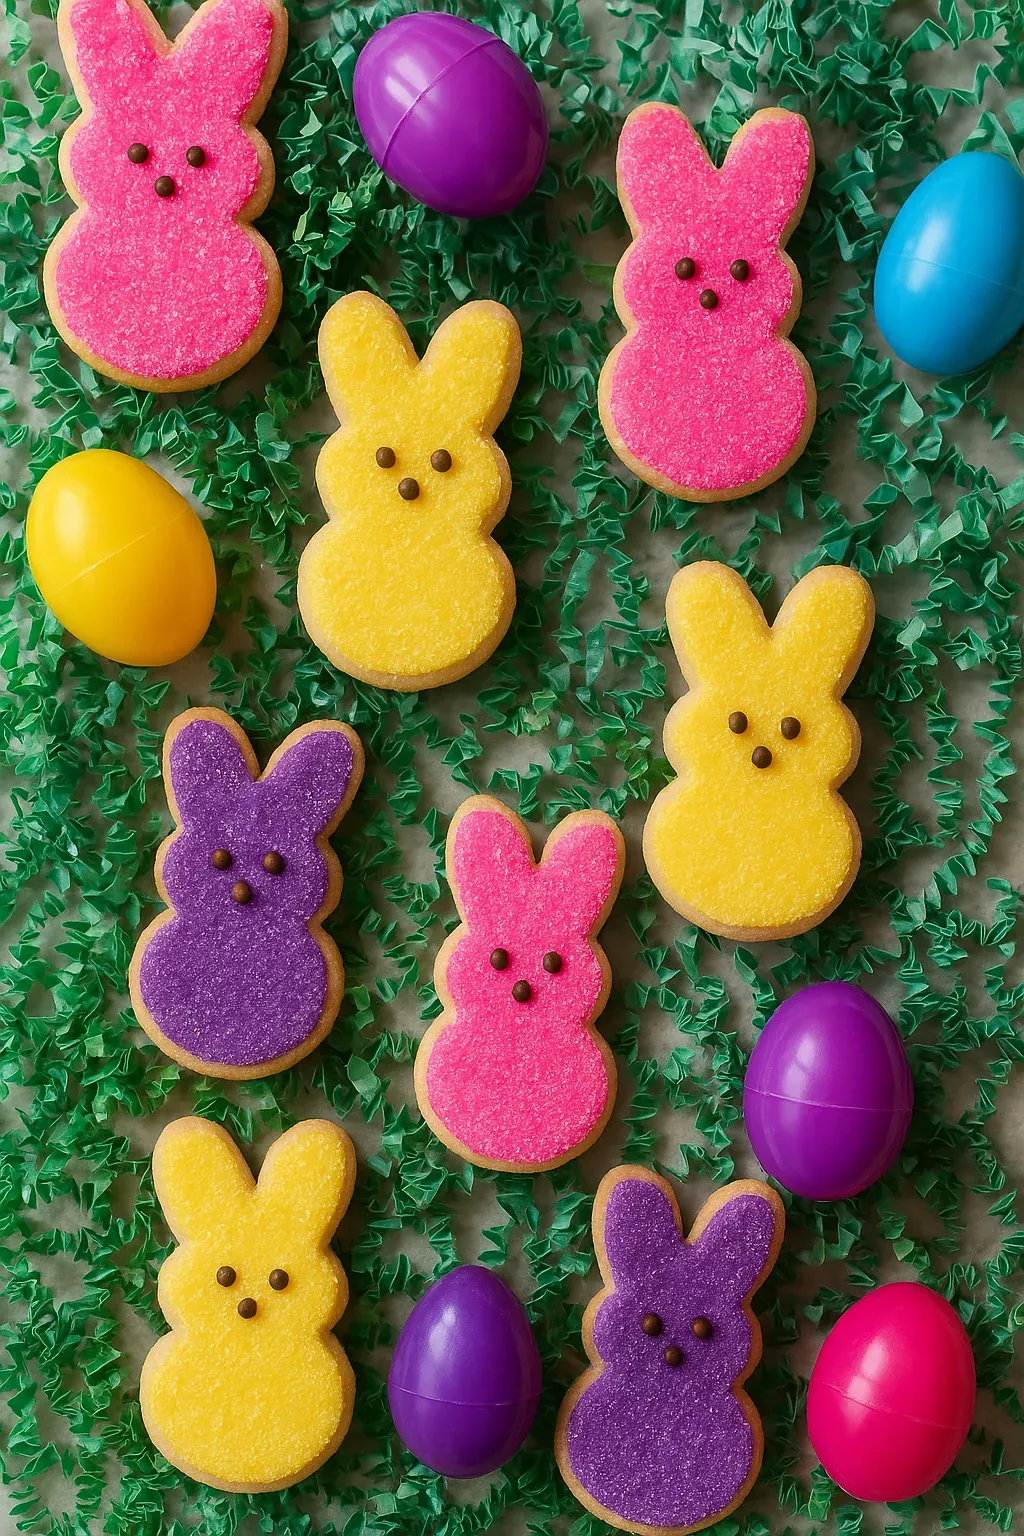
This irresistible Easter sugar cookie recipe transforms simple ingredients into adorable bunny-shaped treats that will steal the spotlight at any holiday gathering. These charming cookies channel the appearance of marshmallow Peeps but with a delicious homemade taste that far surpasses their store-bought inspiration.
I started making these with my nieces years ago when an unexpected spring storm kept us indoors during Easter weekend. What began as a rainy day activity has become our most anticipated holiday tradition, with everyone developing their own creative decorating styles.
Ingredients
- Unsalted butter: Provides the rich foundation for these cookies ensuring the perfect texture and flavor
- Granulated sugar: Balances sweetness without overpowering the delicate vanilla notes
- All-purpose flour: Creates the ideal structure for cookies that hold their shape beautifully
- Baking powder: Gives just enough lift without causing spreading
- Sanding sugars: In festive colors like pink, purple, and yellow create that signature Peeps look
- Light corn syrup: Creates a glossy finish on your frosting and helps it set properly
- Food coloring: For creating those adorable bunny faces with precise details
Step-by-Step Instructions
- Cream Butter and Sugar:
- Beat softened butter and granulated sugar until light and fluffy which takes about 3 minutes at medium speed. The mixture should look pale and creamy. This step creates air pockets that give your cookies their perfect texture.
- Add Wet Ingredients:
- Mix in the egg and vanilla extract until completely incorporated. Be sure to scrape down the sides of the bowl to ensure everything is evenly mixed. The mixture should look smooth and cohesive.
- Combine Dry Ingredients:
- Whisk together flour, baking powder, and salt in a separate bowl. This ensures even distribution of leavening agents for consistent cookies. The uniform mixture prevents any pockets of salt or baking powder.
- Form Dough:
- Gradually add the dry ingredients to the wet mixture mixing on low speed. The dough should come together and pull away from the sides of the bowl. It will feel slightly firm but pliable enough to shape.
- Chill Thoroughly:
- Divide dough into two disks, wrap in plastic, and refrigerate for at least 3 hours. This crucial step solidifies the butter ensuring your cookies hold their shape perfectly during baking. The chilled dough also creates cleaner cuts.
- Roll and Cut:
- Roll chilled dough on a floured surface to just under ¼ inch thickness. Use your bunny cutter to create shapes pressing firmly for clean edges. Work efficiently as the dough becomes harder to manage as it warms.
- Bake to Perfection:
- Bake at 350°F for 10-12 minutes until edges begin turning golden. The cookies will still look slightly underdone in the center which ensures they stay soft after cooling. Let them rest on the baking sheet for 5 minutes before transferring.
- Create Frosting:
- Whisk powdered sugar, milk, corn syrup, and vanilla until smooth reaching a consistency that ribbons back into itself. This frosting strikes the perfect balance between spreadable and firm allowing for easy decorating.
- Decorate with Precision:
- Pipe white frosting within the cookie outline then smooth with a decorating tool. Immediately press into sanding sugar for complete coverage. Add facial details with brown frosting using a smaller piping tip for precision.
 Pin it
My absolute favorite part of this recipe is seeing how unique each bunny becomes. Even with identical cutters no two cookies ever look exactly alike just like real bunnies. Last Easter my youngest nephew created a whole family of bunnies with different expressions which we displayed prominently as table centerpieces.
Make-Ahead Magic
Preparing for Easter can get hectic which makes these cookies even more valuable. The dough can be made up to three days ahead and refrigerated or frozen for up to a month. Just thaw overnight in the refrigerator before rolling and cutting. The frosting can also be made in advance and stored with plastic wrap pressed directly on the surface to prevent crusting. This flexibility allows you to focus on decorating when the time comes rather than rushing through the entire process.
Decorating Variations
While the Peeps-inspired design is adorable there are countless ways to personalize these cookies. Try marbling different colored sugars for a tie-dye effect or use pastel colored frosting under clear sanding sugar for a subtle shimmer. For a more sophisticated look skip the sanding sugar entirely and add delicate royal icing details like flowers or lattice patterns. You can even divide the dough and tint portions with food coloring before cutting for multicolored bunnies.
Serving Suggestions
These Easter sugar cookies make a stunning addition to any holiday dessert table but they also shine as individual place settings or party favors. Wrap each cookie in cellophane tied with pastel ribbon for a thoughtful gift or create a cookie display as an edible centerpiece. They pair wonderfully with springtime beverages like lavender lemonade or chamomile tea. For a delightful Easter brunch serve alongside fresh fruit and whipped cream cheese for a sweet ending to your meal.
Storage Tips
Once completely set these decorated cookies maintain their beauty and flavor for up to a week when stored properly. Keep them in a single layer in an airtight container with parchment between layers if stacking is necessary. For longer storage freeze undecorated cookies for up to three months then thaw and decorate when needed. The sanding sugar helps protect the frosting making these more durable than many decorated cookies though they should still be handled with care.
 Pin it
Frequently Asked Questions
- → What makes these cookies hold their shape?
The dough is designed with a perfect balance of ingredients, ensuring no spreading as it bakes. Chilling the dough before cutting is key!
- → Can I use different shapes instead of bunnies?
Absolutely! You can use any cookie cutter shape you like, such as carrots, eggs, or flowers for variety in your cookies.
- → How do I color the frosting for decorations?
Use food coloring in shades like yellow, pink, or purple for the frosting. Mix it in small batches to customize your cookie designs.
- → What type of sugar works best for decorating?
Sanding sugar is the best choice for vibrant colors and an even coating. It’s available in most grocery stores in a variety of shades.
- → Can I make these cookies ahead of time?
Yes, both the dough and frosting can be made in advance. Store the dough in the fridge and the frosting in an airtight container to use when ready.
- → What can I use if I don't have piping bags?
If you don’t have piping bags, a resealable plastic bag with the corner snipped off works as a great alternative for decorating.