
 Pin it
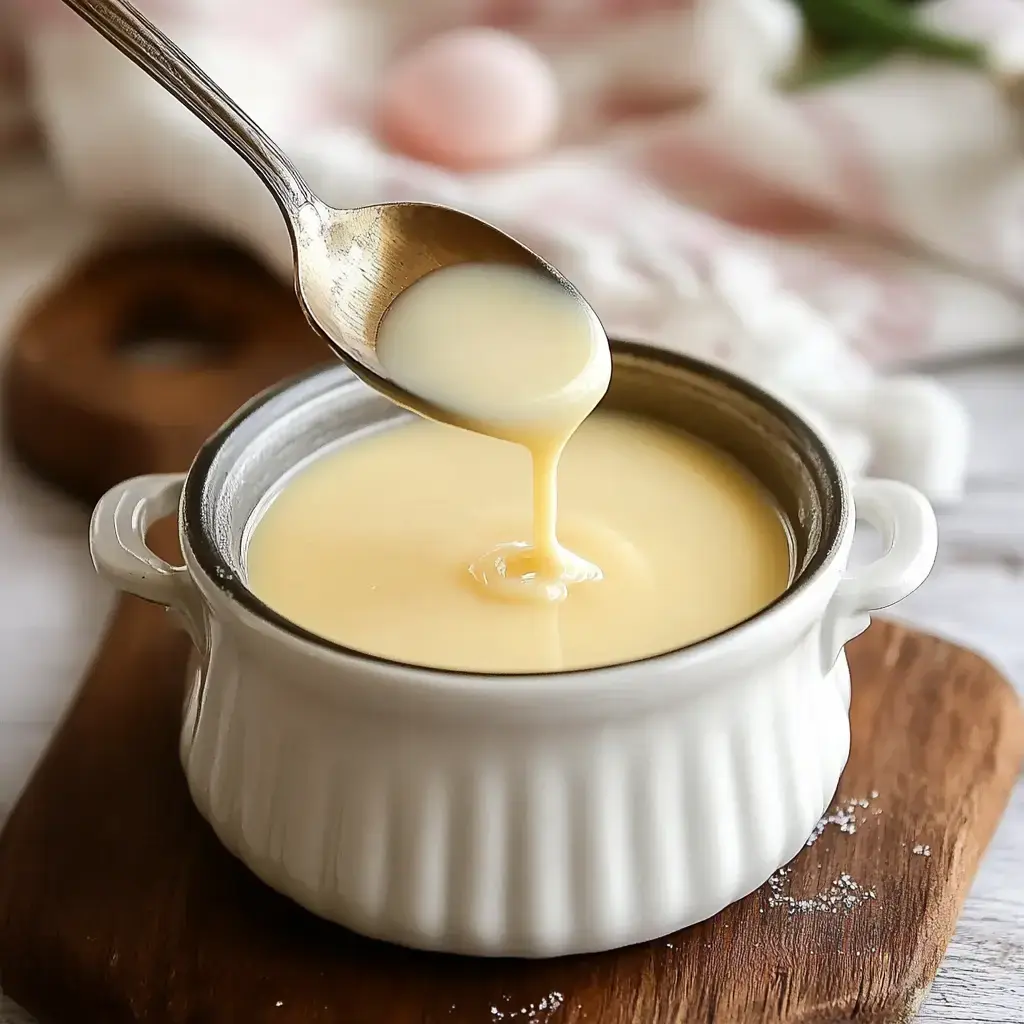
Let me share this easy homemade sweetened condensed milk recipe that completely changed my coffee game! I started making this when I ran out of the canned stuff one morning, and honestly, I haven't looked back. It's incredibly simple - just milk and sugar - but the result is this gorgeous, thick, creamy mixture that's way better than anything from the store.
Why You'll Love This Recipe
This easy homemade version costs less than store-bought and tastes so much fresher. There's something magical about watching plain milk transform into this rich, sweet syrup. Plus, you can control the sweetness and add your own flavors - I love sneaking in a dash of vanilla or cinnamon. No preservatives, no additives, just pure, simple ingredients working their magic.
Ingredients
- The Basics:
- 2 cups whole milk (full-fat works best)
- 2/3 cup granulated sugar
- Optional Add-ins:
- 1/2 teaspoon pure vanilla extract
- Pinch of cinnamon
- Dash of nutmeg
- Equipment Needed:
- Heavy-bottomed saucepan
- Wooden spoon for stirring
- Glass jar for storage
Step-by-Step Instructions
- Getting Started
- Pour your milk into a heavy-bottomed pan - this helps prevent scorching. Add the sugar and give it a good stir to combine.
- The Heating Process
- Turn your heat to medium and stir until the sugar dissolves completely. You'll know it's ready when you don't feel any graininess when you rub a bit between your fingers.
- The Crucial Simmer
- Reduce heat to low - we want gentle bubbles, not a rolling boil. This is where patience comes in! Keep an eye on it and stir every few minutes.
- Testing for Doneness
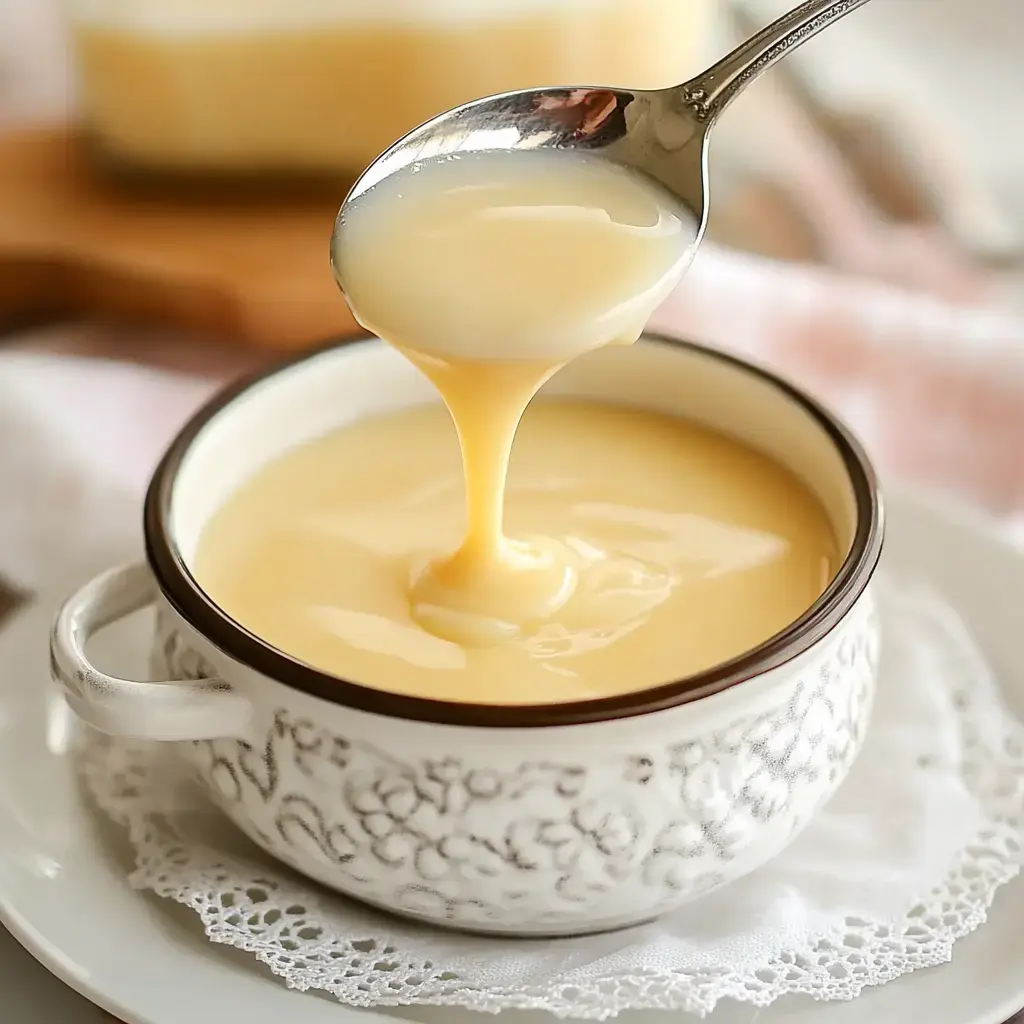
- After about 35-40 minutes, dip a spoon in. The mixture should coat the back and leave a clear trail when you run your finger through it.
- Finishing Touches
- Remove from heat and stir in any flavors you're using. Let it cool completely - it'll thicken more as it cools.
Pro Tips
Keep the heat low! I've burned more than one batch by rushing things. Stir frequently, especially towards the end when it's getting thicker. If you see any brown bits forming on the bottom, lower your heat immediately. Want it extra smooth? Run it through a fine-mesh strainer while it's still warm.
 Pin it
Creative Uses
I love stirring this into my morning coffee or afternoon tea. It's amazing drizzled over warm brownies or fresh berries. Use it to make incredible no-churn ice cream or fudge. Sometimes I'll mix different spices in - cardamom for chai lattes, or cocoa powder for a chocolate version.
Storage Tips
Store your homemade condensed milk in a clean glass jar in the fridge - it'll keep for about a month. If it gets too thick, just warm it gently or add a tiny splash of warm milk. You can even freeze portions in an ice cube tray - perfect for dropping into iced coffee!
Frequently Asked Questions
- → Why two pans instead of one?
- 40 minutes in two pans versus 3 hours in one. Less surface area means slower evaporation.
- → How thick should it be?
- Like maple syrup when hot, thickens more as it cools. Pour into measuring cup to check it's reduced by half.
- → Why not whisk while cooking?
- Whisking creates sugar crystals on pan sides. Just stir bottom occasionally to prevent sticking.
- → Too thick after chilling?
- Normal! Warm in microwave 10 seconds at a time until pourable again.
- → How long does it keep?
- One month in fridge in airtight container. Mark the date you made it.