
 Pin it
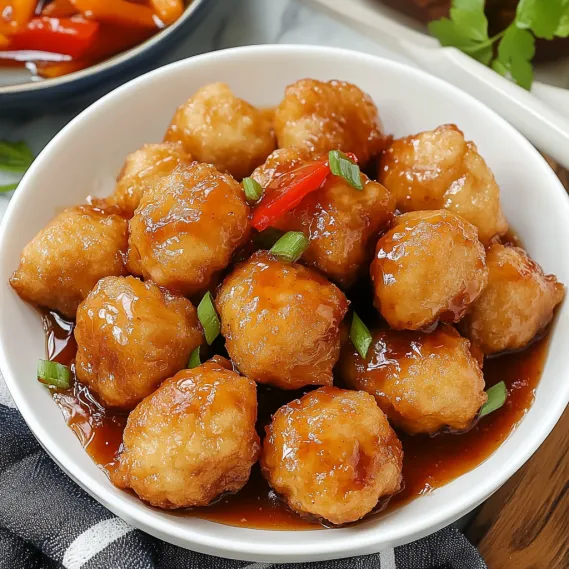
Chinese Chicken Balls with Sweet and Sour Sauce deliver the perfect combination of crispy, fluffy batter surrounding tender, juicy chicken pieces. Paired with a homemade sweet and tangy dipping sauce, this dish rivals any restaurant or takeaway version. With simple ingredients and techniques, you can create these irresistible bites that remain crispy for hours – perfect as an appetizer, main dish, or party snack.
I've been perfecting these chicken balls for years after learning the technique from a Chinese chef friend. The double-frying method was a game-changer, creating that distinctive light, airy texture without greasiness. My family now requests these regularly instead of ordering takeout, which is the ultimate compliment.
Essential Ingredients and Selection Tips
- Chicken Breast: Choose firm, fresh pieces with minimal white striping for best texture. Boneless thighs work too.
- Corn Starch: Creates crispiness and golden color. Use potato starch as a substitute if needed.
- Baking Soda: The secret to tender meat and fluffy batter. Don't skip this crucial ingredient.
- White Vinegar: Provides the 'sour' element. Rice vinegar offers a milder alternative.
- Ketchup: Forms the base of the sauce. Look for versions without high fructose corn syrup.
I've found that adding a little sesame oil to the chicken marinade makes a significant difference in the final flavor. This simple addition provides an authentic Chinese restaurant taste that elevates the dish beyond basic fried chicken. It's a small touch that creates a big impact.
Detailed Cooking Instructions
- Step 1: Marinate the Chicken
- Cut 1 pound of boneless chicken breast into 1-inch cubes and mix with salt, white pepper, sesame oil, sugar, baking soda, garlic paste, and cornstarch. Cover and refrigerate for at least 30 minutes to tenderize and infuse with flavor.
- Step 2: Prepare the Batter
- Combine plain flour, cornstarch, salt, and baking soda in a bowl, then gradually whisk in cold water until smooth. Adjust consistency until the batter coats the back of a spoon but drips off slowly.
- Step 3: First Fry for the Chicken
- Heat oil to 340°F, then dip each chicken piece in cornstarch followed by batter before carefully adding to the oil in small batches. Fry for 3 minutes until light golden, then remove to a wire rack.
- Step 4: Second Fry for Extra Crispiness
- Increase oil temperature to 350°F and return the partially fried chicken to the hot oil in batches. Fry for another 2 minutes until deeply golden and extremely crispy.
- Step 5: Make the Sweet and Sour Sauce
- Simmer ketchup, white vinegar, sugar, tomato puree, salt, and water in a saucepan until combined. Whisk in a cornstarch slurry and cook until thickened to a glossy consistency.
 Pin it
My first attempt at these chicken balls was disappointing – they turned out heavy and greasy. I learned that oil temperature is absolutely critical. Now I always use a thermometer and maintain the proper temperature throughout cooking, resulting in light, crispy balls that aren't oily at all.
The Secret to Non-greasy Crispiness
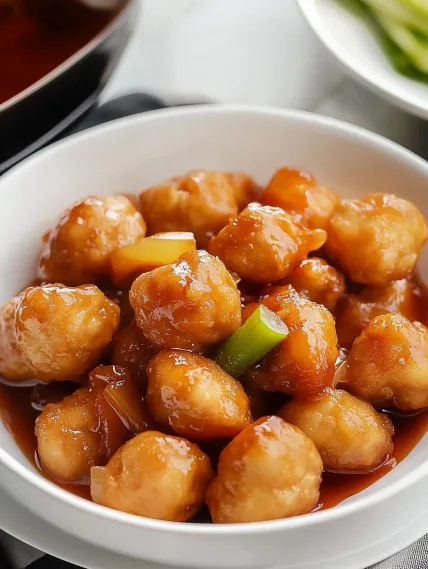
The double-frying technique is essential for the perfect chicken ball. The first fry cooks the chicken through while setting the batter. The brief rest allows steam to escape. The second fry at higher temperature creates the distinctive crispy exterior without trapping oil. This method produces chicken balls that stay crispy for hours.
 Pin it
Perfecting Your Sweet and Sour Sauce
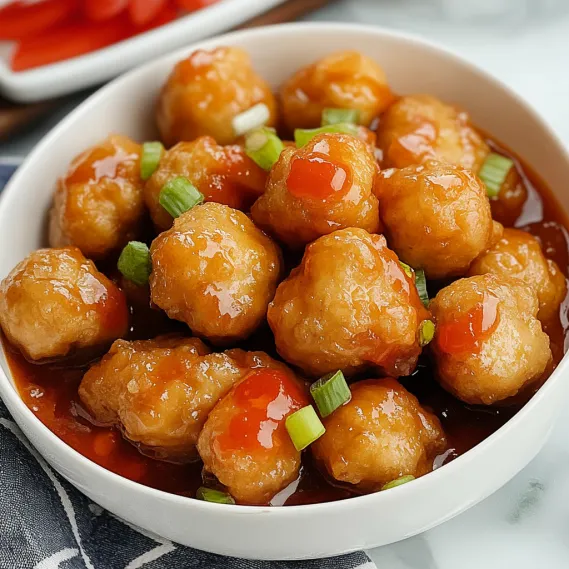
The ideal sweet and sour sauce balances three key flavors: sweetness from sugar, acidity from vinegar, and umami from ketchup and tomato puree. Adjust these elements to your preference. For deeper color, add more tomato puree. For tangier sauce, increase vinegar. The cornstarch slurry creates the perfect clingy consistency.
Serving Suggestions for a Complete Meal
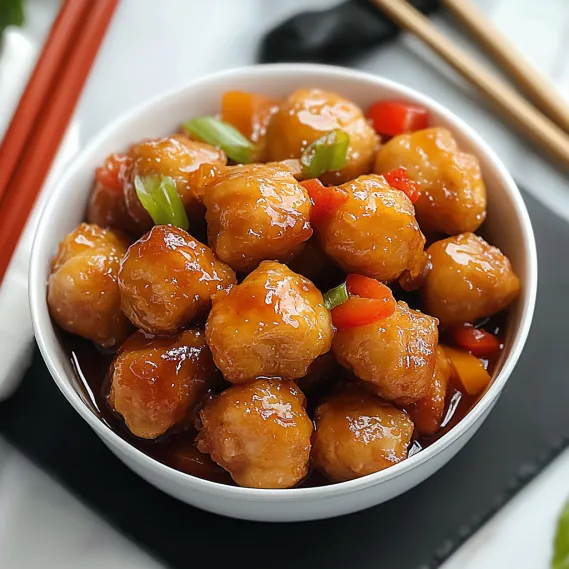
Create a Chinese feast by serving these chicken balls alongside egg fried rice, vegetable chow mein, or steamed jasmine rice. For a lighter meal, pair with a simple cucumber salad dressed with rice vinegar and sesame oil. Provide extra sweet and sour sauce on the side for dipping.
Make-Ahead and Storage Tips
Prepare the sauce up to three days ahead and refrigerate in an airtight container. For best results, cook chicken balls just before serving. If needed, store cooled chicken balls in the refrigerator for up to two days. Reheat in a 350°F oven for 10 minutes to restore crispiness, avoiding microwave reheating.
Variations to Try
Adapt this recipe to suit your taste. Try pineapple chunks in the sweet and sour sauce for tropical flavor. For a spicy version, add crushed red pepper flakes or Sriracha to the sauce. Substitute chicken with king prawns, firm tofu cubes, or cauliflower florets for delicious alternatives.
Chef's Helpful Tips
- Rest the chicken balls on a wire rack instead of paper towels to maintain crispiness
- Test oil temperature between batches as it drops when food is added
- For stronger garlic flavor, use fresh minced garlic instead of paste
- Add a tablespoon of pineapple juice to the sauce for tropical sweetness
- Cut chicken into equal-sized pieces for even cooking
 Pin it
I've made these chicken balls countless times, and the most significant improvement came when I started using cornstarch both in the marinade and as a pre-battering coating. The cornstarch creates a thin barrier that helps the batter adhere perfectly while ensuring the chicken stays juicy inside. This small addition transformed my homemade version into something truly restaurant-quality.
Frequently Asked Questions
- → Why do you fry the chicken twice?
- Double frying is a technique used in many Asian cuisines to create an extra crispy exterior while ensuring the inside is fully cooked. The first fry at a slightly lower temperature cooks the chicken through, while the second fry at a higher temperature creates that signature crispy coating. This method also helps the chicken balls stay crispy longer, even after being tossed in sauce.
- → Can I make these chicken balls gluten-free?
- Yes, you can make a gluten-free version by substituting the all-purpose flour with a gluten-free flour blend. Rice flour or a combination of rice flour and cornstarch works particularly well for crispy batters. Just make sure all other ingredients, including the ketchup and tomato puree for the sauce, are certified gluten-free.
- → How do I know when the oil is at the right temperature?
- If you don't have a thermometer, you can test the oil by dropping a small amount of batter into it. If the batter floats to the surface immediately and begins to sizzle, the oil is ready (around 350°F/180°C). If it sinks or browns too quickly, adjust your heat accordingly. Maintaining the right temperature is crucial for achieving crispy chicken balls that aren't greasy.
- → Can I use chicken thighs instead of breast meat?
- Absolutely! Chicken thighs are an excellent substitute and often produce juicier results because of their higher fat content. Simply cut boneless, skinless chicken thighs into similar sized cubes and follow the recipe as written. The cooking time may vary slightly, but the visual cues for doneness (golden brown exterior) remain the same.
- → How long does the sweet and sour sauce keep?
- The homemade sweet and sour sauce can be stored in an airtight container in the refrigerator for up to 2 weeks. It may thicken when chilled, so you might need to thin it with a little water when reheating. The sauce is versatile and can be used for other dishes like spring rolls, wontons, or as a glaze for grilled meats.