
 Pin it
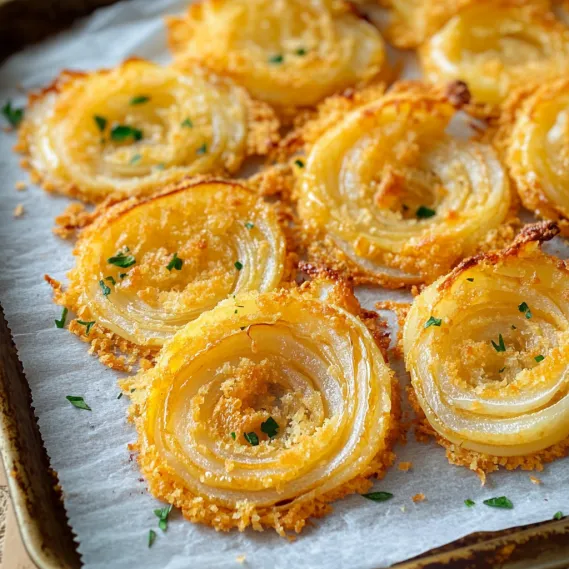
This cheesy onion crisp has transformed my holiday appetizer game, combining golden crispy exteriors with the irresistible sweetness of baked onions and rich, melty cheese in every bite.
I first made these crisps for a last-minute Christmas Eve gathering when I needed something impressive without spending hours in the kitchen. The platter was completely empty within minutes, and now they've become my signature holiday appetizer that everyone requests.
Ingredients
- Large onions: Choose sweet varieties like Vidalia or Walla Walla for natural sweetness that caramelizes beautifully when baked
- All-purpose flour: Creates the foundation for your crispy coating
- Eggs: Act as the essential binding agent that helps everything stick to the onion slices
- Milk: Thins the egg mixture to the perfect consistency for dipping
- Sharp cheddar cheese: Provides bold flavor and that irresistible cheese pull when warm
- Breadcrumbs: Fresh works best for texture, but panko creates an extra crispy finish
- Parmesan cheese: Adds that nutty umami flavor that elevates the entire dish
- Fresh parsley: Brightens the rich flavors and adds festive color
- Olive oil: Helps achieve golden brown perfection during baking
Step-by-Step Instructions
- Preheat The Oven:
- Set your oven to 400°F and prepare your baking sheet with parchment paper. The light coating of olive oil on the parchment is not optional – it prevents sticking and contributes to the golden bottom crust. Allow at least 10 minutes for your oven to fully preheat – a thoroughly hot oven is crucial for achieving the perfect crisp texture.
- Create Your Dipping Stations:
- Set up an assembly line with your three mixtures – flour, egg wash, and cheese breadcrumb coating. For the flour station, whisk the dry ingredients thoroughly to ensure the salt and pepper distribute evenly. For the egg mixture, beat vigorously until completely smooth – no streaks of egg white should remain. For the cheese coating, lightly toss the ingredients rather than compressing them – this creates a fluffier coating that crisps better.
- Perfect The Coating Technique:
- Use one hand for dry ingredients and one for wet to prevent creating a gummy mess on your fingers. Dredge each onion slice fully in flour, shaking off excess before dipping completely in the egg mixture. Let excess egg drip off before pressing gently into the cheese breadcrumb mixture, ensuring both sides are well coated. The coating should look substantial but not clumpy.
- Master The Baking Process:
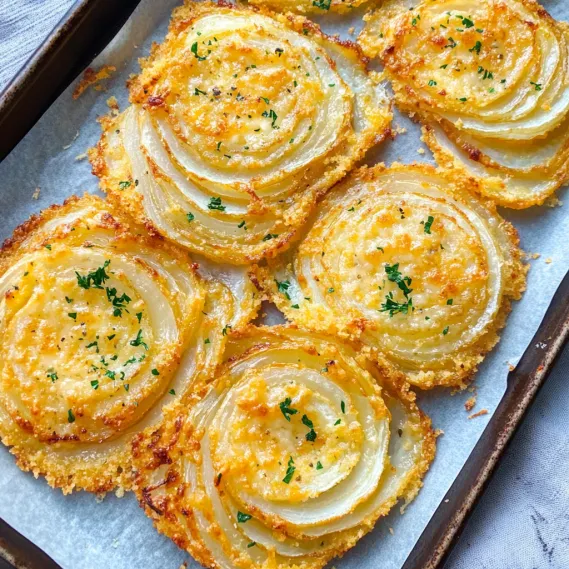
- Arrange onions with breathing room between each slice – excess crowding creates steam that prevents proper crisping. The drizzle of olive oil before baking is crucial – it helps the coating turn golden brown and develop a satisfying crunch. Rotate the pan halfway through baking for even browning, and watch carefully during the final minutes as the cheese can quickly go from golden to burnt.
- Serve With Perfect Timing:
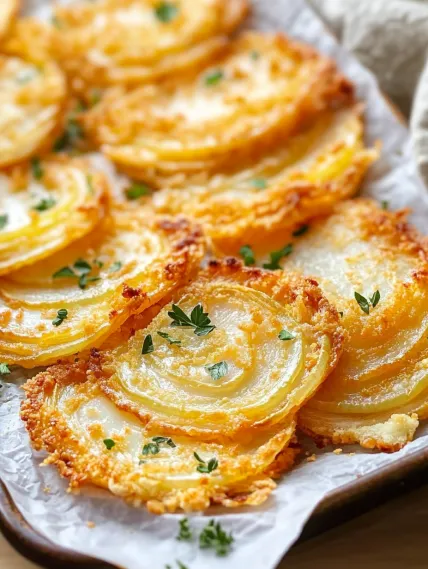
- These crisps reach peak deliciousness when served immediately after a 3 minute cooling period. Garnish with fresh parsley just before serving for maximum visual impact and a burst of fresh flavor that balances the richness.
 Pin it
The sharp cheddar is truly the star ingredient in this recipe. I once tried substituting a milder cheese and the result just wasn't the same. The assertive flavor of aged cheddar stands up beautifully to the sweet onions, creating that perfect balance that makes these crisps so addictive. My grandmother taught me that when it comes to cheese in cooking, never skimp on quality – it makes all the difference.
Make-Ahead Options
These crisps can be prepared up to the coating stage a day in advance. Simply complete the dredging process, place the coated onion rings on a baking sheet lined with parchment paper, cover loosely with plastic wrap, and refrigerate. When ready to bake, remove directly from the refrigerator, drizzle with olive oil, and add about 3 extra minutes to the baking time. This advance prep work makes them perfect for entertaining when you want to minimize last-minute cooking stress.
 Pin it
Clever Variations
The basic recipe provides a perfect foundation for creative variations. Try adding a teaspoon of smoked paprika to the flour mixture for a subtle smoky undertone. For a spicy kick, mix in a quarter teaspoon of cayenne pepper to the breadcrumb mixture. You can swap in different cheese combinations such as Gruyère and Asiago for a more sophisticated flavor profile that pairs beautifully with wine. For a gluten-free version, substitute the all-purpose flour with a quality gluten-free blend and use gluten-free breadcrumbs – the results are just as delicious.
Perfect Pairings
These crisps shine brightest when served alongside complementary flavors. A cool herbed sour cream dip provides a delightful temperature and texture contrast. For holiday gatherings, arrange them on a platter with cranberry relish for a festive sweet-savory combination that guests will rave about. They also pair wonderfully with a crisp white wine like Sauvignon Blanc or a light beer that won't overwhelm their delicate flavor. For a complete appetizer spread, serve alongside charcuterie with contrasting flavors and textures.
Frequently Asked Questions
- → Can I use a different type of cheese?
Yes, feel free to experiment with other cheeses like mozzarella, gouda, or gruyere for a unique flavor twist.
- → How do I prevent the crisps from sticking to the baking sheet?
Make sure to line your baking sheet with parchment paper and lightly grease it with olive oil before baking.
- → Can I make these ahead of time?
Yes, you can prepare the coated onion slices ahead. Simply store them in the fridge before baking and cook them fresh when ready to serve.
- → Are there gluten-free options for this dish?
Yes, you can use gluten-free flour and breadcrumbs as substitutes to make this dish suitable for gluten-free diets.
- → What dipping sauces pair well with these crisps?
These crisps pair beautifully with ranch dressing, garlic aioli, or a tangy marinara sauce for added flavor.
- → Can I fry these instead of baking?
Yes, these can be deep-fried for an even crispier texture. Ensure the oil is hot and fry until golden brown.