
 Pin it
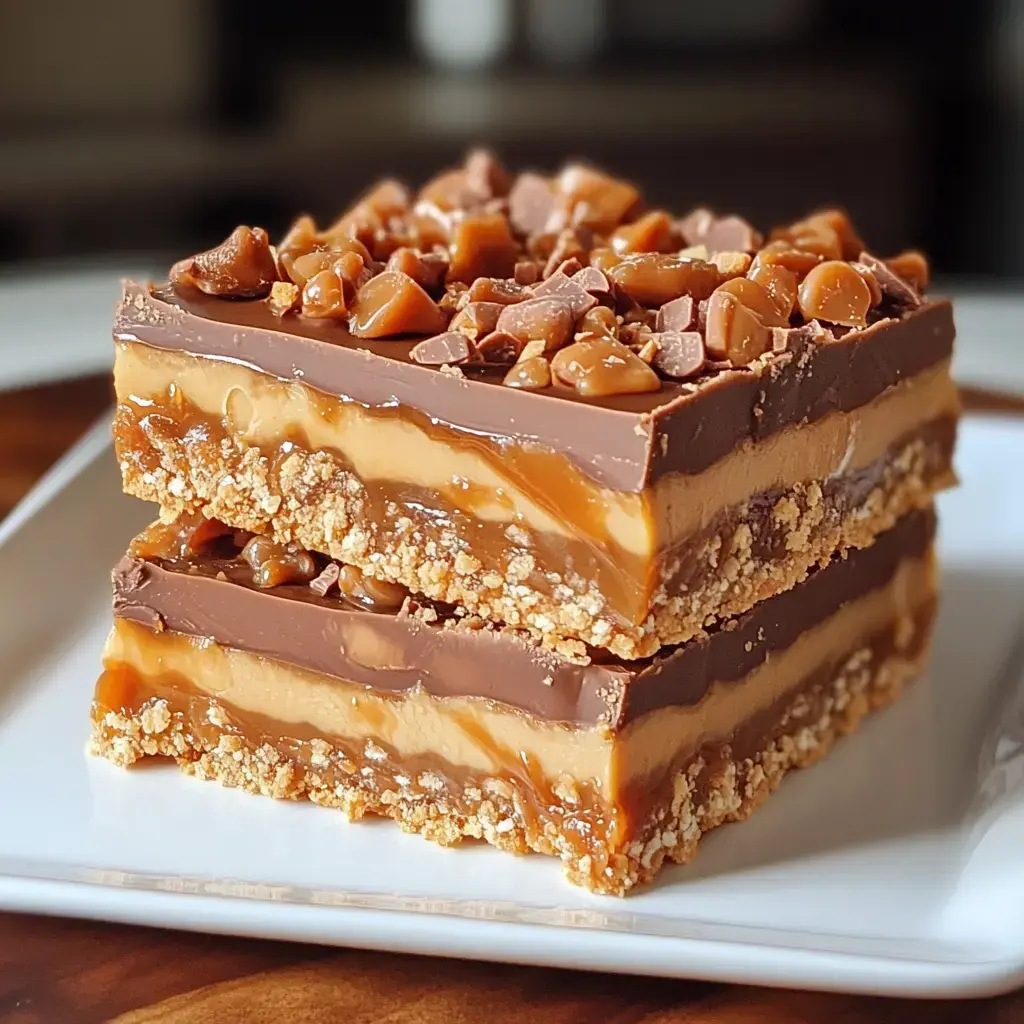
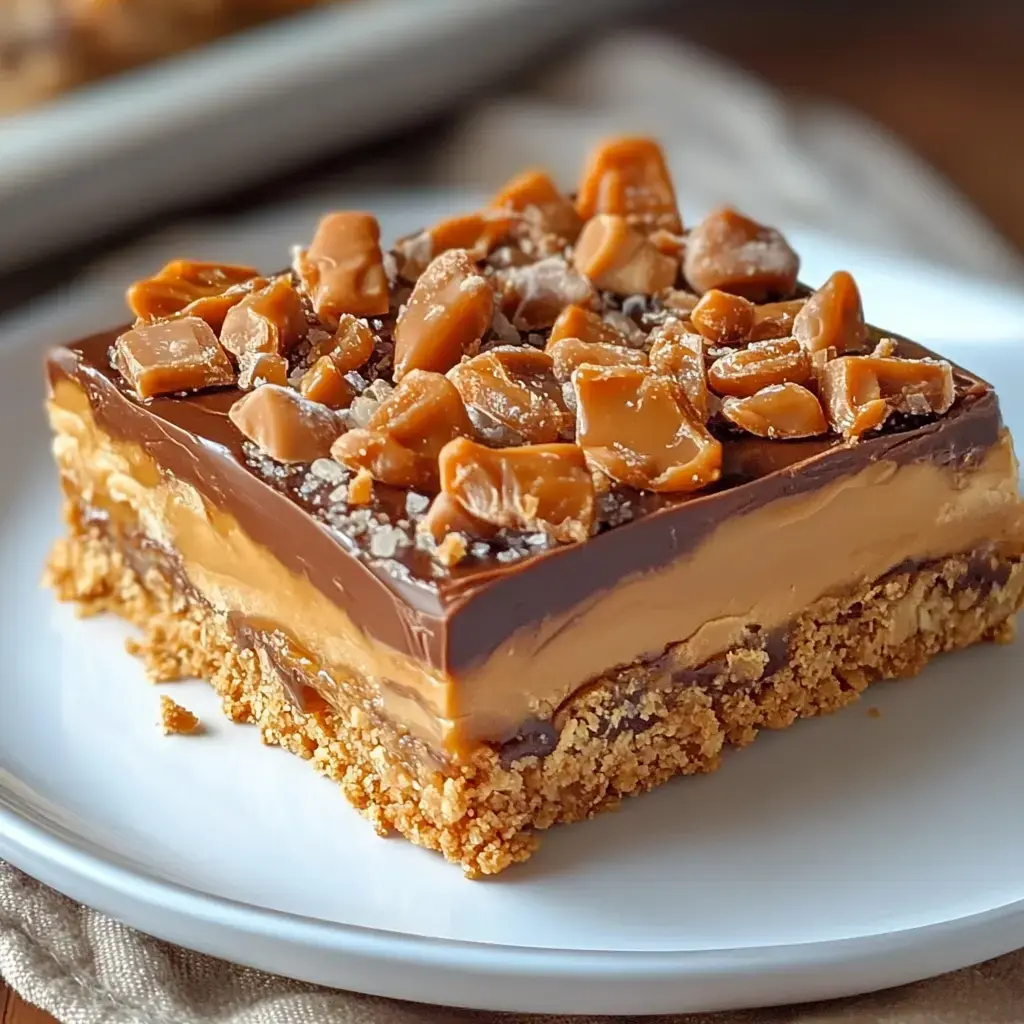
I created these Butterfinger bars for my son's birthday party and they've become our most requested dessert. The magic happens in those layers buttery graham base gooey caramel crushed Butterfingers and smooth chocolate on top. Now they're my go-to when I need something that looks fancy but comes together quick no baking skills required.
Why These Work
Every bite brings perfect balance crunchy base chewy caramel candy bar bits and rich chocolate top. Takes basic ingredients turns them into something that tastes like it came from a fancy candy shop. Best part? Make them ahead they actually get better after chilling in the fridge.
Your Shopping List
- The Base: Graham crackers crushed fine good quality unsalted butter granulated sugar. The butter needs to be fully melted but not hot helps everything bind together perfectly. Fresh graham crackers make all the difference stale ones can taste off.
- Middle Magic: Soft caramel bits or unwrapped caramels work great just need a splash of heavy cream to make them perfectly gooey. Butterfinger bars crushed into pieces not too fine you want some chunks for texture.
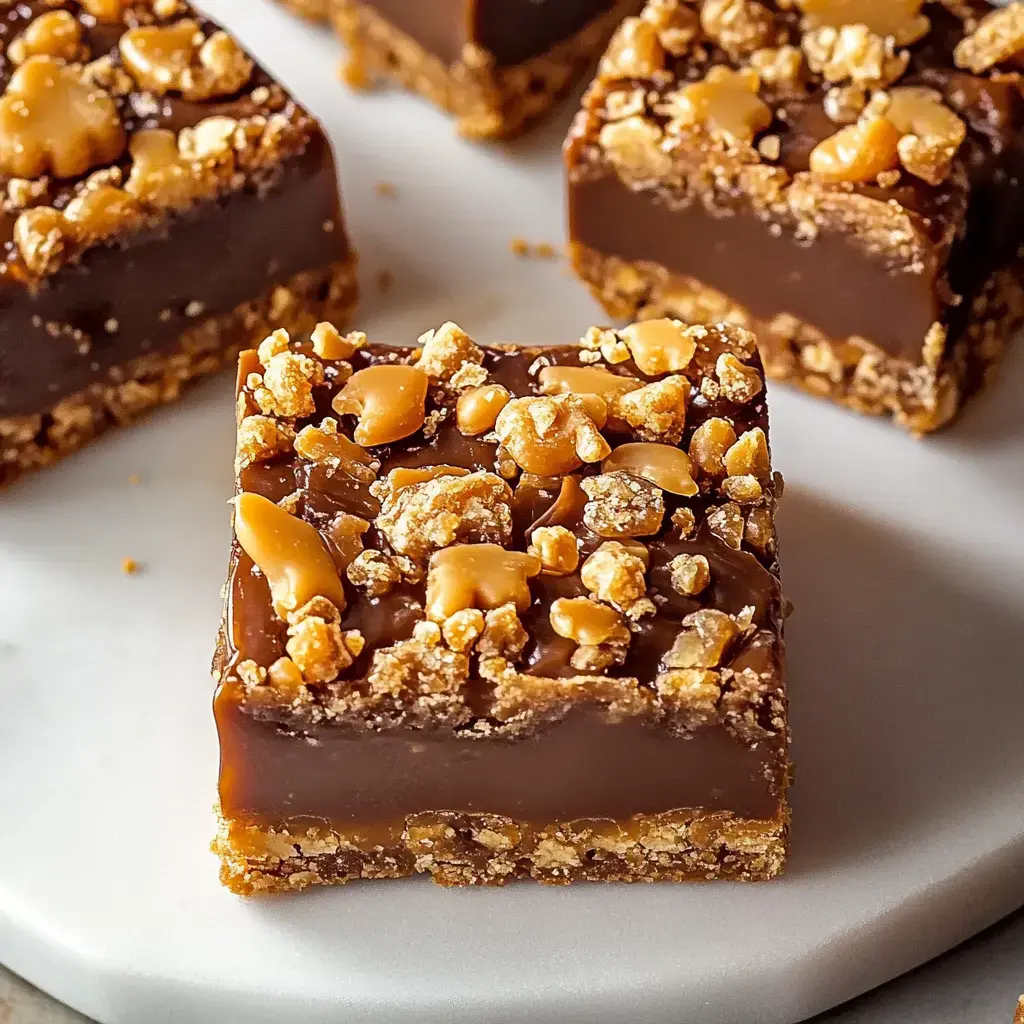
- Top Layer: Semi sweet chocolate chips real butter for melting gives better shine and snap. Maybe extra Butterfinger pieces for sprinkling makes them look extra special.
Let's Make Them
- Start With The Base
- Mix those graham crumbs with melted butter and sugar until it feels like wet sand. Press it firm into your lined pan get it nice and even. Quick trip to the oven just until it smells good and edges look golden about 8 minutes.
- Make It Gooey
- Melt your caramels with cream slow and gentle in the microwave stir between each burst. Pour it over that slightly cooled crust spread it edge to edge.
- Add The Crunch
- Sprinkle those crushed Butterfingers all over press them gently into the caramel. Make sure you get good coverage nobody wants a bite without candy.
- Top It Off
- Melt chocolate and butter until smooth pour it over everything spread it nice and even. Maybe add extra candy bits on top while it's still soft.
 Pin it
Kitchen Secrets
Line your pan with parchment let the edges hang over makes lifting them out super easy. Press that crust down firm helps everything stay together. Melt chocolate slowly prevents it from getting grainy. Let them chill completely before cutting clean knife in hot water between cuts.
Time To Enjoy
Let these set up proper in the fridge about 2 hours or overnight if you can wait. Cut them into squares whatever size you like. Perfect for parties potlucks or just because. They travel well too just keep them cool if it's warm out.
Save Some For Later
Keep them in the fridge up to a week though they never last that long at my house. Room temperature works too if you like them softer about 5 days tops. Layer them with wax paper if you need to stack them keeps everything neat.
Mix It Up
Try different candy bars Heath bars give great crunch too. Dark chocolate on top makes them feel grown up. Sometimes I add sea salt right before the chocolate sets gives nice contrast. The recipe welcomes your creativity while keeping that perfect sweet balance.
 Pin it
Make Them Yours
Play with the layers maybe extra caramel if that's your thing thicker chocolate top. My kids love double candy pieces my husband adds chopped nuts. That's what makes homemade treats special adding your own touches until they're just right for your family.
Frequently Asked Questions
- → Can I make these ahead?
Yes, they keep at room temperature for 5 days or refrigerated for a week.
- → Can I use other candy bars?
Yes, Heath, Snickers, or other candy bars work well as substitutes.
- → Why use parchment paper?
It prevents sticking and makes removal easy with the overhang.
- → Can I freeze these?
Yes, wrap well and freeze up to 3 months. Thaw in fridge before serving.
Conclusion
Decadent no-bake dessert bars with multiple layers of sweet and crunchy ingredients.