
 Pin it
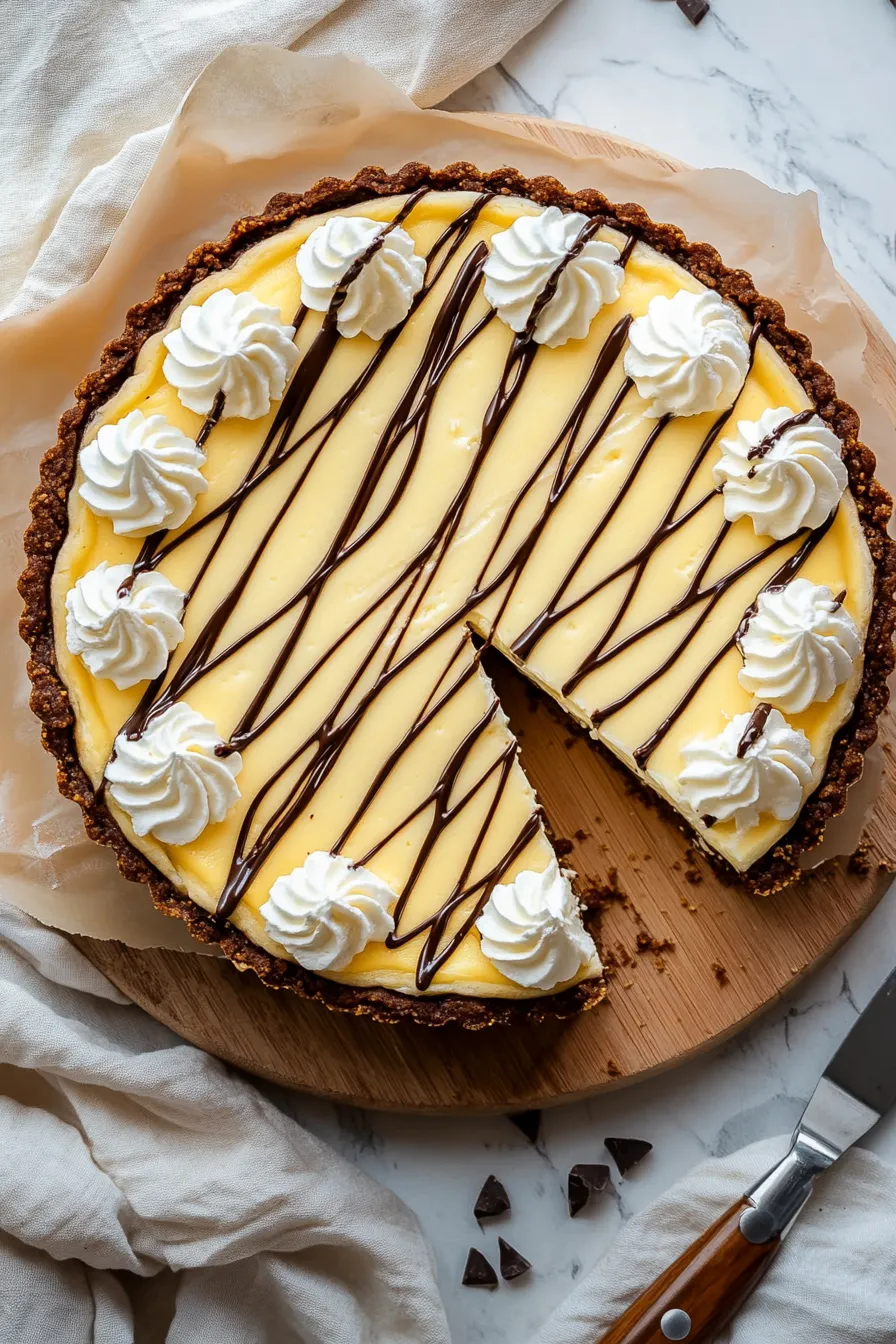
The perfect marriage of fudgy brownies and silky cheesecake comes together in this indulgent Brownie Bottom Cheesecake. Each bite delivers the rich intensity of chocolate brownie foundation crowned with a velvety smooth cheesecake layer, creating an unforgettable dessert experience that's sure to become your new favorite.
The first time I made this cheesecake for my family gathering, it disappeared within minutes. The combination of textures - that dense, chocolatey base with the light, creamy topping - had everyone asking for the recipe. Even my mother-in-law, who usually sticks to her traditional cheesecake recipe, couldn't resist going back for seconds.
Essential Ingredients Selection
- Cream Cheese: Always choose full-fat Philadelphia-style blocks at room temperature. Lower-fat versions contain more water and can affect the texture
- Brownie Mix: While homemade works beautifully, a quality boxed mix creates consistent results and saves time. I prefer Ghirardelli Triple Chocolate
- Sour Cream: Adds tanginess and creates that signature New York-style cheesecake texture. Make sure it's at room temperature for seamless blending
- Heavy Cream: Look for heavy whipping cream with at least 36% fat content for the best results in both filling and topping
- Eggs: Large eggs at room temperature help bind the filling while maintaining that silky-smooth texture
 Pin it
Detailed Instructions
- Creating the Perfect Brownie Base
- Line your springform pan meticulously, ensuring the parchment paper is smooth against the bottom
- Mix brownie batter until just combined - overmixing leads to a tough texture
- Spread evenly, tapping the pan gently to remove air bubbles
- Watch carefully during pre-baking - the edges should be just set while the center remains slightly underdone
- Mastering the Cheesecake Layer
- Beat cream cheese first until completely smooth, scraping bowl frequently
- Add sugar gradually while mixing at medium speed to avoid lumps
- Incorporate eggs one at a time, mixing on low just until blended
- Fold in sour cream and heavy cream with a spatula for the perfect consistency
- Baking and Cooling Process
- Create a water bath by wrapping pan in foil and placing in a larger pan with hot water
- Bake until edges are slightly puffed but center still has a slight wobble
- Cool gradually to prevent cracking - this is crucial for presentation
- Refrigerate overnight for best results and clean slices
 Pin it
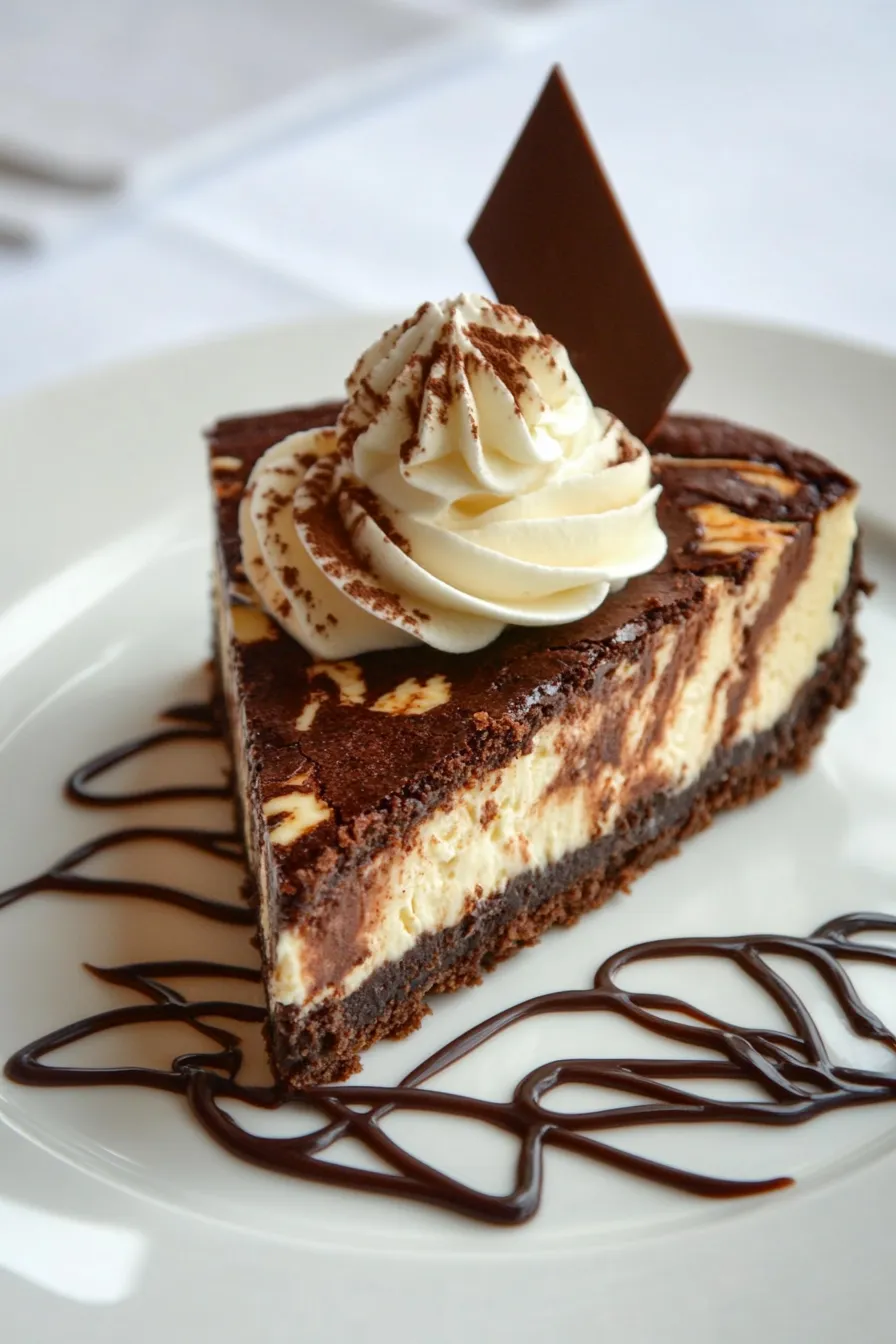
My daughter insists the brownie layer is the best part, and I've caught her more than once scraping the last bits from the springform pan. There's something magical about how the dense chocolate base complements the light, creamy topping.
Creating the Perfect Balance
Water baths might seem fussy, but they're the secret to achieving that professional-quality result. The gentle, humid heat ensures even baking and prevents the surface from drying out. Think of it as giving your cheesecake a luxurious spa treatment.
The Art of Decoration
While simple whipped cream swirls are classic, I love experimenting with seasonal touches. Fresh berries in summer, caramel drizzle in fall, or crushed peppermint during the holidays keeps this recipe exciting year-round.
Mastering Temperature Control
The key to a crack-free cheesecake lies in temperature management. Starting with room temperature ingredients and cooling gradually creates that perfectly smooth surface that makes everyone think you bought it from a professional bakery.
After years of baking cheesecakes, this brownie-bottom version remains my most requested recipe. There's something deeply satisfying about creating a dessert that brings together the best of both worlds - the richness of brownies and the elegance of cheesecake. Every time I make it, I'm reminded why sometimes the simplest combinations make the most extraordinary desserts.
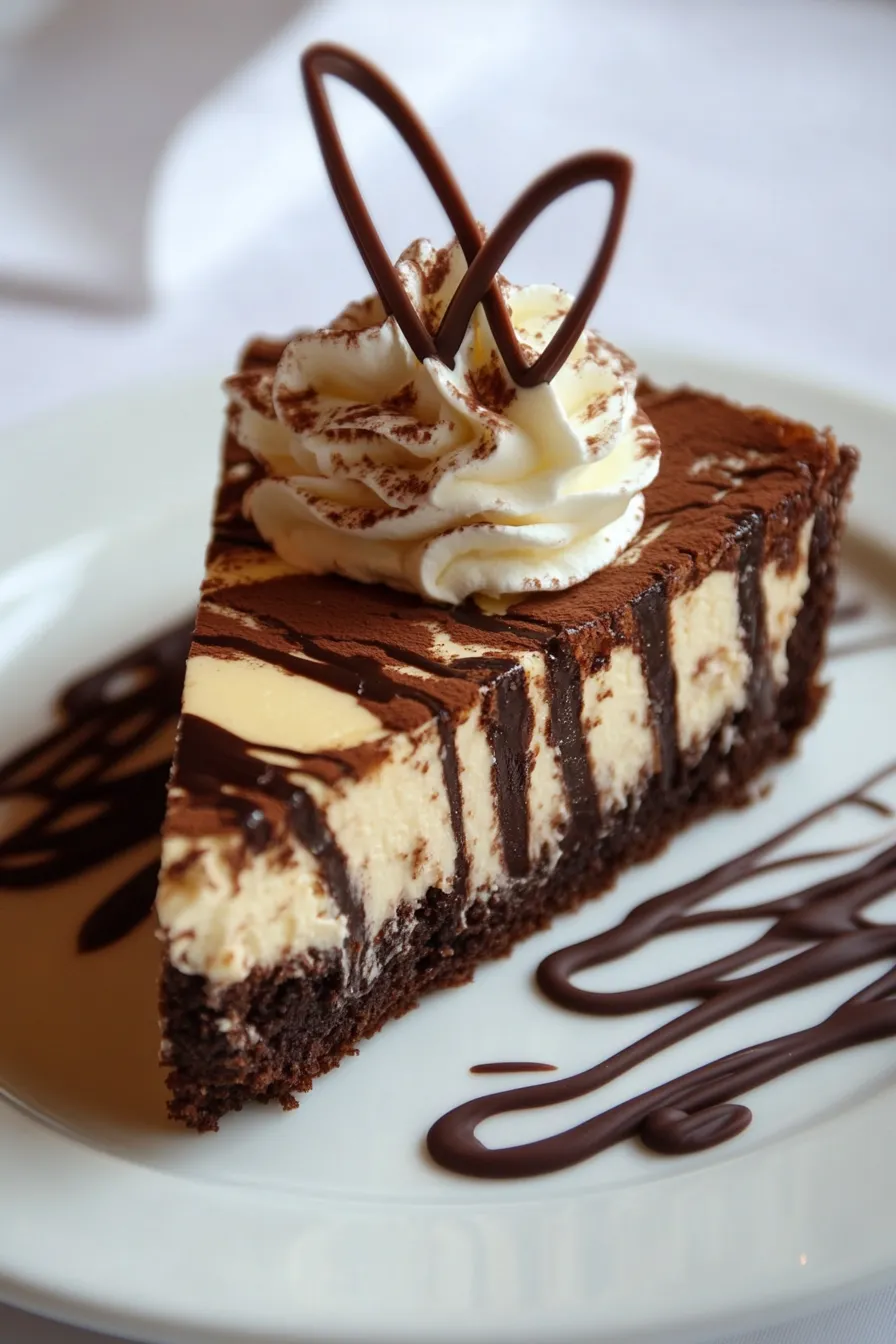
Texture and Timing Secrets
The magic of this dessert lies in achieving the perfect contrast between the fudgy brownie base and creamy cheesecake top. The pre-baking time of the brownie layer is crucial - it should be just set enough to hold the cheesecake batter but still maintain its dense, chocolatey character. I've found that 15 minutes is the sweet spot in my oven, though yours might need slight adjustment.
Making It Your Own
While the classic version is divine, this recipe welcomes creative variations. Sometimes I fold crushed Oreos into the cheesecake batter, or swirl in raspberry preserves before baking. During the holidays, a touch of peppermint extract in the filling transforms it into a festive treat that has become our family's Christmas tradition.
Understanding the Science of Success
The flour in the cheesecake mixture isn't just filler - it provides stability and helps prevent cracking. Think of it as insurance for your cheesecake's success. I've experimented with different amounts, and three tablespoons gives the perfect balance of creaminess and structure.
Serving and Storage Wisdom
Leftover cheesecake (if there is any!) actually improves over the first couple of days as the flavors meld together. I often make this dessert two days ahead of special occasions, knowing it will be at its peak when served. Just be sure to store it in an airtight container to prevent it from absorbing other flavors from the refrigerator.
 Pin it
Troubleshooting Common Issues
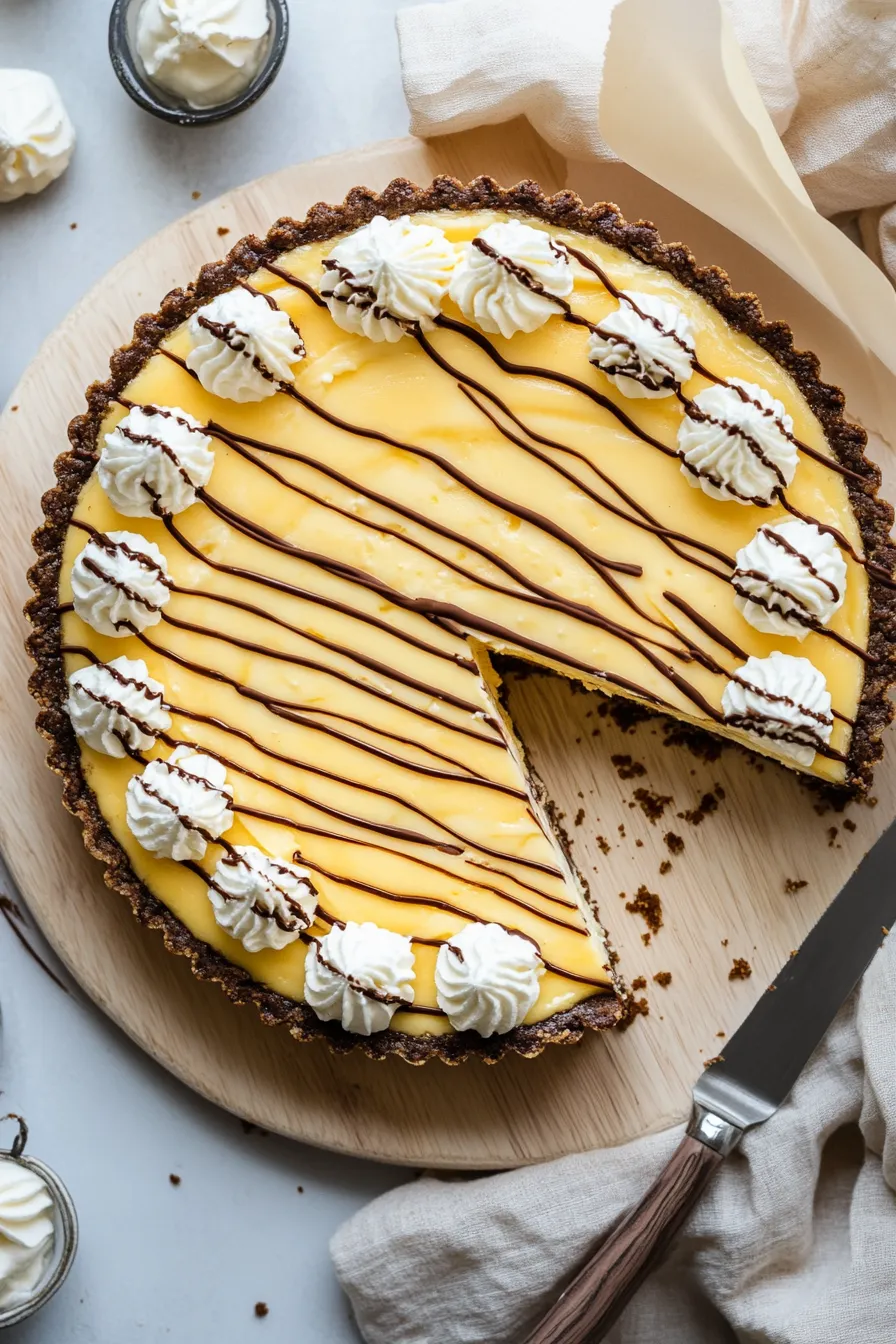
Even experienced bakers sometimes encounter challenges. If you notice the cheesecake browning too quickly, tent it with foil. For clean slices, dip your knife in hot water and wipe it clean between each cut. These small details make the difference between a good cheesecake and a great one.
After countless iterations and years of feedback from family and friends, this recipe has evolved into something truly special. What I love most about it is how it brings people together - there's nothing quite like watching faces light up at the sight of this impressive dessert. Remember, patience is key with cheesecake making. Take your time with each step, and you'll be rewarded with a dessert that rivals any professional bakery's creation.
Frequently Asked Questions
- → Why shouldn't I beat in the eggs?
- Mixing eggs by hand prevents excess air in the batter, which helps prevent cracking in the cheesecake.
- → Do I need a water bath?
- No, this recipe doesn't require a water bath but uses a special cooling method to prevent cracking.
- → Can I make this ahead?
- Yes, it can be made 1-2 days ahead and stored in the refrigerator. Add toppings just before serving.
- → Why pre-bake the brownie layer?
- Pre-baking ensures the brownie stays fudgy while allowing the cheesecake to cook properly.
- → How long does it keep?
- It keeps up to 5 days when stored covered in the refrigerator.