
 Pin it
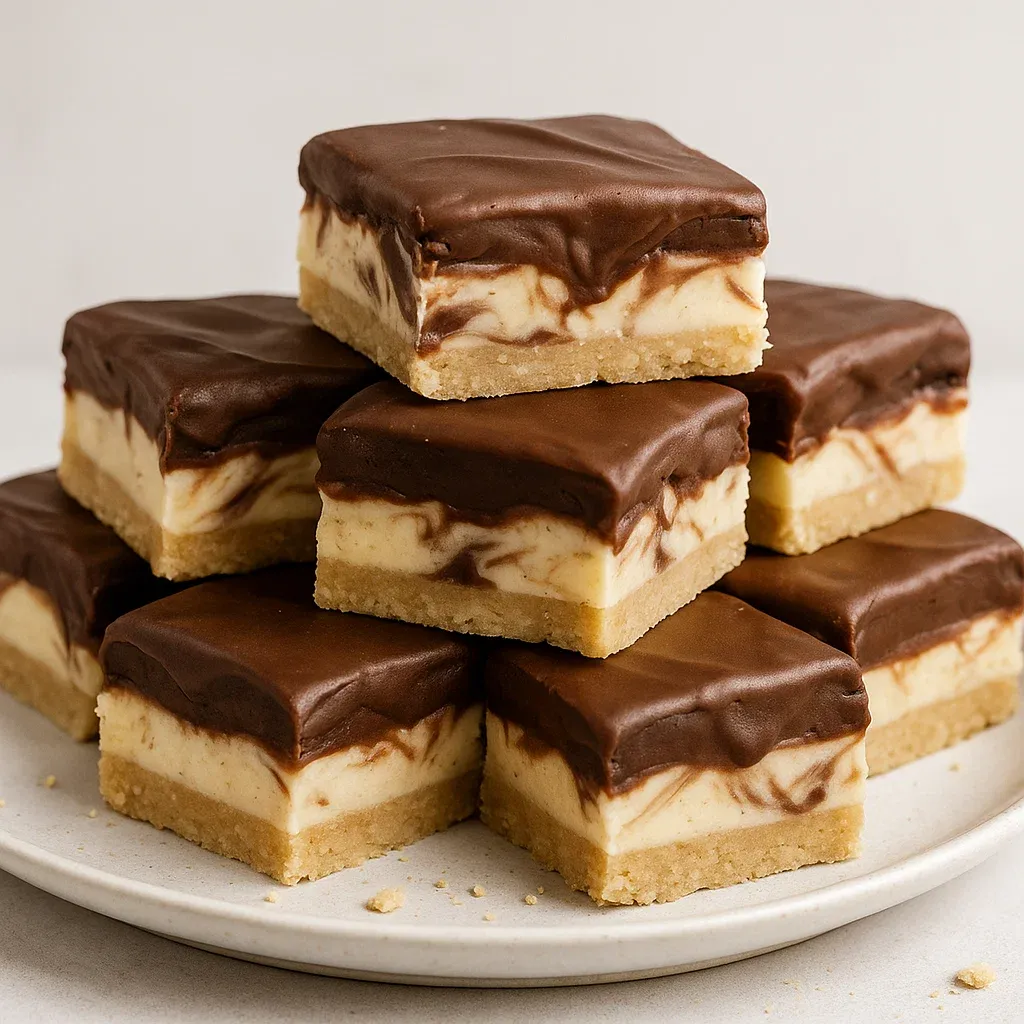
This Boston cream fudge transforms classic Boston cream pie flavors into velvety fudge squares with layers of creamy white chocolate and rich cocoa swirls topped with a decadent chocolate coating. The combination creates an irresistible treat that captures the essence of the beloved dessert in bite sized pieces.
I first made this fudge for a holiday cookie exchange when I needed something that would travel well. The beautiful swirled pattern earned so many compliments that it has become my signature contribution to every family gathering.
Ingredients
- Granulated sugar: forms the sweet base of our fudge providing the perfect structure
- Unsalted butter: adds richness and helps create that melt in your mouth texture
- Heavy cream: creates the luxurious creaminess that makes this fudge so special
- Light corn syrup: prevents crystallization ensuring your fudge stays silky smooth
- White baking chocolate: provides that distinctive Boston cream flavor look for high quality bars for best results
- Marshmallow cream: adds the perfect pillowy texture that makes this fudge so addictive
- Vanilla extract: enhances all the flavors choose pure extract for the cleanest taste
- Unsweetened cocoa powder: creates the chocolate layer look for Dutch processed for deeper color
- Semi sweet chocolate chips: for the signature topping choose a brand you enjoy eating plain
- Vegetable oil: helps thin the chocolate topping for perfect dipping
How To Make Boston Cream Fudge
- Prepare the Pan:
- Line an 8x8 inch baking pan with parchment paper leaving overhang on the sides for easy removal later. Apply a very light coat of cooking spray to prevent any sticking. Creating this sling makes removing and cutting the fudge much easier later.
- Create the Base Mixture:
- Combine sugar butter heavy cream and corn syrup in a heavy bottomed saucepan over medium heat. Stir constantly until the mixture reaches a rolling boil about 5 minutes. The heavy bottom prevents scorching while the constant stirring ensures even heating and prevents burning.
- Reach Soft Ball Stage:
- Continue boiling while stirring for 4 to 5 minutes until the mixture registers between 235°F and 240°F on a candy thermometer. This precise temperature range ensures your fudge will set properly while maintaining a creamy texture. If you do not have a thermometer you can test by dropping a small amount into cold water it should form a soft ball.
- Add White Chocolate:
- Remove from heat and immediately add the chopped white chocolate stirring until completely melted and smooth. The residual heat will melt the chocolate while cooling the base mixture to the perfect temperature for the next ingredients.
- Incorporate Marshmallow:
- Add marshmallow cream and vanilla extract stirring vigorously until fully incorporated. The marshmallow cream gives the fudge its distinctive texture while the vanilla enhances all the flavors.
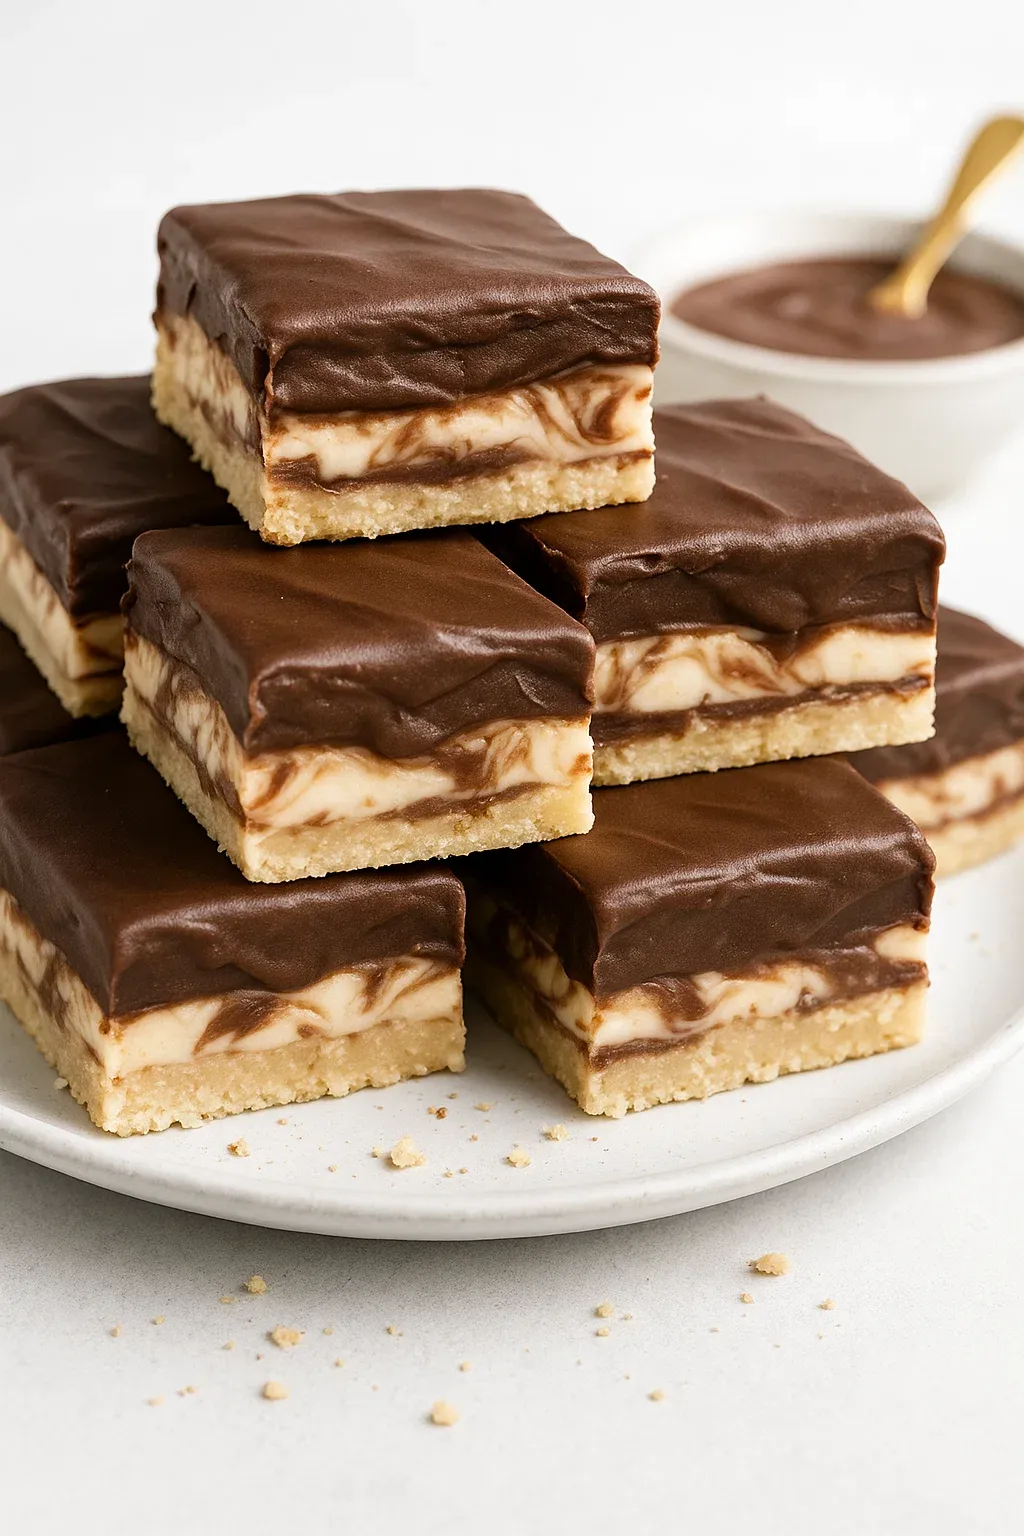
- Create Layers:
- Pour three quarters of the white fudge mixture into your prepared pan creating an even layer. This will be the base of your Boston cream fudge representing the vanilla custard layer of the classic dessert.
- Make Chocolate Layer:
- Add cocoa powder to the remaining fudge mixture in the pot whisking thoroughly until completely incorporated. Be patient with this step as cocoa can take time to fully mix in. The chocolate mixture represents the chocolate topping of traditional Boston cream pie.
- Create Swirl Effect:
- Carefully spoon the chocolate mixture over the white layer then use a toothpick or skewer to create beautiful swirls. Pull the tool through both layers with gentle strokes working in one direction then the other for the most attractive pattern. Avoid over mixing or you will lose the distinct layers.
- Set the Fudge:
- Let the fudge cool at room temperature for about an hour then cover with foil and refrigerate for another hour until firmly set. This two stage cooling process ensures the proper texture development.
- Cut into Squares:
- Once set remove the fudge from the pan using the parchment paper overhang. Use a sharp knife to cut into 25 to 36 squares depending on your preferred size. Clean the knife between cuts for the cleanest edges.
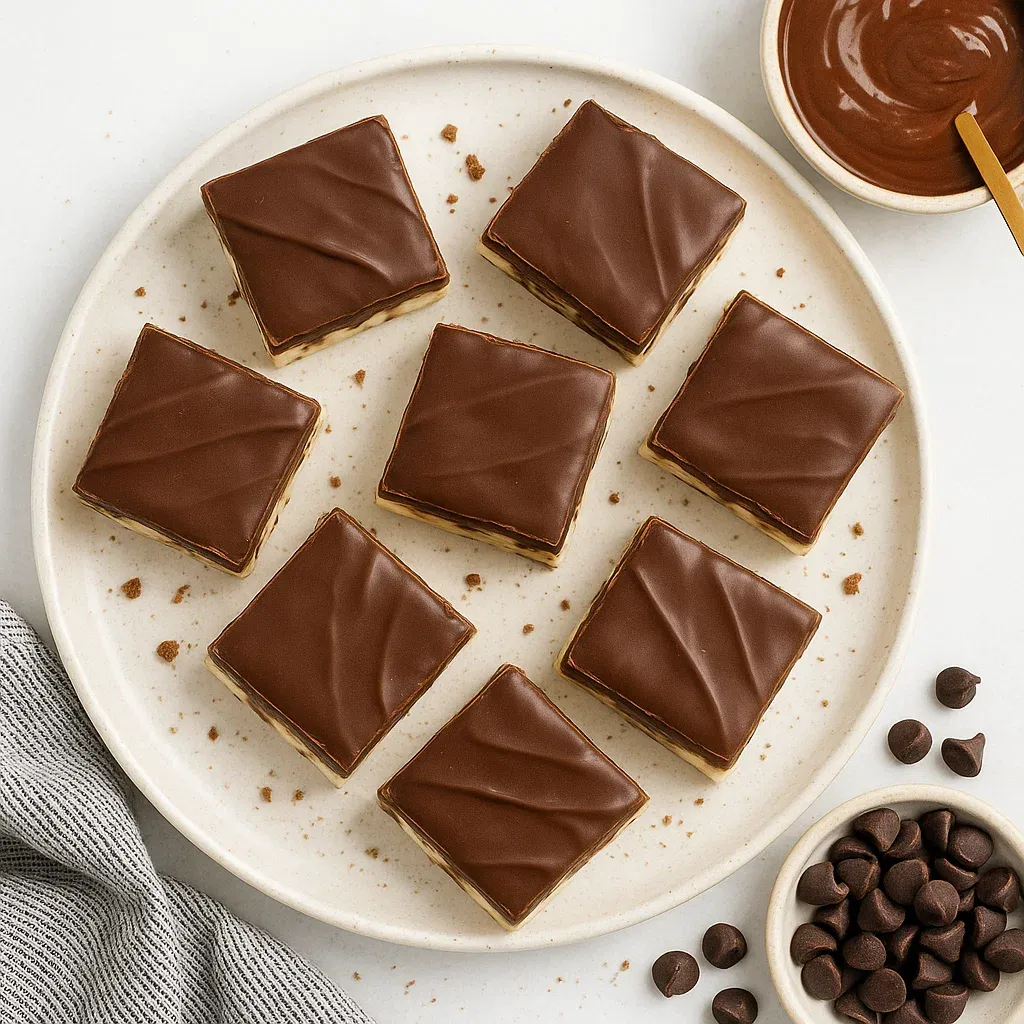
- Add Chocolate Topping:
- Melt chocolate chips with vegetable oil in the microwave stirring every 30 seconds until smooth. Dip the top of each fudge square into the melted chocolate allowing excess to drip off before placing on parchment paper to set. This final chocolate layer completes the Boston cream pie experience.
 Pin it
The marshmallow cream is truly the secret ingredient in this recipe. When I first developed this fudge I tried versions without it but the texture was never quite right. The marshmallow cream creates that signature Boston cream pie filling mouthfeel that makes everyone ask for the recipe.
Perfect Storage
Store your Boston cream fudge in an airtight container with parchment paper between layers to prevent sticking. At room temperature it will last about a week though the texture is best when kept in the refrigerator where it will stay fresh for up to two weeks. For longer storage you can freeze the fudge for up to three months. Thaw overnight in the refrigerator before serving. The fudge actually tastes even better on day two when the flavors have had time to meld together.
 Pin it
Easy Variations
This versatile fudge recipe welcomes creative adaptations. For a peanut butter Boston cream version replace one third of the white chocolate with peanut butter chips. Coffee lovers can add a tablespoon of espresso powder to the chocolate layer for a mocha Boston cream experience. During holiday seasons add a few drops of peppermint extract to the white layer for a festive twist. For a more pronounced Boston cream pie flavor consider adding a teaspoon of custard powder to the white layer. The beauty of this recipe is its adaptability while still maintaining that classic Boston cream profile.
Serving Suggestions
Present this fudge on a beautiful platter for maximum impact at gatherings. For an elevated dessert experience warm individual squares for 5 seconds in the microwave and serve alongside a scoop of vanilla bean ice cream. Create a dessert board with pieces of this fudge alongside fresh berries and small cookies. For a truly decadent presentation drizzle additional melted chocolate over the arranged fudge pieces just before serving. This fudge also makes an excellent addition to coffee or tea service especially when paired with a light cream based beverage.
Frequently Asked Questions
- → How do I prevent the sugar mixture from burning?
To avoid burning, stir constantly and keep the heat at a medium level. Use a candy thermometer to maintain the correct temperature.
- → Can I substitute white baking chocolate?
Yes, you can use high-quality white chocolate chips, but avoid using candy melts as they may not melt smoothly.
- → What is marbling, and how do I achieve it?
Marbling is the swirling of two contrasting mixtures. Use a skewer or toothpick to gently swirl the cocoa fudge into the white layer for a decorative effect.
- → How do I store the fudge?
Store your fudge in an airtight container at room temperature for up to five days or refrigerate for up to two weeks.
- → Can I skip the chocolate dipping step?
Yes, the fudge is delicious on its own, but the dipping adds a glossy, flavorful finish for presentation.