
 Pin it
This homemade banana pudding recipe brings together layers of rich vanilla pudding, fresh bananas, and crisp vanilla wafers for a truly nostalgic dessert experience. Unlike store-bought versions, this recipe builds incredible flavor from scratch with a homemade pudding base and freshly whipped cream.
I first made this banana pudding for a summer cookout when I wanted something beyond the usual desserts. The empty dish and multiple requests for the recipe convinced me this would become my signature dessert for years to come.
- Granulated sugar: creates the perfect sweetness level for the pudding base
- Cornstarch: provides the thick pudding texture without commercial mixes
- Whole milk and heavy cream: give richness impossible to achieve with lower fat options
- Egg yolks: add silky smoothness and rich custard flavor
- Vanilla extract: infuses the pudding with warm aromatic depth
- Unsalted butter: adds a luxurious mouthfeel to the finished pudding
- Ripe bananas: should have yellow peels with light brown spots for optimal sweetness
- Lemon juice: prevents bananas from browning too quickly
- Vanilla wafers: create the classic texture contrast with homemade being worth the extra effort
- Dark chocolate: adds an optional elegant finishing touch
Step-by-Step Instructions
- Create The Pudding Base:
- Whisk together sugar, cornstarch, and salt in a medium saucepan to ensure even distribution of thickening agents. This prevents lumps from forming later in the cooking process. Combine milk, cream, and egg yolks in a separate bowl, beating thoroughly to incorporate the yolks completely before introducing them to the heat.
- Develop The Custard:
- Pour the liquid mixture gradually into the dry ingredients while whisking constantly. This gradual addition prevents lumps from forming. Transfer to medium heat and whisk continuously as the mixture thickens. Patience is crucial here do not increase the heat to speed the process as this will lead to scorching or curdled eggs. The pudding is ready when the whisk leaves clear trails and coats the back of a spoon completely.
- Refine The Texture:
- Strain the thickened pudding through a fine mesh sieve to remove any lumps or bits of cooked egg. Immediately whisk in butter pieces one at a time, allowing each to melt completely before adding the next. Add vanilla extract last to preserve its delicate flavor. Cool for 15 minutes with occasional stirring before covering with plastic directly touching the surface to prevent skin formation.
- Create Perfect Whipped Cream:
- Beat cold heavy cream, powdered sugar, and vanilla extract until stiff peaks form. The cream should hold its shape but still appear smooth and glossy. Gently fold half of this whipped cream into the cooled pudding to create a lighter, mousse-like texture.
- Layer The Components:
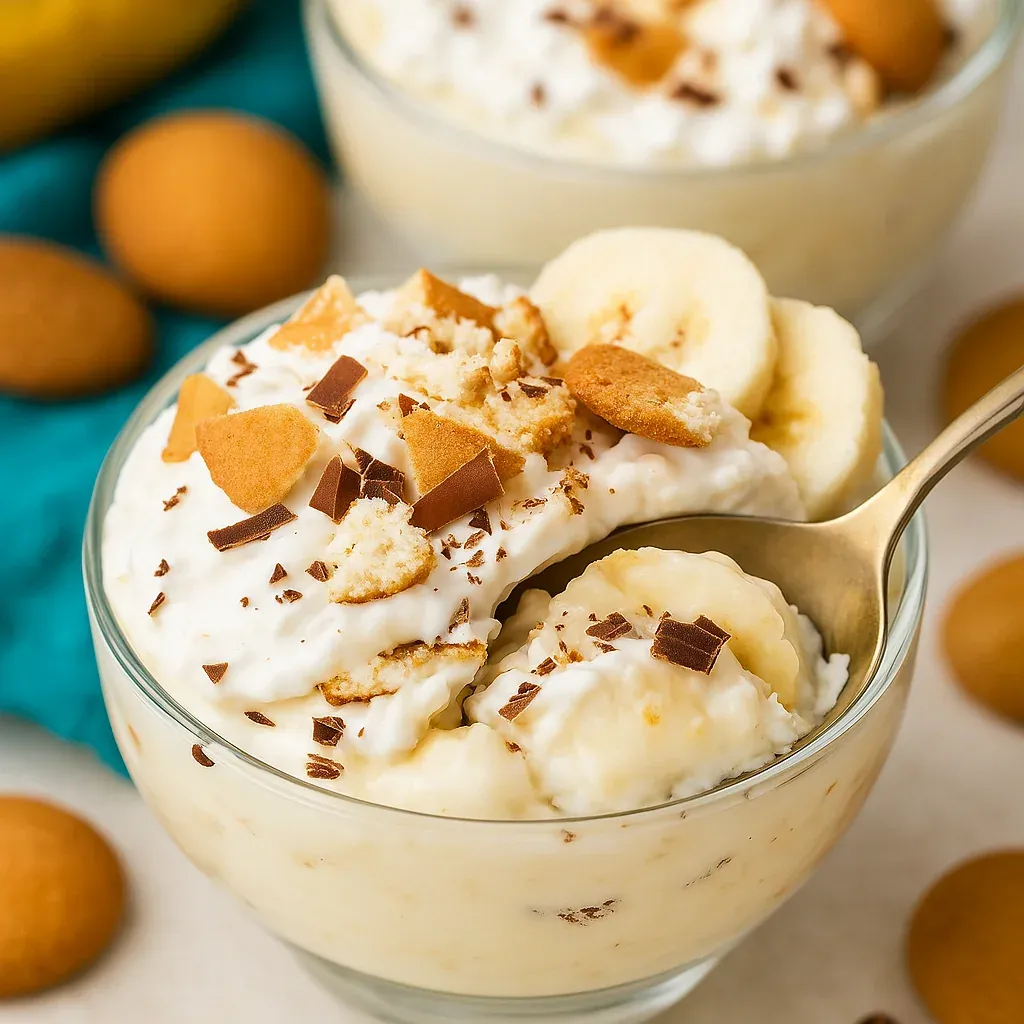
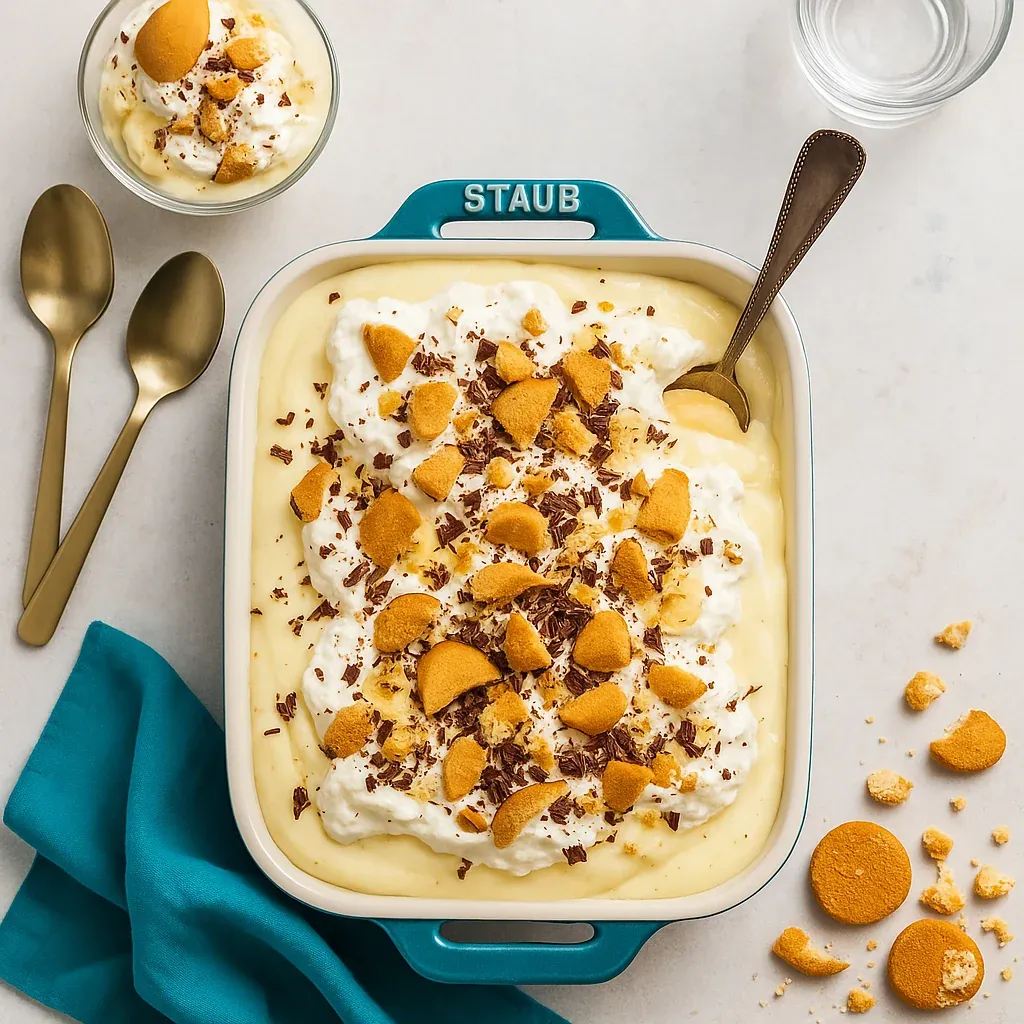
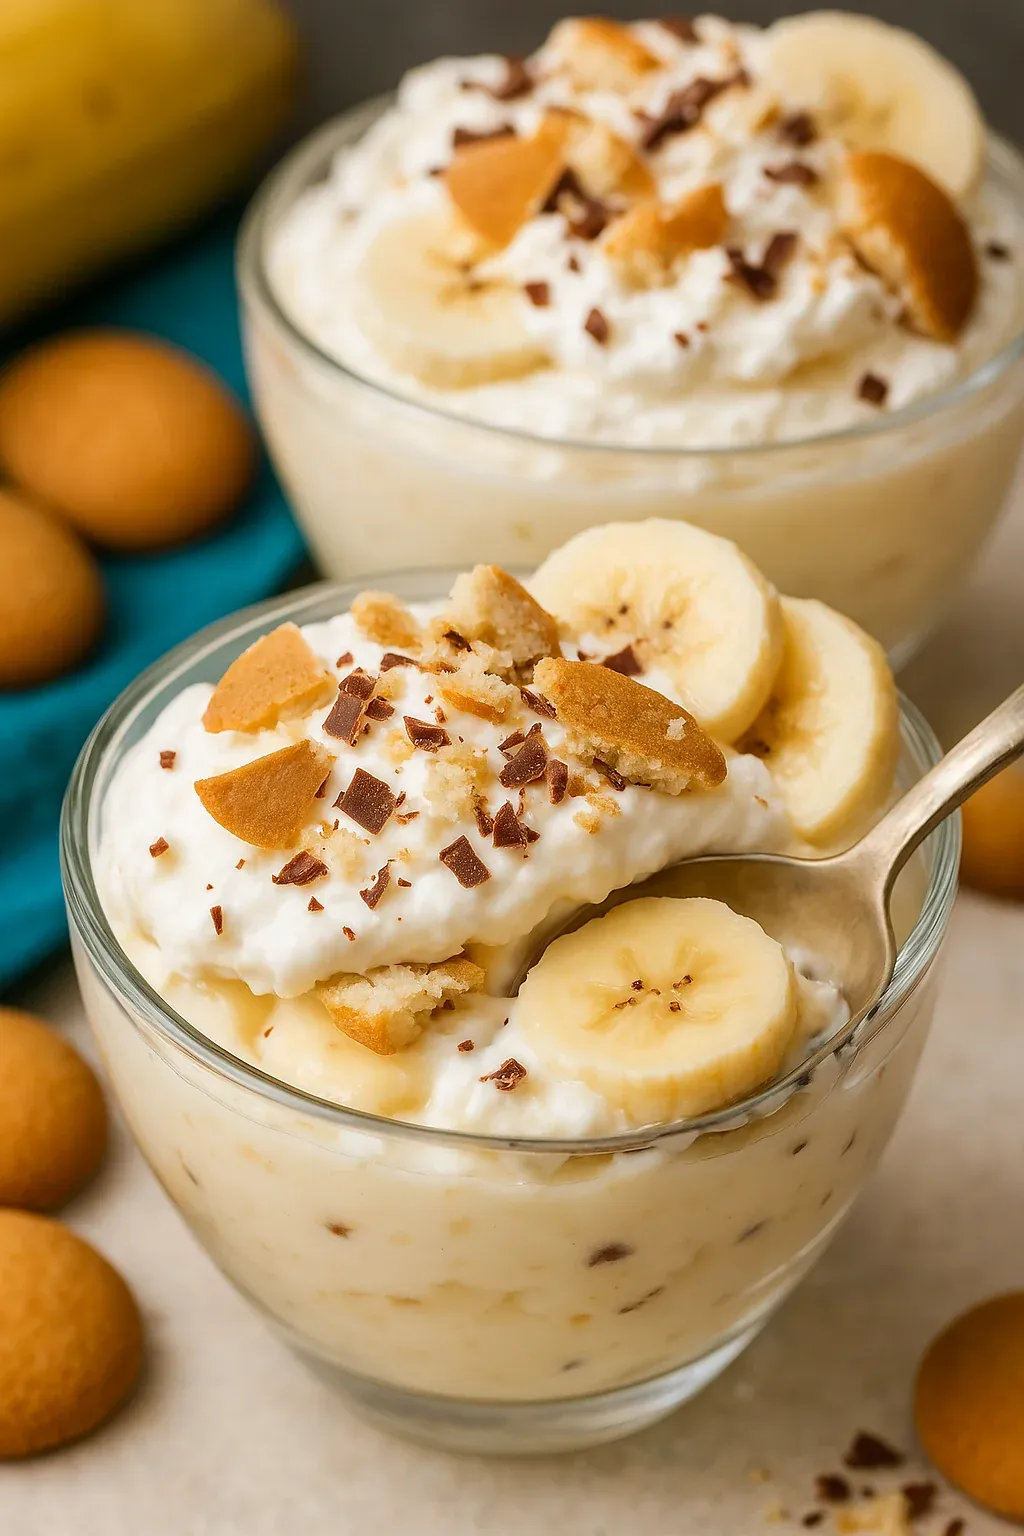
- Begin with a thin pudding layer in your dish, then add vanilla wafers in a single layer. Top each wafer with lemon juice brushed banana slices. The lemon juice adds brightness while preventing discoloration. Continue layering with half the pudding mixture, more wafers and bananas, then the remaining pudding. Top with reserved whipped cream and refrigerate at least 4 hours to allow flavors to meld and wafers to soften slightly.
- Add Final Touches:
- Just before serving, crumble additional vanilla wafers over the top and add chocolate shavings if desired. These additions provide visual appeal and textural contrast to the softened layers beneath.
 Pin it
I discovered the magic of this banana pudding when making it for my grandmother's birthday. She grew up in the South and declared this version better than her own mother's recipe a compliment I treasure more than any other culinary achievement. The key is taking your time with the pudding base allowing those flavors to develop slowly creates something truly special.
Perfect Storage And Serving
This banana pudding is best enjoyed within 24-48 hours of assembly. While the pudding base can be made up to three days ahead and refrigerated separately, the assembled dessert has a more limited window of freshness. The bananas will eventually begin to break down and discolor despite the lemon juice treatment. Store any leftovers covered tightly in the refrigerator, pressing plastic wrap directly against any exposed pudding surface to prevent skin formation.
Clever Substitutions
While the recipe shines with whole milk and heavy cream, you can customize based on what you have available. The pudding works with 2% milk instead of whole, and you can substitute half-and-half for the cream in the pudding base. However, the whipped cream topping requires proper heavy cream to achieve the right texture and stability. For a gluten-free version, seek out gluten-free vanilla wafers or make your own using a gluten-free flour blend.
The Cultural Significance
Banana pudding holds a special place in Southern American cuisine, often appearing at family gatherings, church suppers, and holiday celebrations. Its popularity grew in the early 20th century when bananas became more widely available in America. The classic version using vanilla wafers emerged as a convenient and delicious way to showcase this once-exotic fruit. Today, this dessert represents comfort, tradition, and the simple pleasure of a handcrafted sweet that brings generations together.
 Pin it
Frequently Asked Questions
- → How do I prevent bananas from browning in banana pudding?
Brush the banana slices with lemon or lime juice to prevent browning. This adds a slight tang while keeping them fresh-looking.
- → Can I use store-bought vanilla wafers?
Yes, store-bought vanilla wafers work perfectly. However, homemade wafers add an extra layer of flavor and freshness.
- → What substitutes can I use for heavy cream?
You can replace heavy cream with half-and-half or use additional whole milk for the pudding base, but heavy cream is required for the whipped cream topping.
- → How far in advance can I make this dessert?
The pudding base can be made 2-3 days in advance. Assemble the entire dish no more than 24-48 hours before serving for the best flavor and look.
- → Can I freeze banana pudding?
Freezing banana pudding is not recommended, as the texture of the pudding and bananas will not hold up well after thawing.