
 Pin it
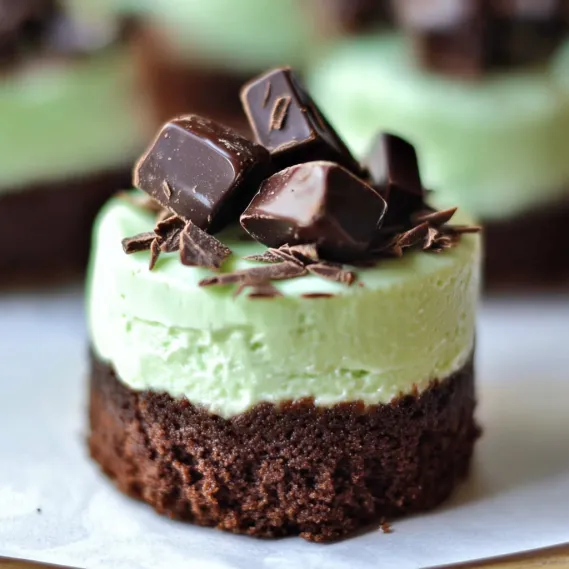
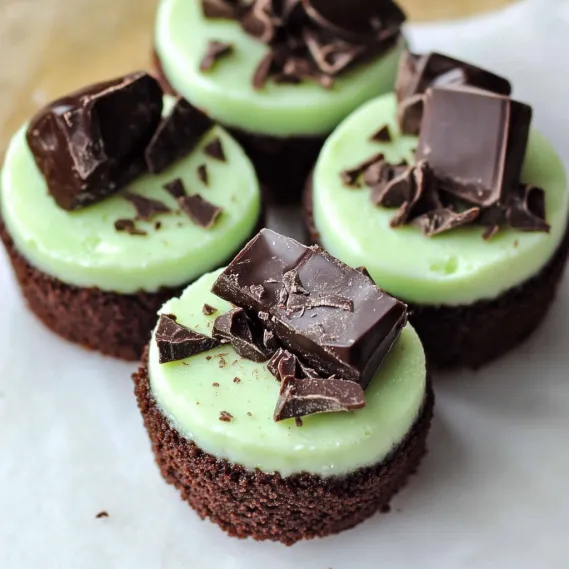
This irresistible Andes Mint Mini Cheesecake recipe transforms ordinary gatherings into special occasions with their perfect blend of chocolate and mint. These bite-sized desserts have become my signature party treat, combining the beloved flavor duo in an elegant, portion-controlled package that never fails to impress guests.
I first created these for a holiday gathering when I needed something festive but manageable. The vibrant green filling against the dark chocolate elements created such a visual impact that they've become requested at every family celebration since.
Ingredients
- Chocolate graham cracker crumbs: create a crunchy foundation that enhances the mint chocolate experience
- Cream cheese: provides that classic cheesecake tang and silky texture
- Mint extract: delivers the signature flavor without overwhelming the palate
- Green food coloring: transforms these into conversation starters
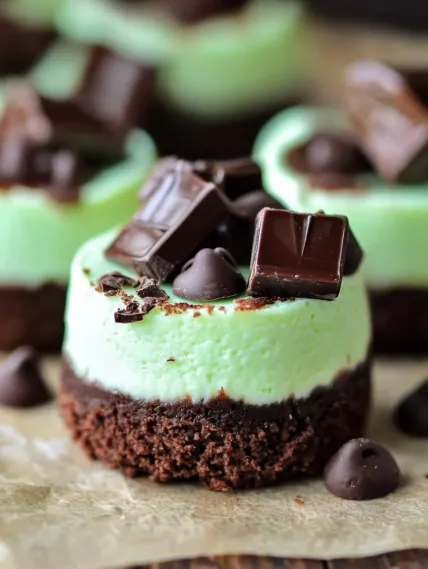
- Andes mints: add authentic mint chocolate flavor and create a beautiful garnish
- Quality chocolate chips: for the ganache topping melt perfectly for that glossy finish
How To Make Andes Mint Mini Cheesecakes
- Prepare the pan:
- Thoroughly coat your mini cheesecake pan with nonstick spray, ensuring you hit all corners. This crucial step prevents sticking and makes removal effortless after baking. Preheat your oven to 325°F for the perfect gentle baking environment.
- Create the crust:
- Mix chocolate graham cracker crumbs with sugar and melted butter until the mixture resembles wet sand. The moisture level should allow it to hold shape when pressed. Divide evenly among cavities and press down gently but firmly to create a solid foundation.
- Prepare the filling:
- Beat cream cheese and sugar until completely smooth and slightly fluffy, taking your time to eliminate all lumps. Gently mix in the egg just until incorporated and add mint extract and food coloring. The gentle mixing preserves the creamy texture without incorporating excess air.
- Bake with care:
- Fill each cavity about three-fourths full and bake for exactly 20 minutes. The centers should be just set but still have a slight jiggle. Allow them to cool gradually by propping the oven door open with a wooden spoon for 5-10 minutes before removing completely.
- Add the finishing touches:
- Once fully chilled, top each mini cheesecake with a spoonful of melted chocolate and immediately sprinkle with chopped Andes mints before the chocolate sets. This creates a beautiful textural contrast and enhances the mint flavor.
 Pin it
The mint extract is truly the heart of this recipe. While it might seem like a small addition, I've discovered through multiple test batches that precisely one teaspoon creates the perfect balance where the mint is present but not overwhelming. During one memorable Christmas gathering, my normally dessert-indifferent father ate three in one sitting and has requested them at every family dinner since.
Perfect Texture Secrets
Achieving that ideal cheesecake texture requires attention to temperature. Room temperature ingredients blend more smoothly, creating a silky filling without lumps. I always set my cream cheese and egg out at least an hour before beginning. The slow cooling process after baking is equally important as sudden temperature changes can cause the dreaded crack or center collapse that ruins the presentation.
Make-Ahead Options
These mini cheesecakes are perfect for planning ahead. Prepare them up to three days before your event and store covered in the refrigerator. For longer storage, they freeze beautifully for up to two months when properly wrapped. I often make a double batch, enjoying some immediately and freezing the rest for last-minute entertaining opportunities. Simply thaw overnight in the refrigerator before adding the chocolate topping and Andes Mint garnish.
 Pin it
Flavor Variations
While the classic mint and chocolate combination is hard to beat, this versatile recipe welcomes creativity. Try substituting orange extract and a drop of orange food coloring for a chocolate orange version. Raspberry extract with a few drops of red food coloring creates a beautiful Valentine's Day variation. For coffee lovers, replace the mint with coffee extract and omit the food coloring for a sophisticated mocha version. The chocolate graham cracker base works beautifully with all these flavor profiles.
Serving Suggestions
These mini cheesecakes stand beautifully on their own, but for special occasions, consider creating a dessert board. Arrange them on a large platter interspersed with chocolate-covered strawberries, small chocolate truffles, and perhaps some chocolate-dipped pretzel rods. The variety of textures and complementary flavors makes for an impressive presentation that encourages guests to sample multiple treats.
Frequently Asked Questions
- → How do I prevent cracks in the mini cheesecakes?
To prevent cracks, avoid overmixing the cream cheese mixture after adding the egg, and do not open the oven door while baking. Allow the cheesecakes to cool slowly by propping the oven door open.
- → Can I use a different type of crust?
Yes, you can substitute the chocolate graham cracker crust with regular graham crackers, Oreo crumbs, or your preferred crust mix for a different flavor profile.
- → How do I melt chocolate for topping?
Melt chocolate chips in the microwave in 15-second intervals, stirring in between until smooth. Be careful not to overheat, as chocolate burns easily.
- → How long can these cheesecakes be stored?
These mini cheesecakes can be refrigerated for up to 5 days or frozen for up to 2 months when double-wrapped and stored in a freezer-safe container.
- → Can I make these ahead of time?
Yes, these are great for making ahead. Chill them in the refrigerator overnight and add the chocolate topping just before serving to ensure freshness.
- → Do I need food coloring for the mint filling?
No, the green food coloring is optional. It’s primarily added for visual appeal, so you can skip it if you prefer.