
 Pin it
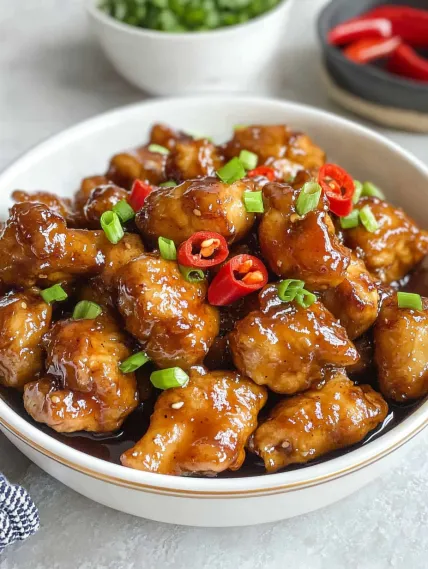
This Mongolian chicken delivers crispy fried chicken pieces coated in a sticky, sweet-savory sauce that's bursting with ginger, garlic, and chili flavors. Better than takeout and ready in just 25 minutes, this simple yet impressive dish will quickly become a family favorite.
Last month, I made this for a casual family dinner, and my husband who typically reserves his highest praise for restaurant meals declared it 'better than takeout.' The secret? Taking time to properly crisp the chicken before adding the flavorful sauce.
Essential Ingredients and Selection Tips
- Boneless Skinless Chicken Thighs: More flavor and juiciness than breast meat
- Cornstarch: Creates the perfect crispy coating when fried
- Fresh Ginger and Garlic: Use fresh for the most vibrant flavor
- Red Chili: Adjust the heat by keeping or removing seeds
- Hoisin Sauce: The sweet-savory base of the sauce that makes this dish distinctive
The magic happens when the crispy cornstarch-coated chicken meets the rich, aromatic sauce, creating the perfect balance of textures and flavors in every bite.
Detailed Cooking Instructions
- Step 1: Prepare Your Ingredients
- Dice chicken thighs into uniform, bite-sized pieces (about 1-inch cubes) for even cooking. Mince garlic, ginger, and chili, and measure out all sauce ingredients before you begin cooking, as the process moves quickly once started.
- Step 2: Coat the Chicken
- Place chicken pieces in a bowl and sprinkle with cornstarch. Toss until each piece is evenly coated. Unlike many recipes, do not pat the chicken dry first—a bit of moisture helps the cornstarch adhere better.
- Step 3: Heat Your Pan
- Add neutral oil to a heavy-bottomed skillet or wok over medium-high heat. The oil is ready when it reaches about 325-350°F, or when bubbles form around a wooden chopstick inserted into the oil.
- Step 4: Fry in Batches
- Add chicken pieces in a single layer, working in batches to avoid overcrowding. Space them slightly apart to ensure each piece gets crispy. Resist the urge to stir-fry—let them develop a crust before turning.
- Step 5: Achieve the Perfect Crisp
- Cook each batch for 3-4 minutes, turning occasionally, until golden brown and cooked through. Transfer to a wire rack or paper towel-lined plate to drain excess oil.
- Step 6: Prepare the Sauce
- In a small bowl, whisk together hoisin sauce, soy sauce, brown sugar, sesame oil, and a cornstarch-water slurry until smooth. This slurry will help thicken the sauce to the perfect consistency.
- Step 7: Cook the Aromatics
- In the same pan, reduce heat to medium and add a little more oil if needed. Sauté minced garlic, ginger, and red chili for 30-60 seconds until fragrant but not burnt.
- Step 8: Combine and Coat
- Pour the sauce mixture into the pan with aromatics and bring to a simmer. As it begins to thicken, return the crispy chicken to the pan and toss quickly to coat each piece evenly with the sticky sauce.
- Step 9: Finish with Garnish
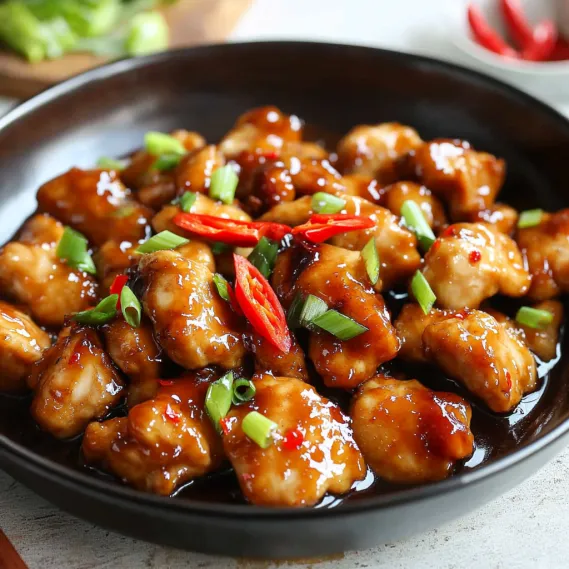
- Remove from heat and garnish with sliced green onions and additional red chili if desired. The fresh, bright flavor of green onions perfectly complements the rich sauce.
- Step 10: Serve Immediately
- For the best texture and flavor, serve right away while the chicken is still crispy and the sauce is hot and glossy. Pair with steamed rice to soak up all that delicious sauce.
 Pin it
I learned the importance of frying in small batches after my first attempt resulted in chicken that steamed rather than fried. Taking the time to properly crisp each batch makes all the difference in the final texture.
Budget-Friendly Meal Planning
This Mongolian chicken exemplifies economical cooking, feeding a family of four for under $15. Chicken thighs typically cost less than breasts while providing more flavor and moisture. The sauce ingredients, while initially an investment, last through multiple meals, making subsequent preparations even more affordable. Paired with simple rice and vegetables, one package of chicken thighs creates a complete restaurant-quality meal at a fraction of takeout prices.
 Pin it
Family-Friendly Adaptations
For households with varying spice preferences, this recipe offers easy modification. Remove all chili seeds and reduce the amount for a mild version that children enjoy, while adding extra chili or even a dash of chili oil for heat-loving family members. The sweet-savory base appeals to most palates while still delivering authentic flavor. My nephew who 'doesn't like spicy food' happily devours the mild version while adults can add chili oil to their individual portions.
Seasonal Vegetable Additions
This versatile main dish welcomes seasonal vegetables for added nutrition and color. Summer brings opportunities for bell peppers, zucchini, or green beans. Fall calls for broccoli or sugar snap peas. Winter versions incorporate hearty vegetables like carrots or baby corn. Spring welcomes asparagus or snow peas. Simply stir-fry your chosen vegetables after the aromatics and before adding the sauce, then proceed with the recipe as written.
Make-Ahead and Freezer Tips
For busy households, this recipe shines as a prepare-ahead solution. Dice chicken and store in the refrigerator up to 24 hours before cooking. Mix the sauce ingredients (except the cornstarch slurry) and refrigerate in a sealed container for up to three days. Mince aromatics and store in separate containers. When ready to cook, prepare the cornstarch slurry fresh, and proceed with the recipe for a quick weeknight meal without sacrificing flavor or texture.
Chef's Essential Tips
- For extra flavor, add a teaspoon of dark brown sugar instead of light
- Add a tablespoon of rice vinegar to the sauce for a tangy dimension
- Toast sesame seeds before using for added crunch and flavor
- For a thicker sauce, simmer for an extra 1-2 minutes
- For a spicier version, add sliced fresh chili or a teaspoon of chili oil
I discovered these refinements over many iterations of this dish - particularly the rice vinegar addition, which adds remarkable brightness that balances the sweet-savory sauce perfectly.
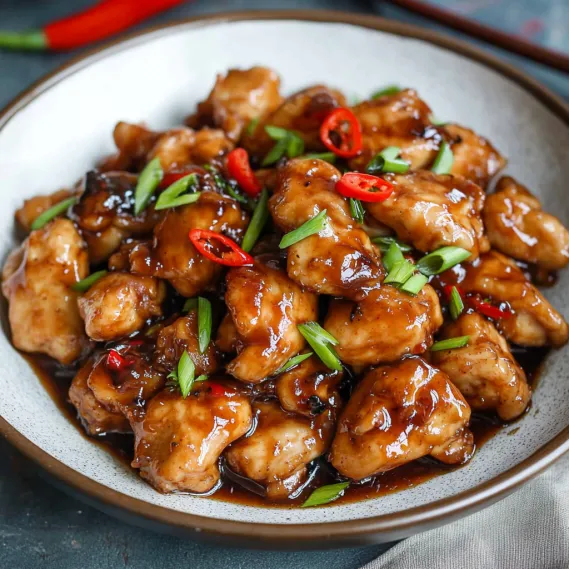
This Mongolian chicken has become one of my most reliable recipes for satisfying Chinese food cravings without ordering takeout. The combination of crispy chicken pieces and rich, aromatic sauce creates something greater than the sum of its parts - a dish that tastes complex despite its simple preparation.
 Pin it
This Mongolian chicken recipe proves that restaurant-quality Chinese dishes are absolutely achievable at home with just a few simple ingredients and techniques. Once you master this, you'll find yourself making it again and again!