
 Pin it
I fell in love with tamagoyaki during my early morning visits to Tokyo's fish markets. Watching the cooks create these perfectly layered omelets was like seeing culinary magic happen. After many (many!) attempts at home, I finally mastered the gentle rolling technique that creates those beautiful golden layers. Now making tamagoyaki has become my morning meditation - there's something so calming about the rhythmic process of rolling each delicate layer.
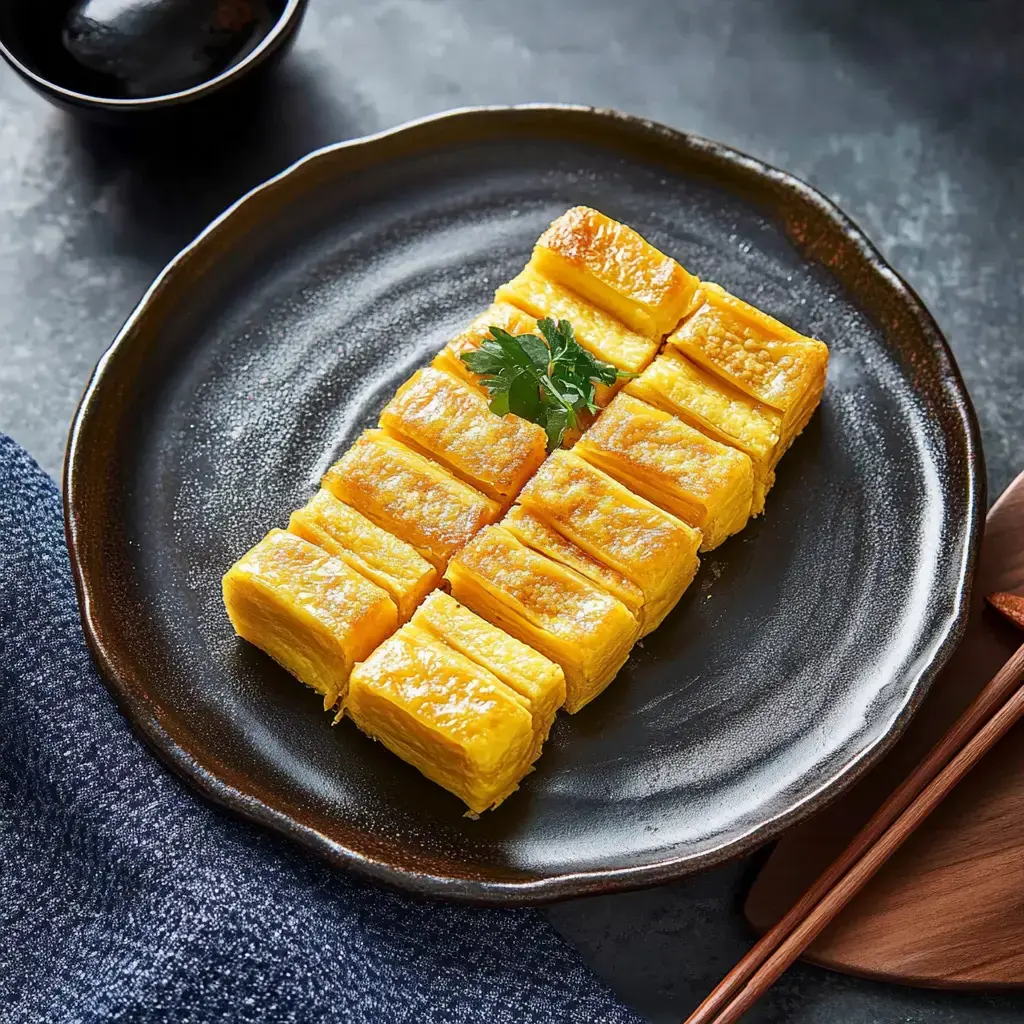
The Art of Perfect Layers
What makes tamagoyaki so special is its delicate balance of sweet and savory flavors, wrapped in those signature golden layers. It's not just an omelet - it's a testament to patience and precision. Each layer needs to be just the right thickness, and the rolling technique takes practice, but when you cut into that perfect spiral, it's absolutely worth every minute spent learning.
Essential Ingredients
- Fresh Eggs: Room temperature eggs work best they're more pliable
- Mirin: This sweet cooking wine is crucial for flavor (but I'll share a substitute)
- Light Soy Sauce: The lighter variety keeps your omelet beautifully golden
- Dashi Stock: Adds that subtle umami you can't get any other way
- Sugar and Salt: For that signature sweet-savory balance
- Oil: Just enough to keep things moving never let your pan get dry
Step-by-Step Rolling
- Mix With Care
- Gently beat those eggs no vigorous whisking! We want minimal bubbles for silky smooth layers. Always strain the mixture it makes such a difference.
- Pan Preparation
- Your pan should be just hot enough that a drop of egg mixture sizzles softly. Oil it very lightly between each layer.
- The First Roll
- This is the trickiest part! Wait until the egg is just set but still glossy on top, then start your roll. Don't worry if it's not perfect the first time.
- Building Layers
- Pour each new layer thin enough to see through, lifting your roll so the egg flows underneath. Always let it set just enough before rolling.
 Pin it
Kitchen Secrets
Here's what took me years to learn: temperature control is everything. Keep your heat low and steady. If you see any browning, your pan's too hot. And that bamboo mat at the end? It's not just for show - it helps create that perfect rectangular shape and tight layers.
Creative Variations
While traditional tamagoyaki is beautiful in its simplicity, sometimes I like to add a sheet of nori between layers or mix in finely chopped chives. For a modern twist, try a sprinkle of furikake or even a thin layer of cream cheese. Just remember - less is more with these delicate eggs.
Make It Fresh
Tamagoyaki is best enjoyed right after making, but you can prep the egg mixture the night before. If you're packing it for lunch, let it cool completely before wrapping - this prevents condensation from making it soggy. It's lovely at room temperature too!
Perfect Pairings
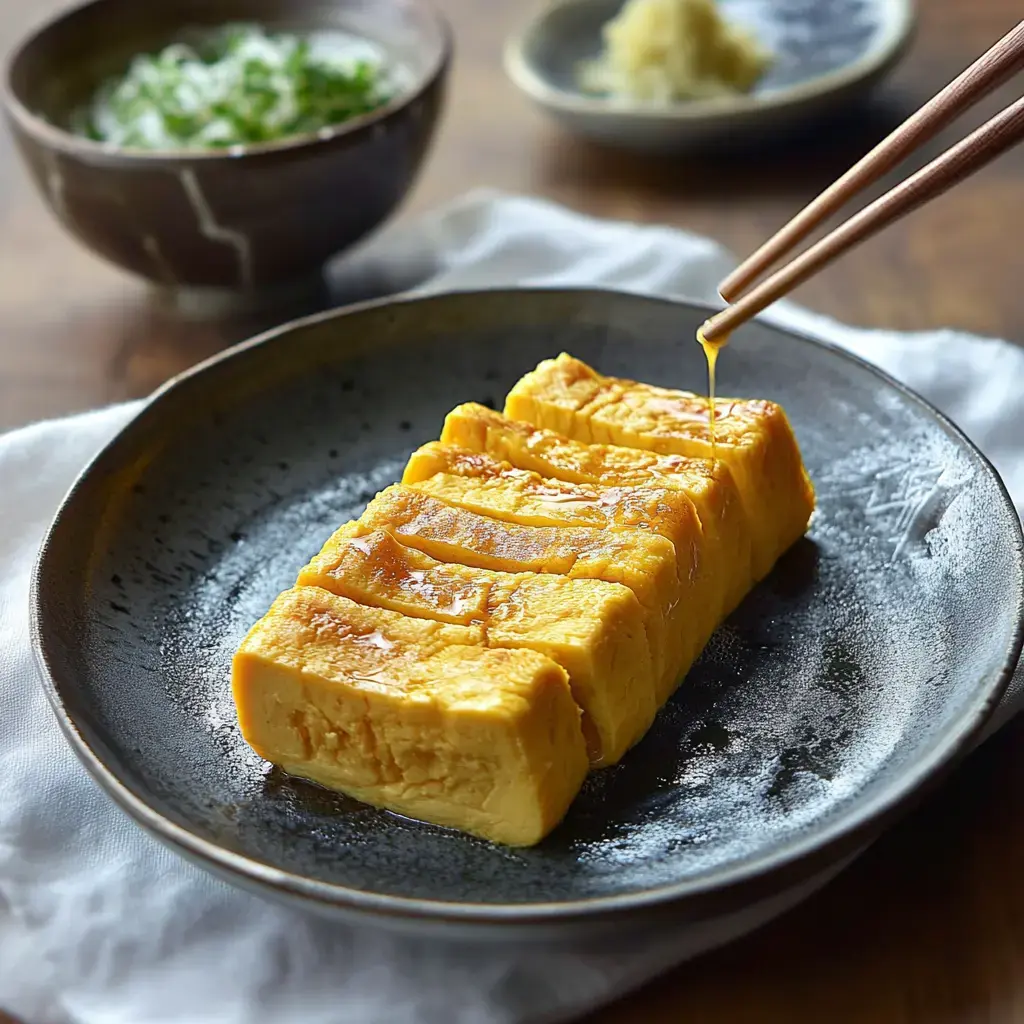
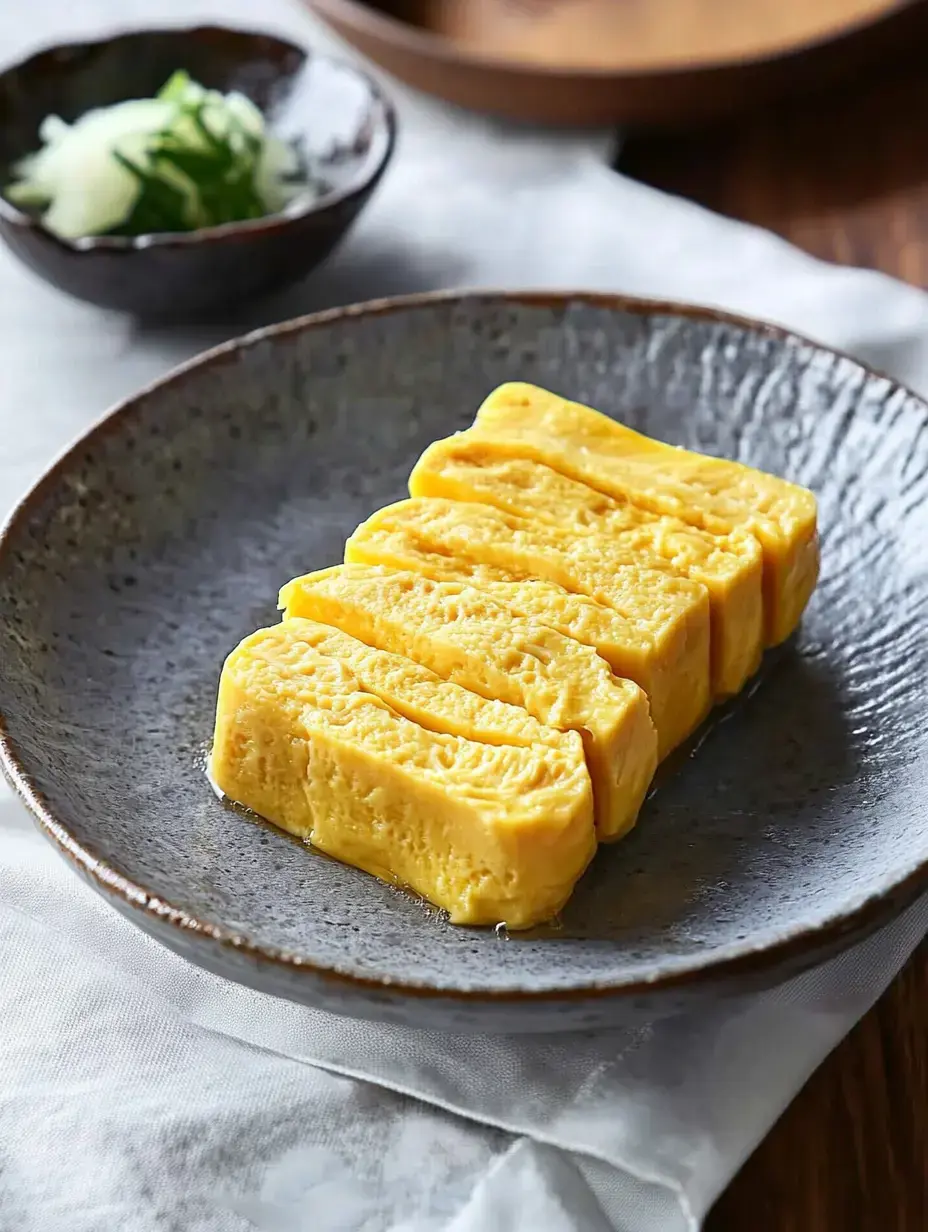
In Japan, you'll often find tamagoyaki served with grated daikon and a splash of soy sauce. It's perfect in a bento box, gorgeous on sushi, or simply served with hot rice for breakfast. I love it with a side of miso soup for a complete morning meal.
 Pin it
Troubleshooting
If your layers aren't sticking together, your heat might be too high or you're waiting too long to roll. Tears in the first layer? That's totally normal - keep going! If your omelet is too loose, try reducing the dashi next time. Remember, every tamagoyaki master started somewhere!
Frequently Asked Questions
- → Do I need a special pan?
- While a rectangular tamagoyaki pan is traditional, you can use a small round nonstick pan. The shape will be different but taste the same.
- → Why strain the eggs?
- Straining creates a silkier texture by removing chalaza (white strands) and any egg white clumps.
- → Can I adjust the sweetness?
- Yes, reduce or increase sugar to taste. Traditional tamagoyaki is slightly sweet but can be adjusted.
- → How do I serve this?
- Serve warm or room temperature, often for breakfast or in bento boxes. Optional daikon adds freshness.