
 Pin it
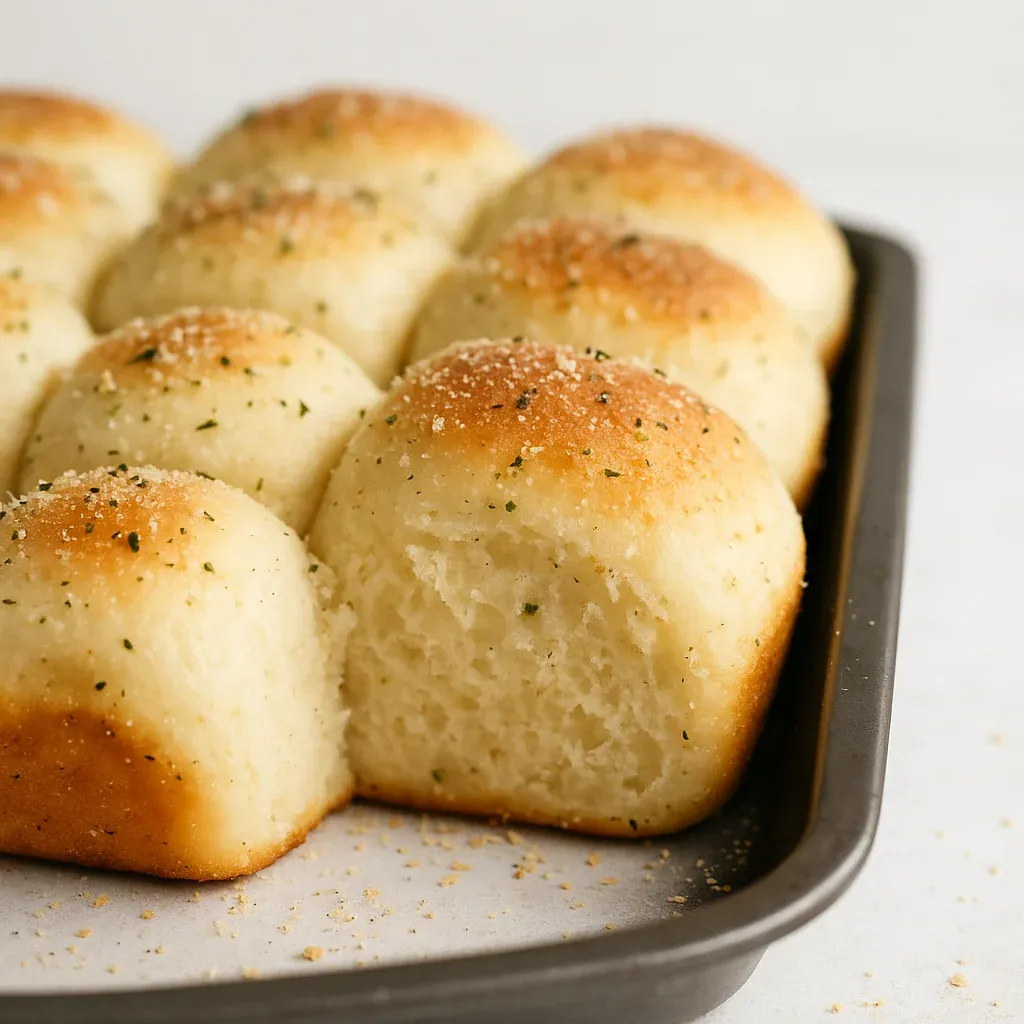
This heavenly garlic parmesan dinner roll recipe transforms ordinary meals into memorable feasts in just 30 minutes. These pillowy soft rolls with their cheesy, garlicky topping have become my go-to solution whenever I need impressive bread without the typical hours of waiting.
I discovered this recipe during a dinner emergency when guests arrived early and I had nothing to serve with my pasta. These rolls saved the day and have since become requested at every family gathering. My brother-in-law once ate seven in one sitting!
Ingredients
- Warm water: Between 95-105°F crucial for activating yeast without killing it
- Granulated sugar: Provides food for the yeast and subtle sweetness
- Instant or platinum yeast: Allows for quick rising without extensive proofing
- Canola oil: Creates tenderness in the dough
- Salt: Enhances flavors and controls yeast activity
- Large egg: Adds richness and helps with texture
- All-purpose flour: Works perfectly, no need for special bread flour
- Melted butter: Creates that irresistible golden top
- Granulated garlic: Offers intense flavor without burning like fresh garlic
- Parmesan cheese: Both shredded or grated work wonderfully
- Dried parsley: Adds color and mild flavor
Step-by-Step Instructions
- Prepare the baking sheet:
- Line your baking sheet with parchment paper or a silicone baking mat. This prevents sticking and makes cleanup easier. Position your oven rack in the middle position for even baking.
- Activate the yeast:
- Combine warm water between 95-105°F with sugar and yeast in a large bowl. Let it sit for 2-5 minutes until foamy and fragrant. This step ensures your yeast is alive and will provide proper rise. Water that is too hot will kill the yeast while too cool will result in slow activation.
- Mix the dough:
- Add oil, salt, egg, and flour to the yeast mixture. Mix thoroughly until a cohesive dough forms. The dough should be slightly tacky but not excessively sticky. Add a tablespoon of flour at a time if needed to reach the right consistency. The mixing process in a stand mixer typically provides enough gluten development without additional kneading.
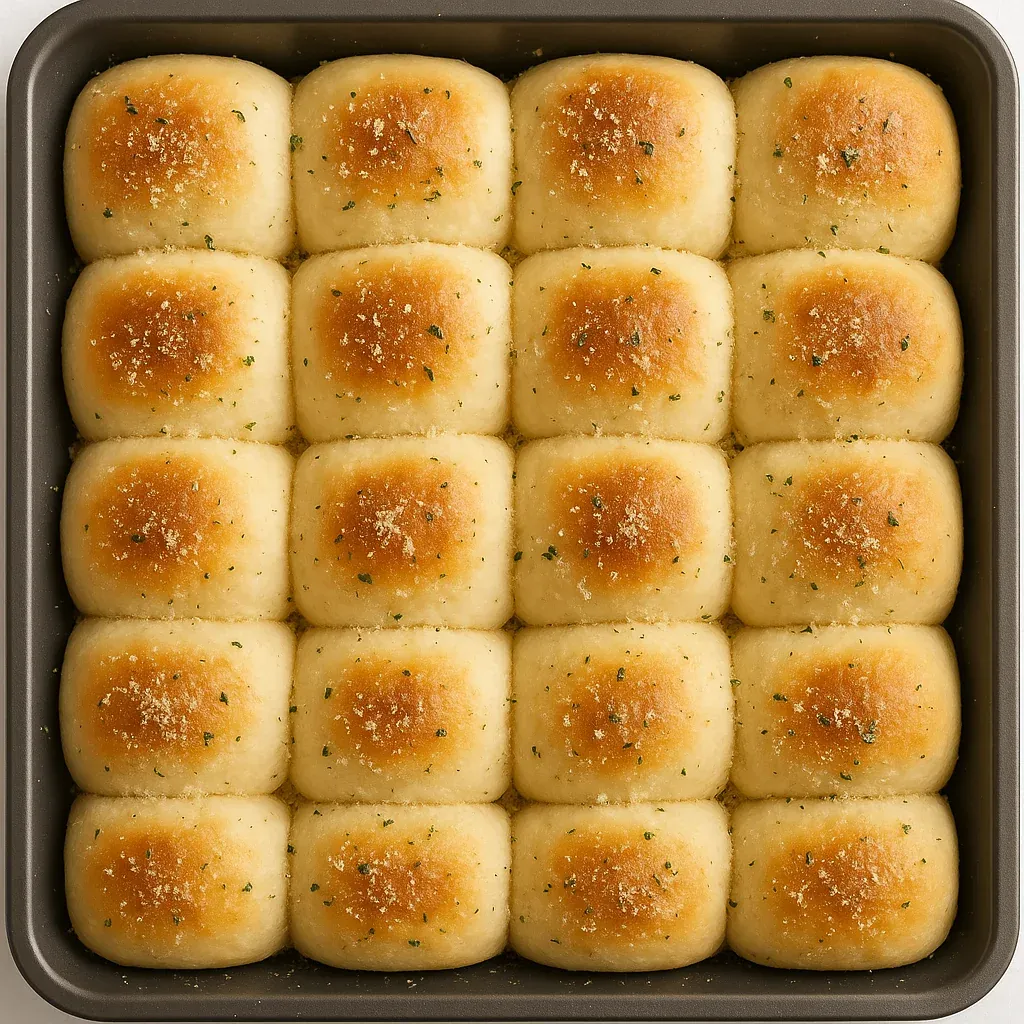
- Shape the rolls:
- Divide dough into 16 equal pieces by first halving, then halving again, and so on. Roll each portion into a smooth ball by cupping your hand over the dough and moving in a circular motion against your work surface. This creates surface tension for a perfect shape.
- Quick rise:
- Place shaped rolls on the prepared baking sheet with about 1 inch between them. Allow them to rise in a warm spot for just 5-10 minutes. Near a fireplace, on top of a preheating oven, or in a slightly warmed oven that has been turned off works wonderfully.
- Add flavorful topping:
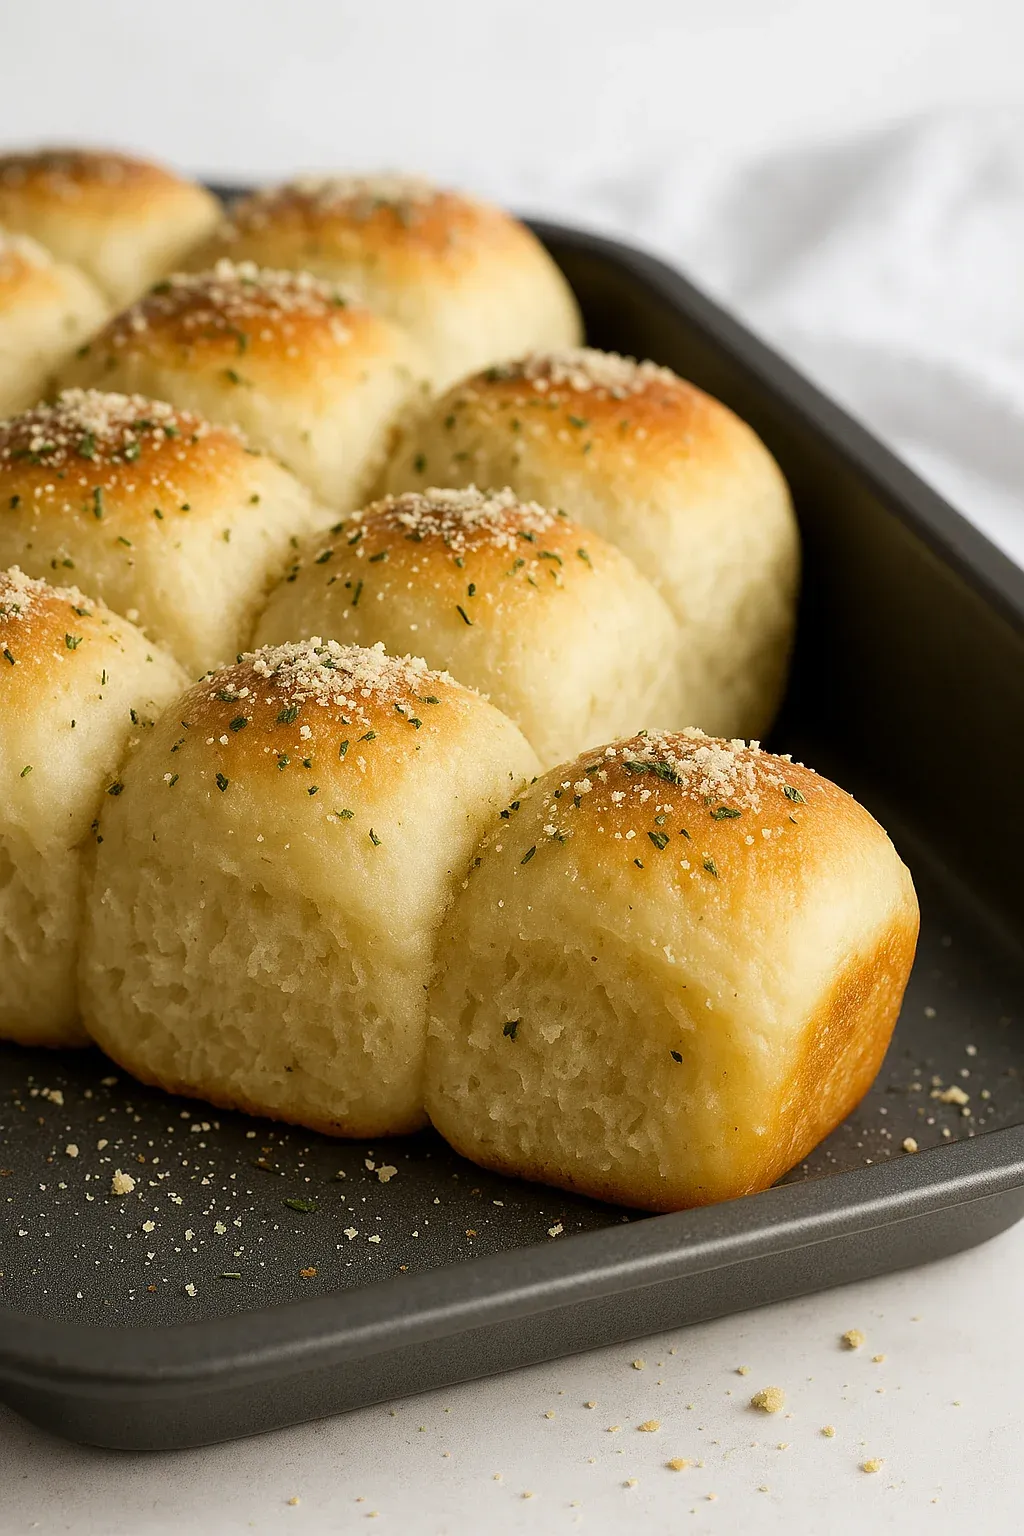
- Brush the partially risen rolls generously with melted butter. Sprinkle with granulated garlic, parmesan cheese, and dried parsley. Be sure to cover the entire surface for maximum flavor in every bite.
- Bake to perfection:
- Preheat your oven to 375°F and bake rolls for 18-20 minutes until golden brown on top. The internal temperature should reach about 190°F if you have a thermometer. The aroma filling your kitchen will be absolutely intoxicating.
- Final buttery touch:
- Brush rolls with additional melted butter immediately after removing from the oven. This adds moisture, flavor, and a beautiful shine to the finished rolls.
 Pin it
My favorite thing about this recipe is the instant gratification factor. Traditional dinner rolls require multiple rises and hours of waiting, but these deliver that same homemade bread experience in just minutes. My daughter now insists we make them for every special occasion, claiming they're "better than restaurant bread."
Perfect Pairings
These garlic parmesan rolls complement virtually any meal, but they truly shine alongside pasta dishes like lasagna or spaghetti. The garlic and cheese notes enhance tomato-based sauces beautifully. They also pair wonderfully with soups and stews, perfect for soaking up every last drop of broth. For a complete Italian-inspired meal, serve them with a Caesar salad and your favorite pasta.
 Pin it
Storage And Reheating
These rolls stay fresh at room temperature in an airtight container for up to 2 days. For longer storage, freeze in a ziplock bag for up to 3 months. To reheat, wrap in foil and warm in a 300°F oven for about 10 minutes until heated through. Alternatively, microwave individual rolls for 15-20 seconds. The butter and cheese make these rolls more resistant to drying out than typical bread, even when reheated.
Troubleshooting Tips
If your dough seems too sticky, the most common culprit is measuring flour incorrectly. Add additional flour one tablespoon at a time until it feels tacky but not sticky. Altitude and humidity can affect bread recipes dramatically. For high altitude locations above 3,000 feet, you may need to reduce the yeast slightly and add a bit more flour. If your rolls aren't rising, check your yeast expiration date and water temperature.
Frequently Asked Questions
- → Can I use a stand mixer for the dough?
Yes, a stand mixer works perfectly for this dough. It helps incorporate the ingredients evenly and can be used to develop the gluten, giving the rolls a light and fluffy texture.
- → Can I substitute the egg or water in the recipe?
Yes, you can substitute water with milk and the egg with a tablespoon of fat-free Greek yogurt. This adjustment still yields great results with soft and fluffy rolls.
- → What’s the best way to proof the yeast?
Proof the yeast in warm water at 95-105°F with sugar. Warmer temperatures above 115°F may kill the yeast, so it’s best to stay within the recommended range.
- → How can I make the rolls even fluffier?
Kneading the dough for about five minutes helps develop more gluten, which contributes to a lighter and fluffier texture. A stand mixer can often achieve the same results.
- → Can I prepare these rolls in advance?
Yes, you can prepare the dough ahead of time and keep it in the refrigerator overnight. When ready to bake, allow the dough to come to room temperature and proof slightly before shaping and baking.
- → What’s the ideal serving suggestion for these rolls?
These garlic parmesan rolls pair beautifully with soups, salads, roasted meats, or as standalone sides for any meal or occasion.