
 Pin it
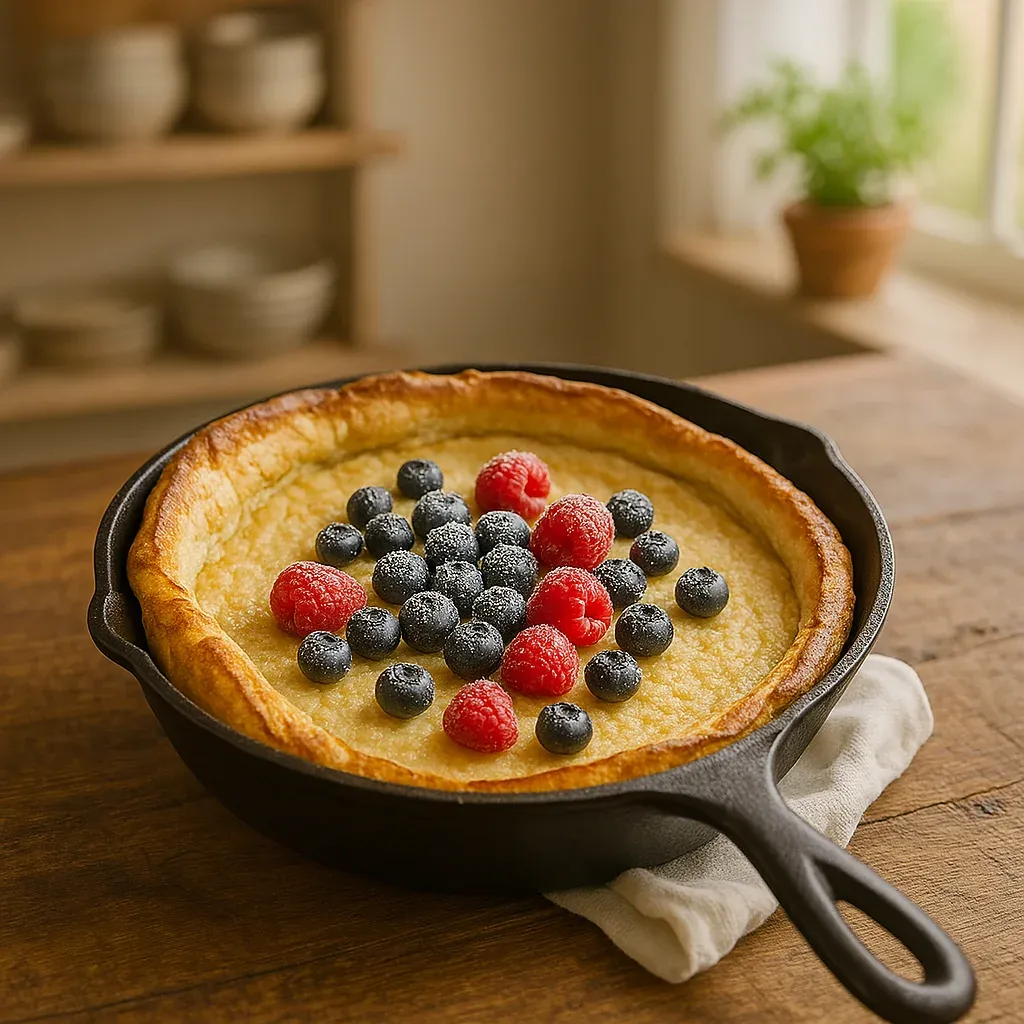
This irresistible Dutch baby, passed down from my great-grandmother, brings comfort on cold mornings with its perfect balance of lightness and substance. The magical transformation from simple batter to a dramatically puffed golden creation never fails to impress, yet requires minimal effort and common ingredients.
I first made this Dutch baby during a snowy weekend getaway with friends. The collective gasps when I pulled the puffed golden creation from the oven turned this simple recipe into our traditional morning-after breakfast for all our gatherings.
Ingredients
- Eggs: Add rich flavor and create the signature rise, make sure they're at room temperature for maximum volume
- Milk: Creates tenderness, choose whole milk for best results
- All purpose flour: Provides structure, sift it to prevent lumps
- Ground nutmeg: Adds warmth and subtle complexity, use freshly grated for best flavor
- Salt: Enhances sweetness and balances flavors, a small amount makes a big difference
- Butter: Creates a crisp exterior and adds rich flavor, European style has higher fat content for better results
- Confectioners sugar: Adds sweetness and visual appeal, sift before sprinkling for an elegant finish
Step-by-Step Instructions
- Preheat the Skillet:
- Place a 10 inch cast iron skillet in the oven and preheat to 475°F. This critical step ensures the dramatic rise. The skillet must be scorching hot before the batter hits it. A properly preheated skillet creates that signature climb up the sides.
- Prepare the Batter:
- Whisk eggs vigorously until light and foamy, about 1 minute. This incorporates air which helps the Dutch baby rise. Gradually whisk in milk to create a smooth base. Add flour, nutmeg, and salt in small batches, whisking continuously until just combined. Avoid overmixing which can make the Dutch baby tough rather than tender.
- Prepare the Skillet:
- Reduce oven temperature to 425°F. Carefully remove the hot skillet from the oven. Add butter and swirl to coat the entire surface and sides. The butter should immediately sizzle and begin to brown, this creates flavor and prevents sticking.
- Bake to Perfection:
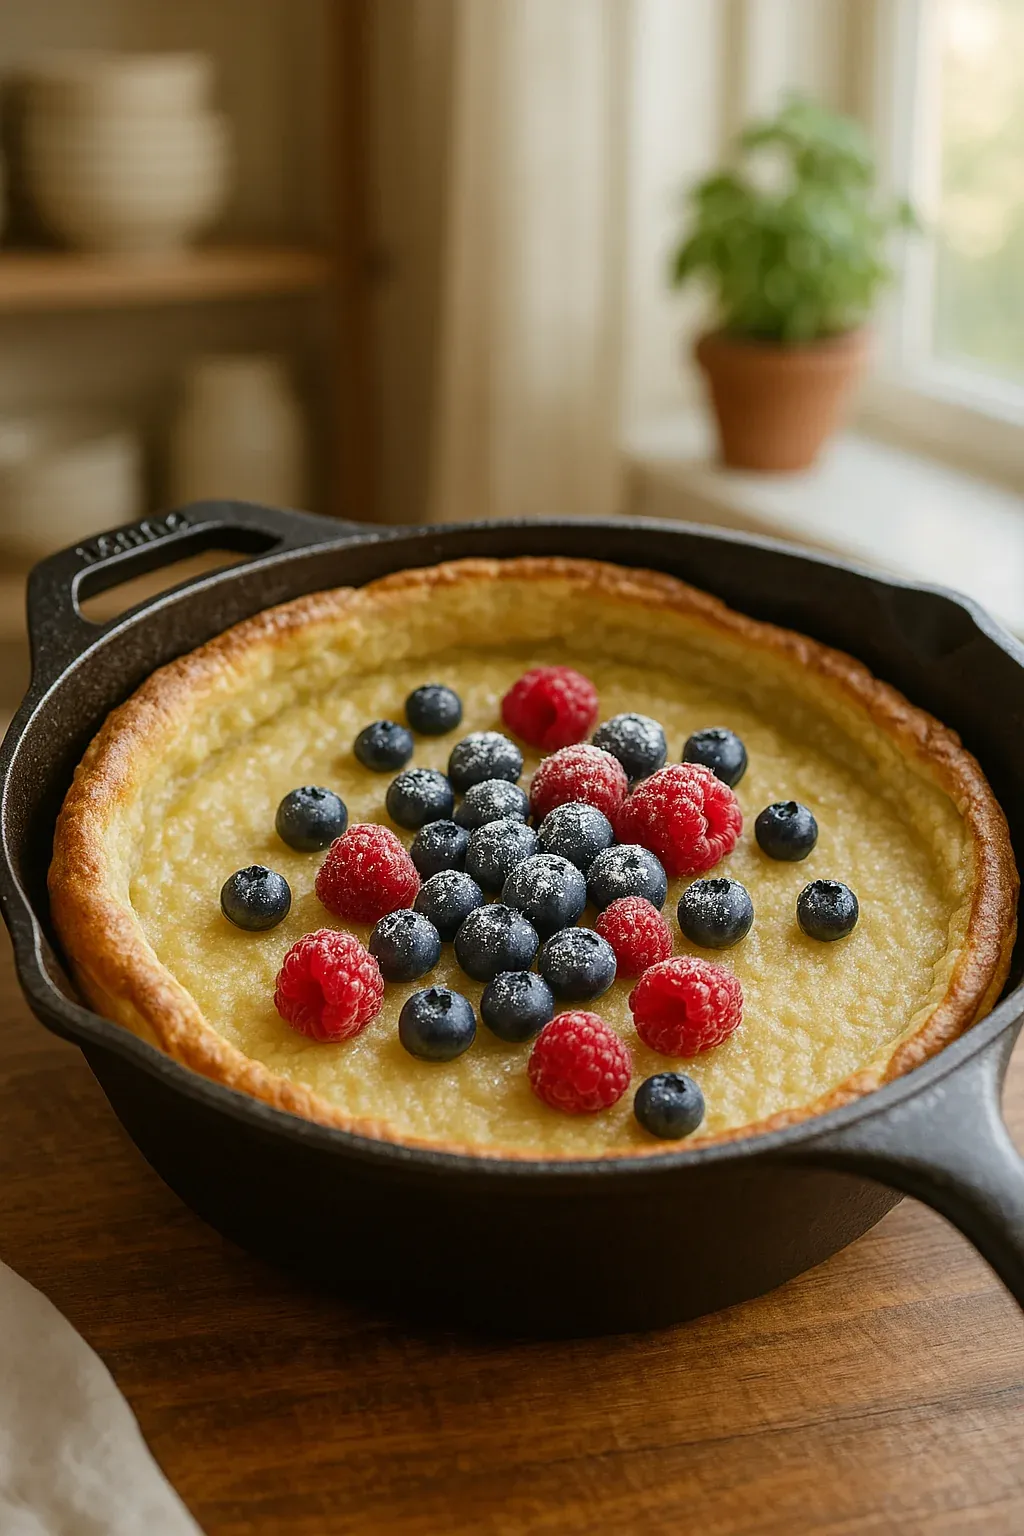
- Pour batter into the hot buttered skillet and immediately return it to the oven. Resist the urge to open the oven door during baking as temperature fluctuations can cause the Dutch baby to collapse. Bake for 12 minutes until dramatically puffed with golden brown edges.
- Serve Immediately:
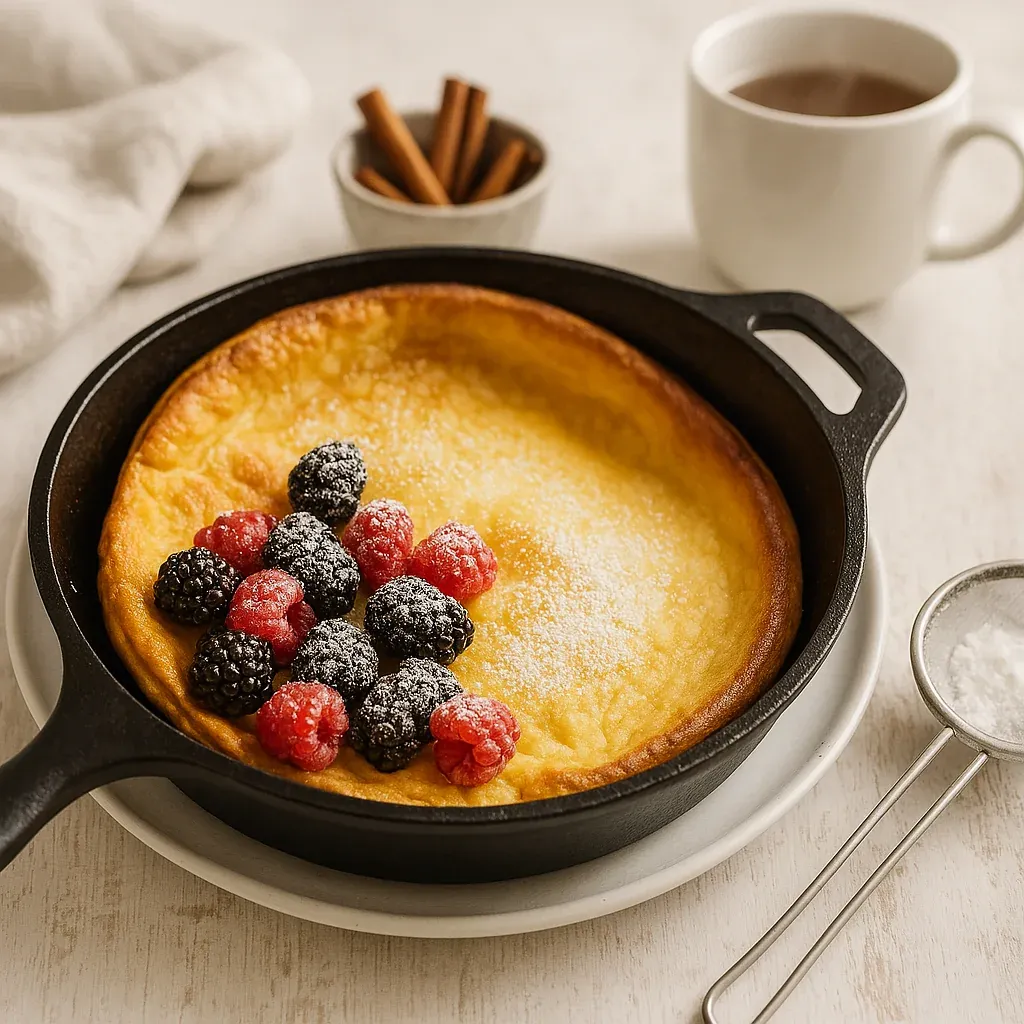
- Remove from oven and dust generously with confectioners sugar. The Dutch baby will begin to deflate naturally as it cools, this is normal. Serve while still warm for the best texture and experience.
 Pin it
My husband requests this Dutch baby every anniversary morning. I still remember the first time I made it for him using my great grandmother's cast iron pan. The way his eyes lit up when I brought it to the table completely puffed and golden confirmed I had found my forever breakfast partner.
The Perfect Pan
While a 10 inch cast iron skillet produces the ideal Dutch baby, any oven safe skillet will work. Cast iron retains heat exceptionally well, creating that perfect crisp edge while maintaining a custardy center. If using a different material, make sure it can withstand high temperatures without warping. The heavy bottom of cast iron also helps distribute heat evenly, eliminating hot spots that could cause uneven baking.
Seasonal Variations
Transform this Dutch baby throughout the year by showcasing seasonal fruits. In summer, top with fresh berries and a dollop of whipped cream. Fall calls for sautéed apples with cinnamon and maple syrup. Winter feels cozy with poached pears and caramel sauce. Spring brightens with lemon curd and strawberries. For savory versions, omit the sugar and nutmeg, add herbs to the batter, and top with roasted vegetables, cheese, or even a fried egg.
Origin Story
Despite its name, Dutch babies originated in America, inspired by German pancakes. The story goes that a Seattle restaurant owner misheard "Deutsch" meaning German as "Dutch" and the name stuck. These dramatic pancakes gained popularity in the early 1900s and have remained beloved for their impressive appearance and versatile nature. My great grandmother likely learned this recipe during that era, passing it through generations until reaching my kitchen.
Storage Tips
Dutch babies are absolutely best enjoyed immediately after baking when puffed and warm. If you must store leftovers, allow to cool completely, wrap tightly in plastic wrap, and refrigerate for up to 3 days. Reheat in a 350°F oven for 5 minutes to restore some crispness. Freezing is possible but texture suffers, becoming more dense when thawed. The batter cannot be made ahead as the rise depends on freshly whipped eggs.
 Pin it
Frequently Asked Questions
- → What is the texture of a Dutch baby?
A Dutch baby has a light, airy texture similar to a popover but with a slightly tender and crepe-like bottom.
- → Why doesn't my Dutch baby puff up?
Ensure all ingredients are at room temperature before mixing, and use a hot, well-preheated skillet to create steam for puffing.
- → Can I add flavors to a Dutch baby batter?
Yes! You can enhance the batter’s flavor with lemon zest, vanilla extract, or a sprinkle of cinnamon before baking.
- → What toppings pair well with Dutch babies?
Try toppings like fresh berries, whipped cream, lemon curd, maple syrup, or chocolate-hazelnut spread to elevate the dish.
- → How should I store leftover Dutch babies?
Store leftovers in an airtight container in the refrigerator for up to five days or freeze for up to two months. Reheat before serving.