
 Pin it
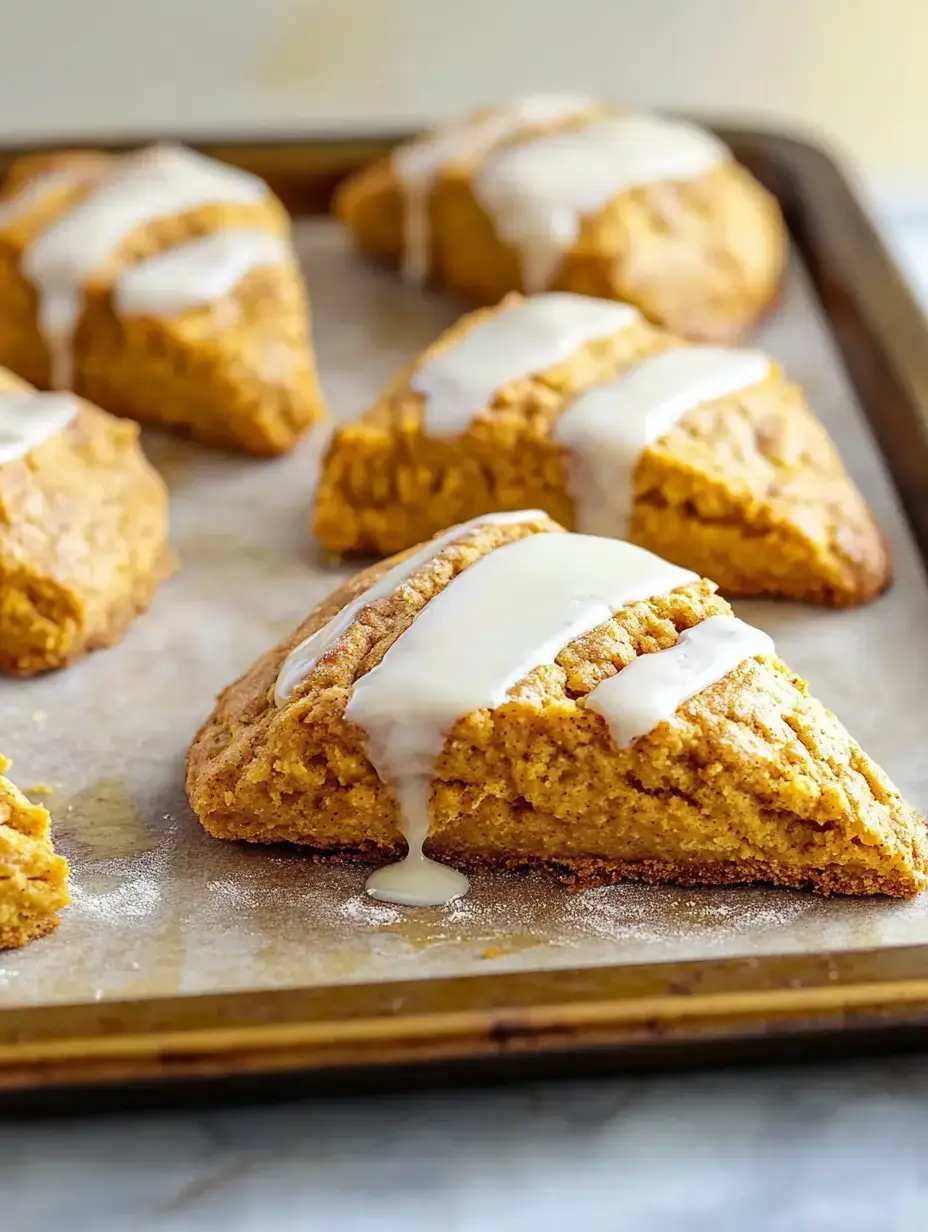
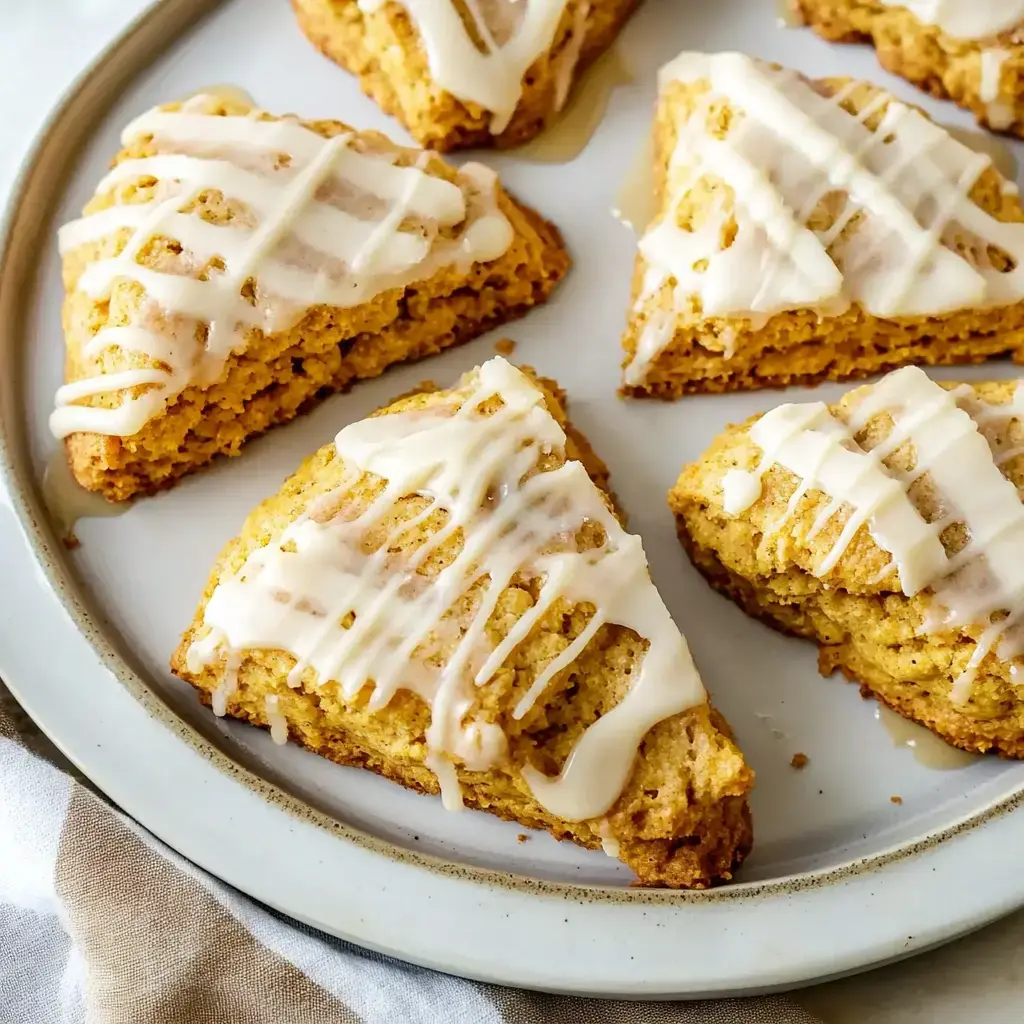
These pumpkin scones came to life in my kitchen one crisp autumn morning when I was craving something special to go with my coffee. The combination of warm spices, real pumpkin, and that dreamy maple glaze creates the coziest breakfast treat you can imagine. They've become such a fall tradition that my family starts asking for them as soon as the leaves start changing!
The Secret to Perfect Scones
What makes these scones extra special is using cold ingredients and handling the dough gently. The cold butter creates those lovely flaky pockets, while the real pumpkin keeps everything tender and moist. And that maple glaze? It adds just the right amount of sweetness and makes them look bakery-worthy!
Essential Ingredients
- All-Purpose Flour: 2 cups, measured carefully for the perfect texture
- Light Brown Sugar: 1/3 cup packed for that caramel note
- Cold Butter: One full stick, diced and kept cold until the last minute
- Pure Pumpkin: 1/2 cup just be sure it's pure pumpkin, not pie filling!
- Heavy Cream: 1/4 cup for richness
- The Aromatics: Pumpkin pie spice and vanilla make everything cozy For that amazing glaze:
- Pure Maple Syrup: The real stuff makes such a difference
- Powdered Sugar: 1 cup, sifted for smoothness
- Milk: Just enough to make it drizzle-worthy
Step-by-Step Instructions
- Mix Your Dry Team
- Whisk together your flour, brown sugar, baking powder, salt, and those warming spices in a big bowl.
- Cut in the Butter
- This is where the magic happens! Use cold butter and work it in until you see little pea-sized pieces those create the flaky layers.
- Wet Ingredients Unite
- Mix your pumpkin, cream, egg, and vanilla until smooth. Pour this into your flour mixture and stir just until it comes together don't overwork it!
- Shape with Love
- Pat the dough into a circle on a floured surface, cut into wedges, and pop them in the freezer. This quick chill helps them keep their shape.
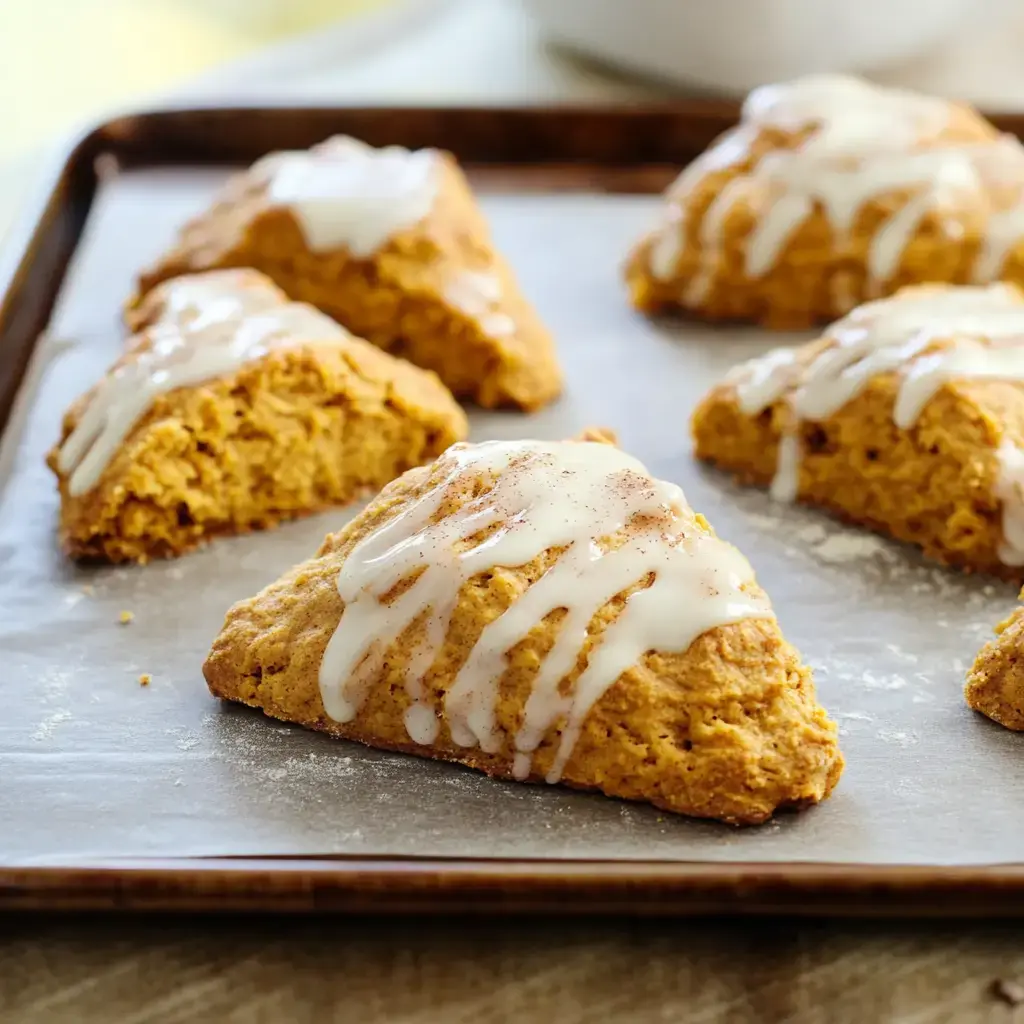
- Bake to Perfection
- Watch them turn golden brown in your 400°F oven. The hardest part is waiting for them to cool before adding that maple glaze!
 Pin it
Pro Tips
Want to know my secrets for perfect scones? Keep everything cold, cold, cold! I even pop my flour in the freezer for 15 minutes before starting. Don't twist your knife when cutting the wedges - straight up and down helps them rise evenly. And that 15-minute freeze before baking? Don't skip it it's crucial for flaky layers!
Make It Your Own
These scones are so versatile! Try adding chopped pecans or white chocolate chips to the dough. Sometimes I'll sprinkle turbinado sugar on top before baking for extra crunch. For a spicier version, add extra cinnamon or a pinch of cardamom. The base recipe is perfect for experimenting!
Plan Ahead
Here's my favorite hosting trick: prep these the night before! Shape the dough, wrap it well, and keep it in the fridge overnight. In the morning, just slice and bake. Want to prep even further ahead? Freeze the unbaked scones and bake them straight from frozen they'll taste fresh-made!
Perfect Pairings
These scones are heavenly with a hot cup of coffee or spiced chai. For afternoon tea, try them with your favorite Earl Grey. Want to make them extra special? Serve them slightly warm with a dollop of cinnamon butter. And during the holidays, they make the most amazing gift when wrapped up prettily!
 Pin it
Troubleshooting Tips
Scones too flat? Your butter probably got too warm. Too dry? You might have used too much flour or overbaked them slightly. If your glaze is too thick, add milk a tiny bit at a time. Too thin? Add more powdered sugar. Remember, scone-making gets better with practice, and even imperfect scones are delicious!
Frequently Asked Questions
- → Why do I need to freeze the butter and chill the scones?
Cold butter creates flaky layers in the scones when baked. Chilling the shaped scones helps maintain their shape and ensures they rise properly in the oven.
- → Can I make these scones ahead of time?
Yes, you can freeze the unbaked shaped scones for up to 2 months. Bake directly from frozen, adding a few extra minutes to the baking time. Baked scones keep for 2 days at room temperature.
- → How do I know when the scones are done baking?
The scones should be golden on top and lightly browned on the bottom. They should feel set when lightly touched and a toothpick inserted should come out clean.
- → Can I adjust the thickness of the maple glaze?
Yes, add more maple syrup to thin the glaze or more powdered sugar to thicken it. The glaze should be thick enough to coat the scones but thin enough to drizzle.
- → What's the best way to cut butter into flour?
Use a pastry blender or your fingertips to work the cold butter into pea-sized pieces. Work quickly to keep the butter cold, which creates flaky layers in the baked scones.