
 Pin it
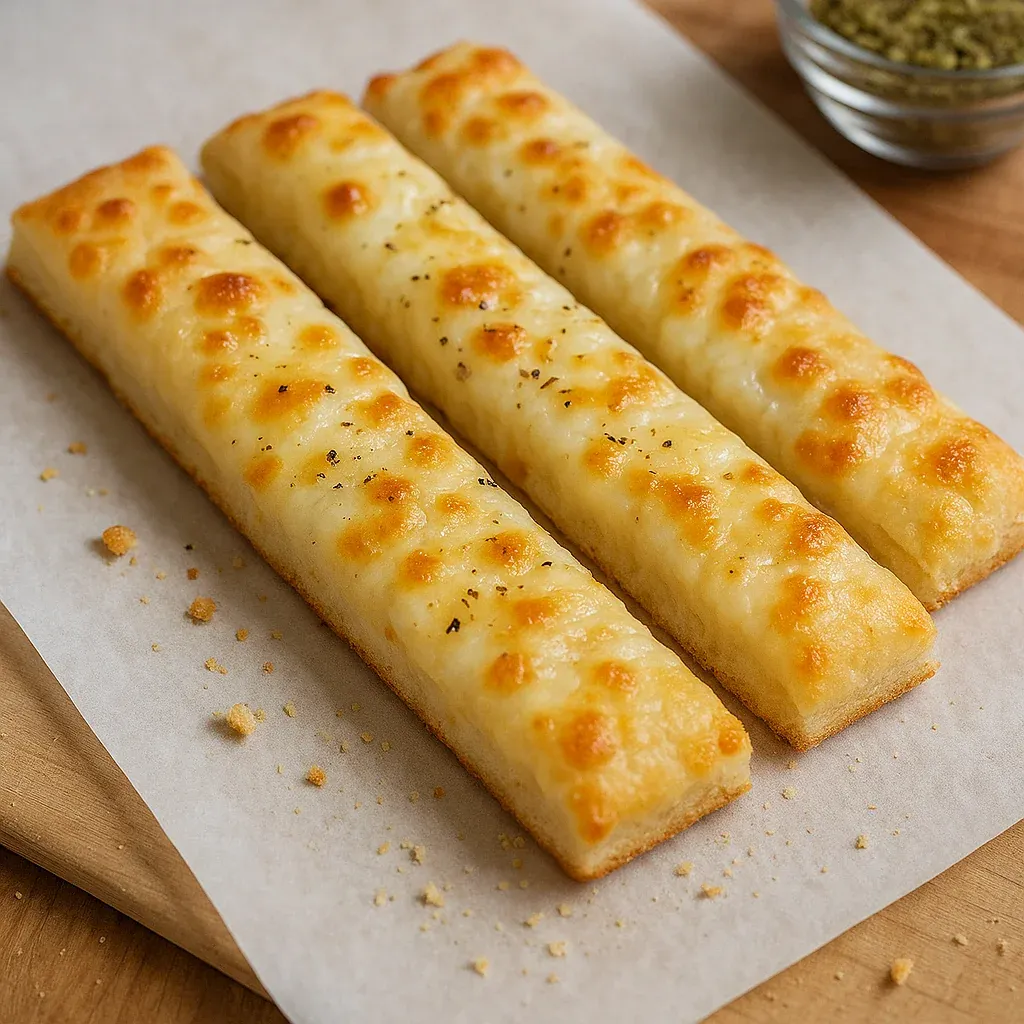
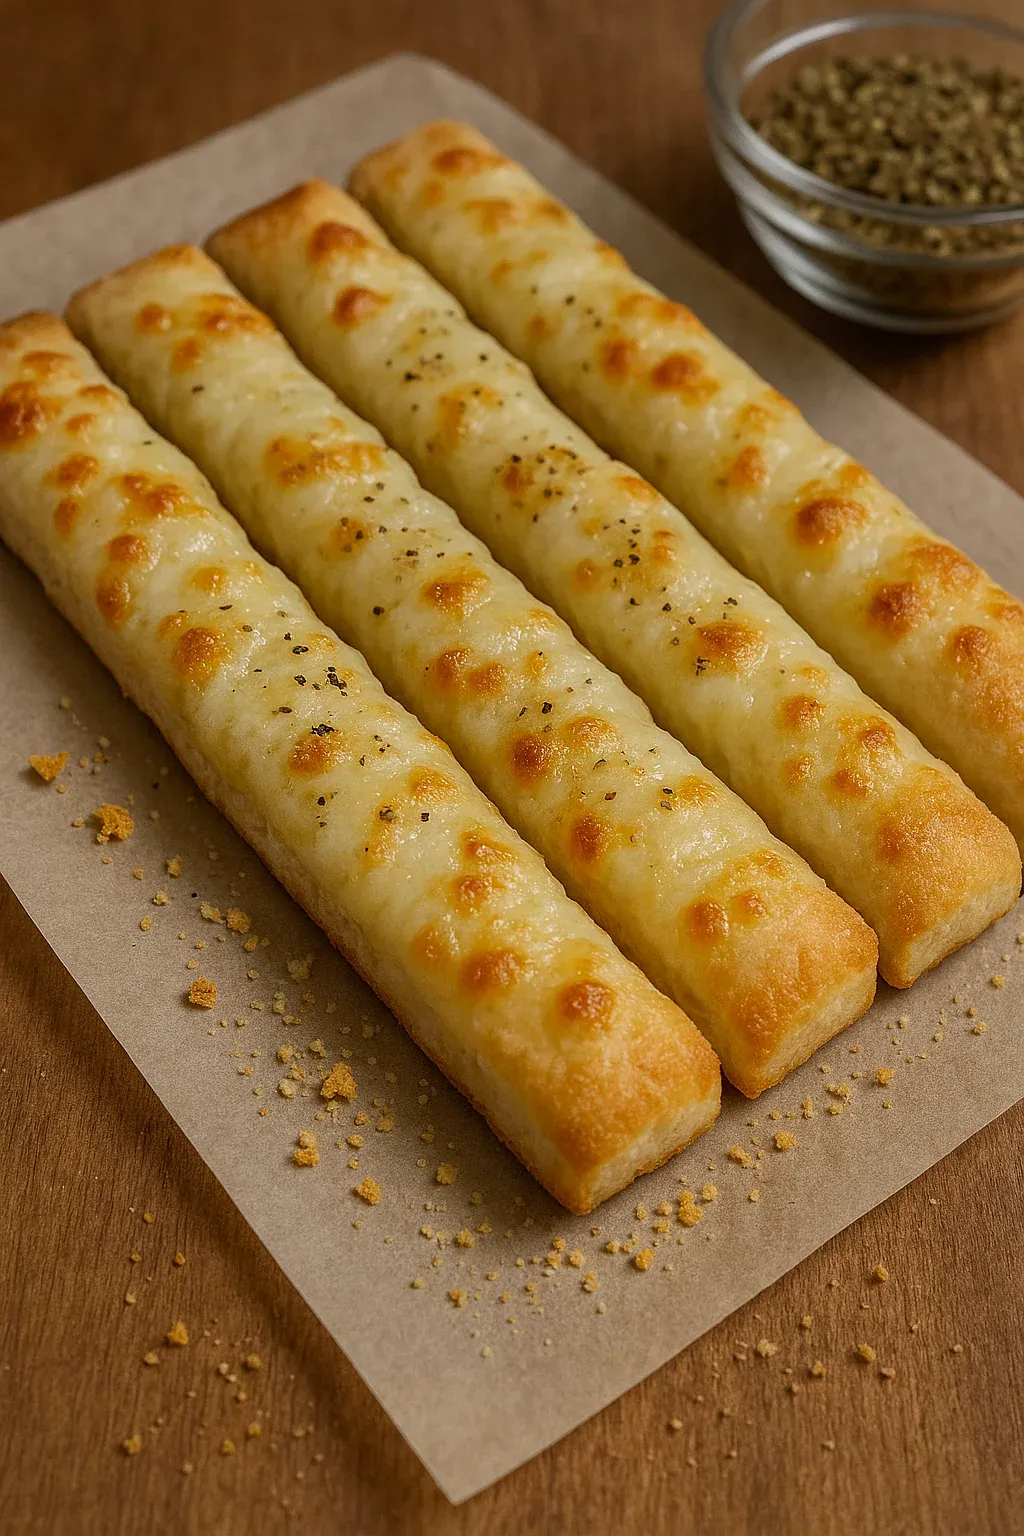
This hearty homemade cheesy breadsticks recipe transforms simple ingredients into an irresistible treat that rivals any pizzeria version. The combination of soft, pillowy dough with a golden crust and stretchy, melted cheese creates the perfect comfort food for any occasion.
I first made these breadsticks during a game night when I wanted something special but didn't want to order takeout. My friends were so impressed they thought I had secretly ordered from our favorite pizza place. Now it's become our tradition for movie nights and casual gatherings.
Ingredients
- All purpose flour: providing the perfect structure for soft yet sturdy breadsticks
- Active dry yeast: ensuring a proper rise for fluffy texture
- Olive oil: adding richness and helping achieve that golden crispy crust
- Mozzarella cheese: offering that perfect stretch and mild flavor that melts beautifully
- Parmesan cheese: contributing sharp tangy notes that complement the mozzarella
- Butter: creating that irresistible garlic butter flavor that makes these breadsticks special
- Garlic powder: infusing the dough with aromatic flavor that permeates every bite
- Italian seasoning: adding depth of flavor with herbs that enhance the cheese
Step-by-Step Instructions
- Activate the Yeast:
- In a small bowl combine warm water sugar and yeast. The water should be warm not hot around 110°F to activate without killing the yeast. Let it sit undisturbed for 5 10 minutes until it becomes frothy and develops a pleasant bread like aroma. This step ensures your dough will rise properly.
- Mix the Dry Ingredients:
- In a large bowl whisk together flour and salt until evenly distributed. This creates a uniform dough texture and ensures the salt is properly incorporated without directly contacting the yeast which can inhibit its action.
- Combine Wet and Dry:
- Pour in the olive oil and activated yeast mixture to your dry ingredients. Stir with a wooden spoon until a shaggy dough forms pulling away from the sides of the bowl. The dough should feel slightly tacky but not sticky enough to cling to your fingers.
- Knead the Dough:
- Turn the dough onto a lightly floured surface and knead for 5 7 minutes until smooth and elastic. Press the heel of your hand into the dough fold it over itself and rotate a quarter turn. Repeat until the dough passes the windowpane test where a small piece can stretch thin enough to see light through without tearing.
- Rest the Dough:
- Cover with a damp kitchen towel and let rest for 15 minutes. This short rest allows the gluten to relax making the dough easier to roll out while still developing flavor. The dough should increase slightly in size and feel more pliable after resting.
- Preheat and Prep:
- Set your oven to 375°F and prepare your baking sheet with either a light coating of olive oil or parchment paper. The preheating ensures your breadsticks start cooking immediately when they enter the oven resulting in better rise and texture.
- Shape and Cut:
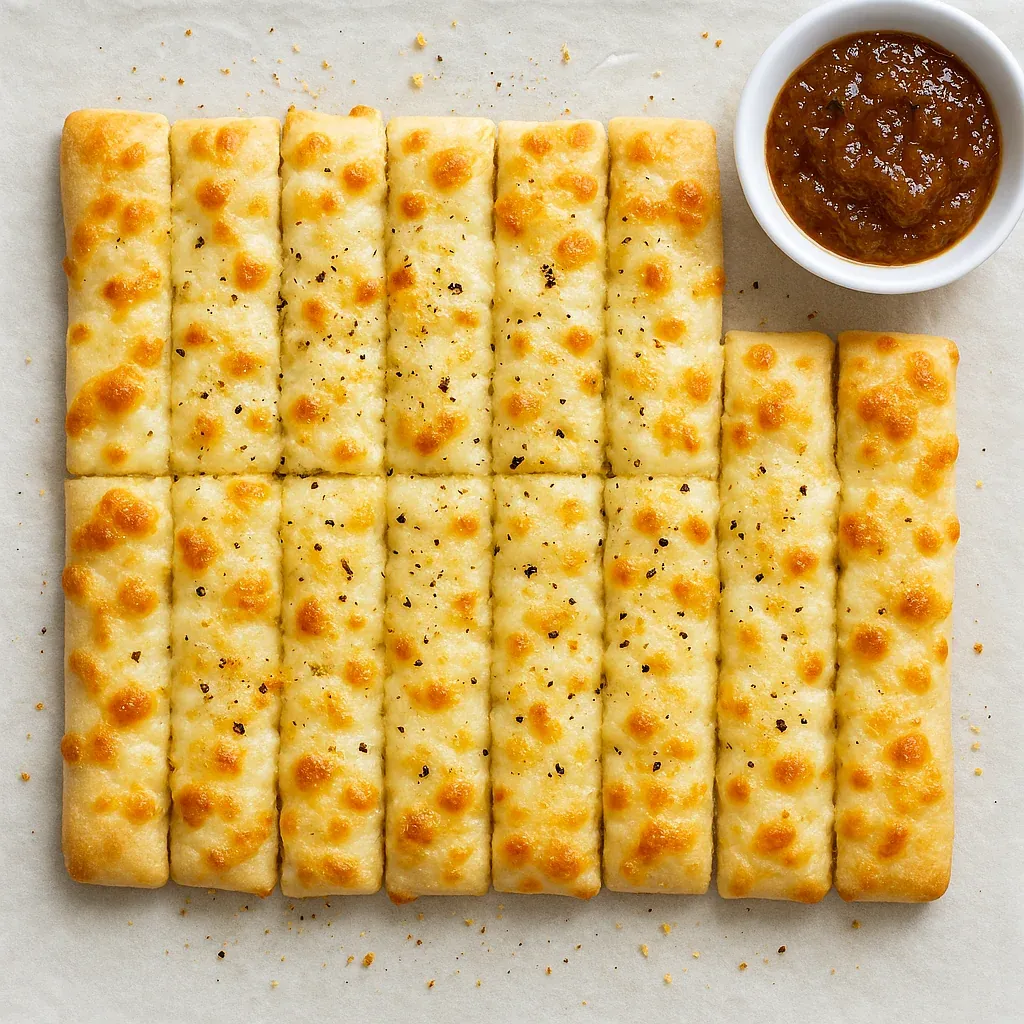
- Roll the dough into a rectangle approximately 9×13 inches on a lightly floured surface using even pressure. Aim for uniform thickness throughout about 1/4 inch thick. Use a pizza cutter to slice into 12 even strips lengthwise ensuring they're all similar in size for even baking.
- Top and Season:
- Brush the tops generously with melted butter mixed with garlic powder. The butter should be warm enough to spread easily but not hot. Sprinkle both cheeses evenly across all breadsticks ensuring every inch gets covered for maximum cheese pull. Add dried herbs if using distributing them evenly.
- Bake to Perfection:
- Place in your preheated oven and bake for 20 25 minutes until the edges turn golden brown and the cheese bubbles and begins to develop brown spots. Rotate the pan halfway through for even baking. The bottoms should be crisp and golden when done.
- Final Touch:
- Remove from oven and let cool for just 2 3 minutes before serving. This brief rest allows the cheese to set slightly preventing burns while still maintaining that perfect gooey pull. Serve immediately with warm marinara sauce for dipping.
 Pin it
My absolute favorite thing about these breadsticks is the contrast between the crispy exterior and the pillowy interior. The first time I made them for my family, my daughter declared them "better than pizza night" which is the highest compliment in our household. Now she asks to help make them, carefully sprinkling the cheese and watching through the oven door as they transform.
 Pin it
Storage Tips
These breadsticks maintain their best texture when eaten fresh from the oven but can be stored in an airtight container at room temperature for up to 2 days. To reheat simply place them on a baking sheet in a 350°F oven for 5 minutes until warmed through and the cheese begins to melt again. This preserves the crisp exterior better than microwave reheating which tends to make them soggy.
For longer storage freeze fully cooled breadsticks in a single layer on a baking sheet then transfer to a freezer bag once solid. This prevents them from sticking together and allows you to take out only what you need. They can be reheated directly from frozen by adding a few extra minutes to the reheating time no need to thaw first.
Ingredient Substitutions
Whole wheat flour can replace up to half of the all purpose flour for a nuttier flavor and more fiber though the texture will be slightly denser. Add an extra tablespoon of water to compensate for the higher absorption of whole wheat flour.
For dairy free versions vegan butter works perfectly in place of regular butter and plant based cheese alternatives have improved dramatically in their melting properties. Look for brands specifically designed for pizza toppings for the best results.
Gluten free bakers can substitute a 1 to 1 gluten free flour blend though the texture will be different and you may need to increase the water slightly as these blends tend to absorb more liquid. Adding 1/2 teaspoon of xanthan gum if not already in your blend helps improve the structure.
Cultural Context
The concept of cheese topped bread has roots in many cultures from Italian focaccia to Middle Eastern manakish. The American style cheesy breadsticks we know today likely evolved alongside pizza in the United States gaining popularity as pizzerias looked for ways to use extra dough and appeal to cheese loving customers.
What makes this recipe special is how it brings a restaurant favorite into home kitchens with simple techniques and accessible ingredients. While pizza chains have popularized this style of breadstick the homemade version offers fresher flavors and the ability to customize exactly to your preference.
Frequently Asked Questions
- → Can I use store-bought dough for this?
Yes, store-bought pizza dough works perfectly if you’re short on time!
- → How can I store leftover breadsticks?
Store them in an airtight container for up to 2 days or freeze for up to one month.
- → What’s the best way to reheat these breadsticks?
Reheat in the oven at 350°F (175°C) for 5-10 minutes for the best texture and flavor.
- → Can I use different cheeses?
Absolutely! Try cheddar, provolone, gouda, or even a cheese blend for variety.
- → Can I customize the toppings?
Yes, feel free to add toppings like pepperoni, jalapeños, or herbs for extra flavor.