
 Pin it
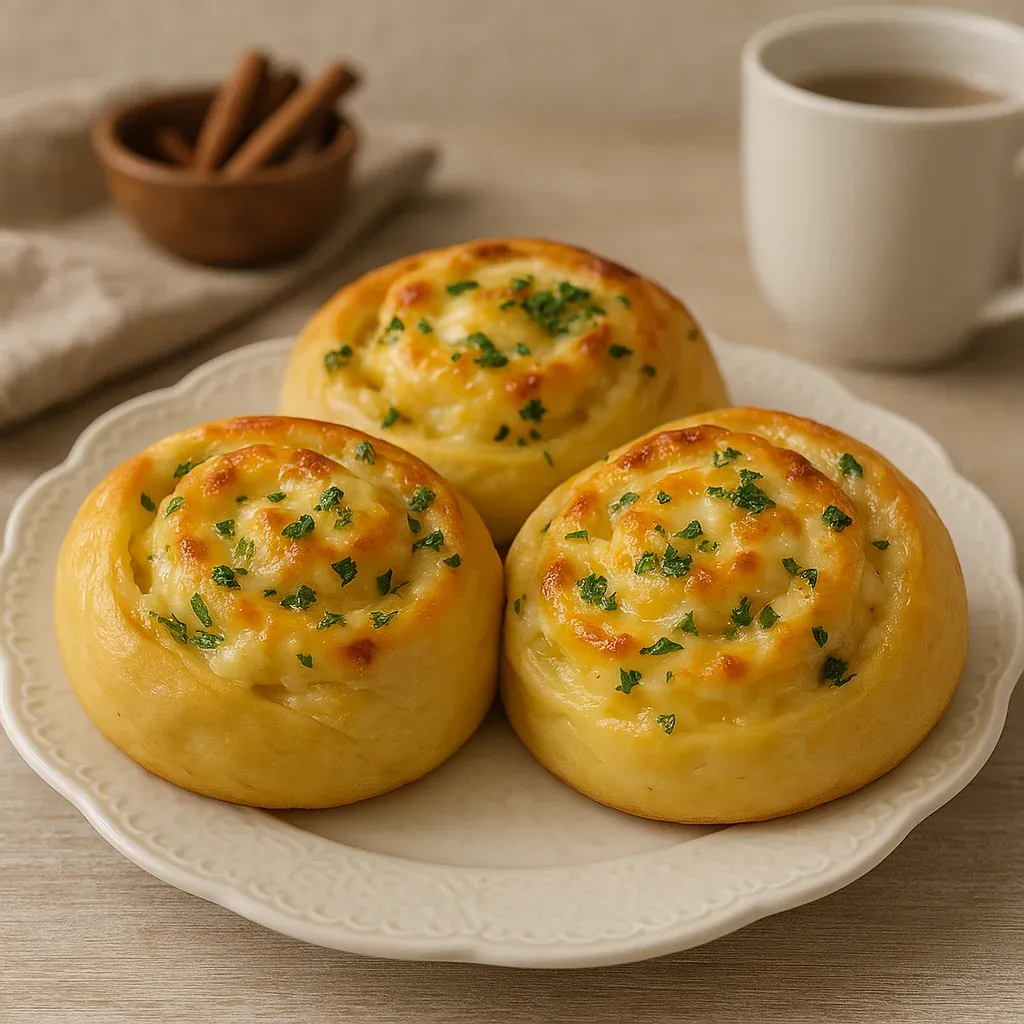
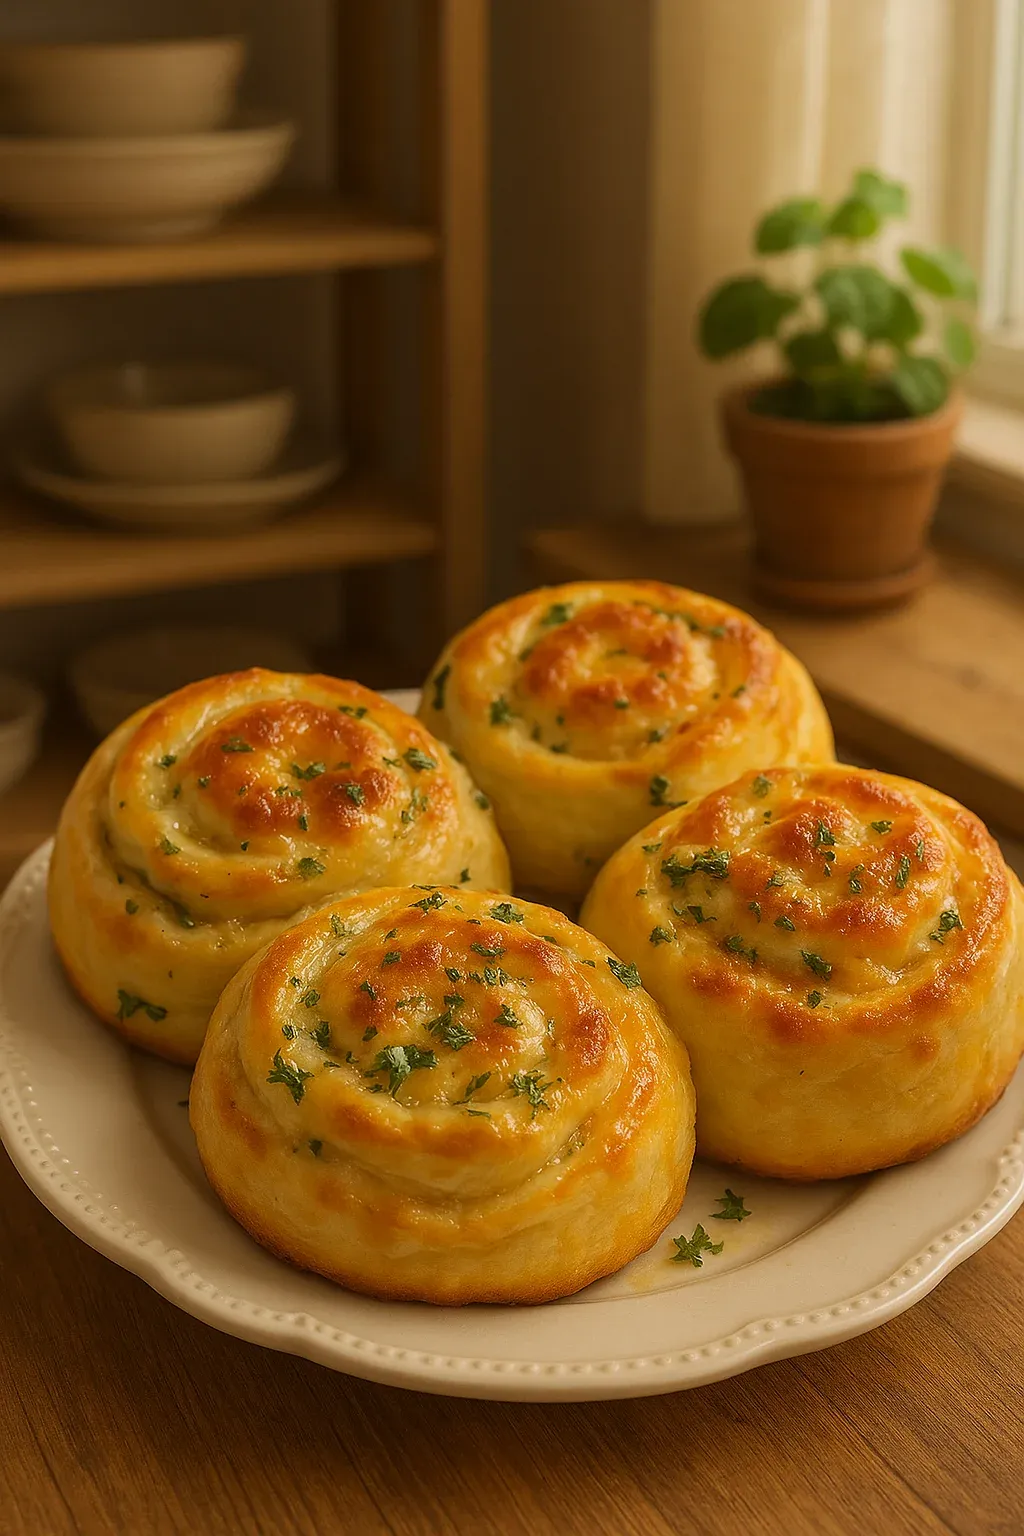
This hearty Buttery Cheese Garlic Rolls recipe has transformed our family dinners from ordinary to extraordinary with its irresistible aroma and melt-in-your-mouth texture. The moment these golden beauties emerge from the oven, conversation stops and everyone gravitates toward the kitchen.
I first made these rolls during a rainy Sunday afternoon when we couldn't leave the house, and they've become our mandatory weekend tradition. My children have started calling Sundays "Garlic Roll Day" and honestly, I can't imagine a better family food tradition.
Ingredients
- Whole milk: Provides richness and tenderness to the dough creating that pillowy texture
- Active dry yeast: Ensures proper rising giving these rolls their impressive volume
- Honey: Feeds the yeast and adds subtle sweetness balancing the savory elements
- All-purpose flour and bread flour combination: Creates the perfect structure while keeping rolls tender
- Butter: Incorporates richness throughout the dough making each bite decadent
- Egg yolks: Add richness and help create that gorgeous golden color
- Sugar: Enhances browning and adds depth of flavor complementing the garlic
- Powdered milk: Intensifies dairy flavor and improves texture making rolls extra soft
- Salt: Balances all flavors and controls yeast activity ensuring perfect proofing
- Roasted garlic: Provides mellow sweet garlic flavor without any harshness
- Mozzarella cheese: Creates those irresistible stretchy cheese pulls when rolls are fresh
- Parsley: Adds fresh color contrast and subtle herb flavor cutting through richness
Step-by-Step Instructions
- Roast the Garlic:
- Take a whole head of garlic, trim the root end, and place in a ramekin. Drizzle generously with olive oil and sprinkle with salt. Cover tightly with foil and roast at 160°C for about 2 hours until cloves are completely soft and golden brown. Allow to cool completely before handling to prevent burns.
- Prepare the Dough:
- Combine warm milk, honey, and active dry yeast in your mixer bowl. Let sit for 5 minutes until foamy, indicating the yeast is alive and active. Add all remaining dough ingredients and mix with dough hook on low speed for 2 minutes to incorporate everything. Increase to medium speed and knead for 8 to 10 minutes until the dough is smooth, elastic, and pulls away from the sides of the bowl.
- First Proof:
- Transfer dough to a lightly oiled bowl, cover with plastic wrap or a damp towel. Place in a warm spot, about 29°C, for 1 hour and 30 minutes or until doubled in size. The dough should look puffy, and when poked gently with your finger, the indentation should remain.
- Shape the Rolls:
- Roll the dough into a rectangle approximately 12 by 16 inches on a lightly floured surface. Spread the roasted garlic butter mixture evenly across the surface, leaving a small border around the edges. Sprinkle generously with mozzarella cheese covering the entire surface.
- Roll and Cut:
- Starting from the long edge, tightly roll the dough into a log shape. Using dental floss, slide it under the log, cross the ends over the top, and pull tight to slice cleanly through the dough. Cut into 6 equal pieces and arrange in a baking pan with some space between each roll.
- Second Proof:
- Cover the pan with plastic wrap or a damp towel and let rise again for about 30 minutes until visibly puffy. The rolls should be touching each other lightly, showing they've expanded properly.
- Bake to Perfection:
- Preheat oven to 175°C. Bake rolls for 25 minutes, checking after 20 minutes as ovens vary. For extra color, broil for 2 to 3 minutes at the end, watching carefully to prevent burning. Immediately brush with remaining garlic butter and sprinkle with fresh parsley.
 Pin it
The roasted garlic is truly the star ingredient here. The first time I made these my husband claimed he could smell them from the driveway and came rushing in to investigate. The transformation garlic undergoes during roasting is magical it becomes sweet caramelized and loses all that sharp raw flavor that can sometimes overwhelm. I keep extra roasted garlic in my fridge now because we love it so much.
Mastering the Perfect Proof
Getting the proofing right is crucial for these rolls. Too short and they'll be dense; too long and they might collapse while baking. The ideal environment is warm, about 29°C but not hot. I've found that preheating my oven to its lowest setting then turning it off and leaving the door slightly open creates a perfect proofing environment especially during winter months. The dough should roughly double in size during the first proof and look visibly puffy during the second. Remember that properly proofed dough springs back slowly when gently pressed with your finger.
Cheese Variations Worth Trying
While mozzarella creates that classic cheese pull we all love, experimenting with different cheese combinations takes these rolls to new heights. I've tried mixing mozzarella with sharp cheddar for more flavor complexity and it was outstanding. Gruyère adds a nutty depth that pairs beautifully with the roasted garlic. For an extra kick, try adding some crumbled feta or blue cheese among the mozzarella but use sparingly as their flavors are more intense. Whatever cheese you choose make sure it's freshly grated rather than pre-shredded which contains anti-caking agents that prevent proper melting.
 Pin it
Storage and Reheating Tips
These rolls stay fresh at room temperature in an airtight container for about 2 days though they're rarely around that long in my house. For longer storage refrigerate for up to 5 days or freeze for up to 3 months wrapped individually in plastic wrap then stored in a freezer bag. To reheat refrigerated rolls warm them in a 350°F oven for about 5 minutes until heated through. For frozen rolls thaw at room temperature then heat the same way or microwave individual rolls for 20 to 30 seconds. My favorite reheating method is to split them in half place them cut side up under the broiler for a minute then add a little fresh butter for an almost freshly baked experience.
Frequently Asked Questions
- → What makes these garlic rolls so soft and fluffy?
The combination of whole milk, active dry yeast, and proper proofing ensures the rolls are soft and fluffy. Following the resting time allows the dough to rise perfectly.
- → Can I use a different type of cheese?
Absolutely! While mozzarella is recommended, you can swap it with cheddar, parmesan, or your favorite cheese for a unique flavor.
- → How do I roast the garlic perfectly?
Place a garlic head in a ramekin, drizzle it with olive oil, and sprinkle some salt. Cover it with foil and roast at 160°C (320°F) for 2 hours or 180°C (350°F) for 1.5 hours for a faster result.
- → What’s the best way to cut the dough cleanly?
Use dental floss instead of a knife to cut the dough. It slices through the soft, cheese-filled dough neatly.
- → Can I prepare the garlic ahead of time?
Yes, roasting the garlic in advance—even the day before—can save you time and make the process smoother.
- → How can I get a golden brown finish?
After baking, broil the rolls at 190°C (375°F) for 2-3 minutes, then brush them with garlic butter for a beautiful shine and flavor.